
By selecting the brush tool and accessing the color picker window you can change the brush color: Select Brush > Window > Color > Pick a Color from Color Bar> Click on Opened Document> Set the Brush Size > Draw.
Need simpler instruction? We show you in the section below how to change brush color in Photoshop.
Go through till end to discover advanced brush settings, practical applications in digital art and design projects. Also, list of useful keyboard shortcuts.
4 Steps to Change Brush Color in Photoshop
Change or pick a color in a snap by these steps elaborated clearly for you:
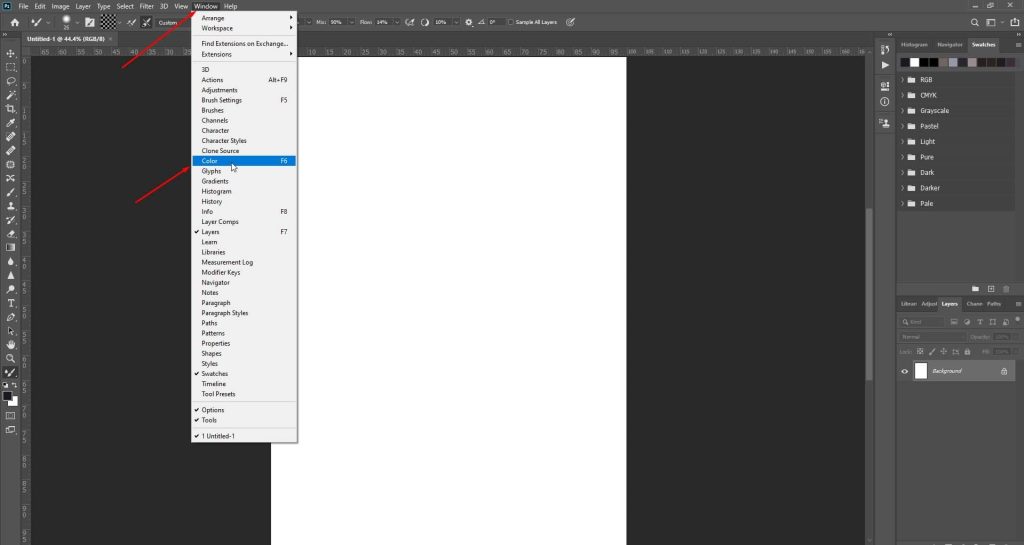
Step 1: Find the Color Option
With a file open in Photoshop, go to Windows and click on Color.
Step 2: Choose Desired Color
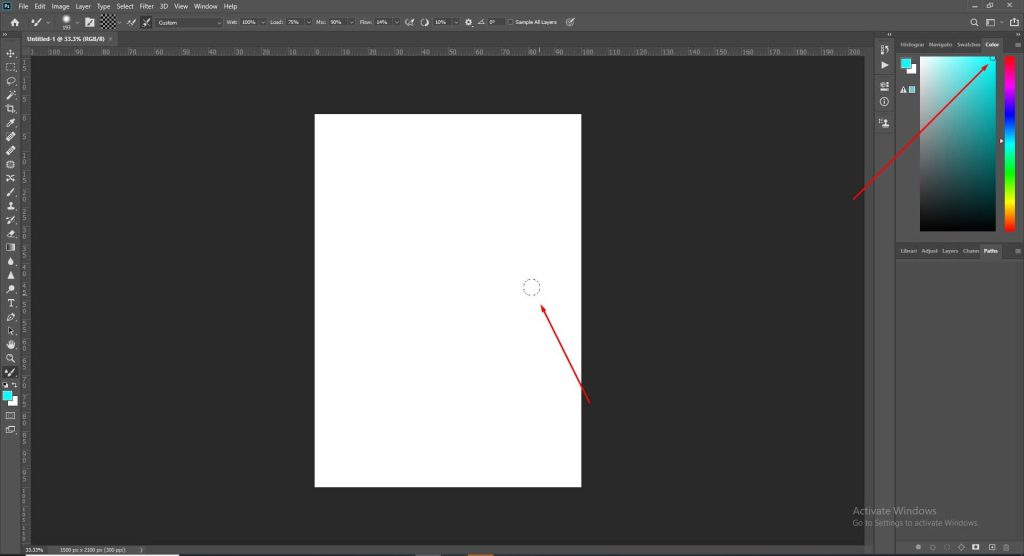
Start by working on the Color picker window.
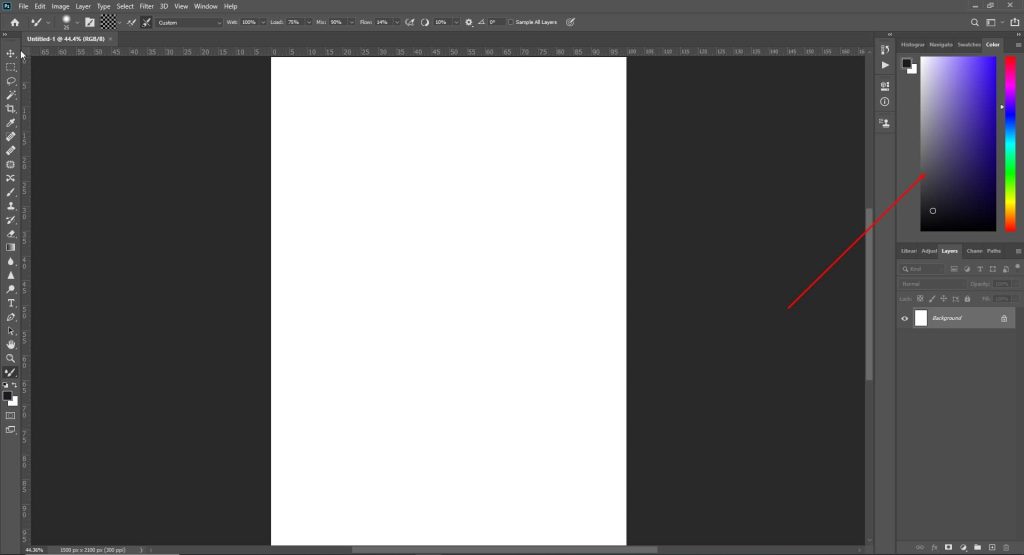
There will be a color bar to select colors from there.
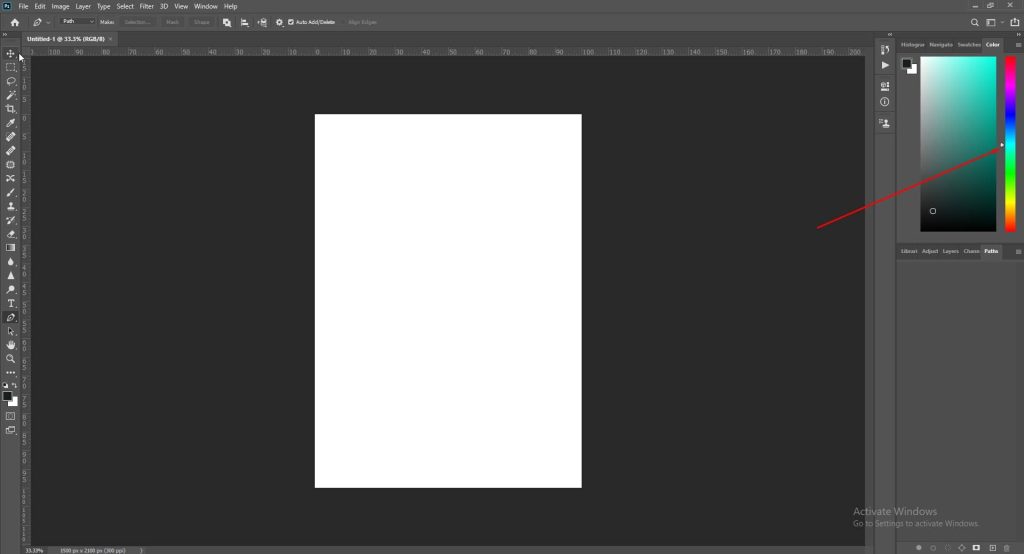
Drag the cursor on the color picker and select a color.
Then, bring back the cursor on the opened document as indicated below.
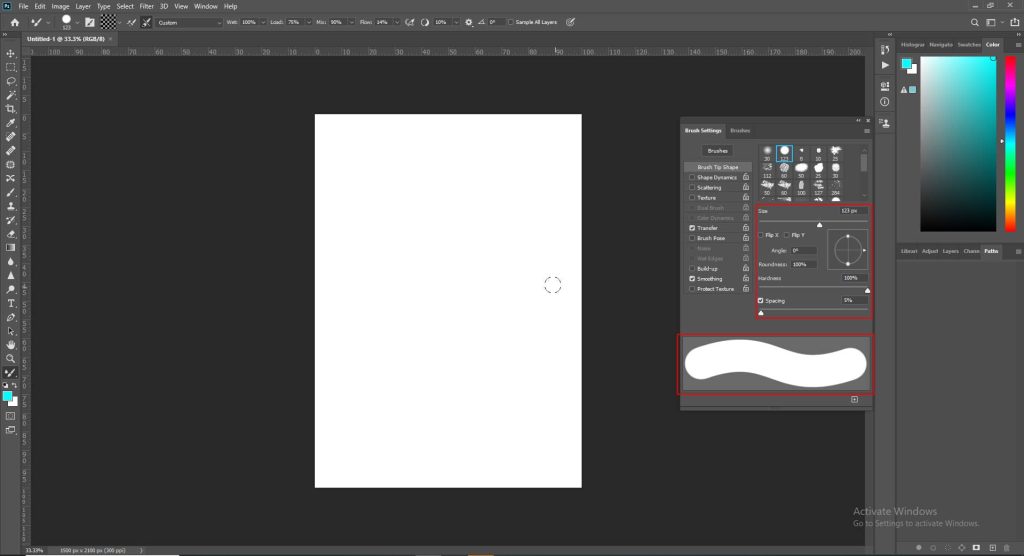
Before you can use the brush with the new color Photoshop will ask you to set the brush size along with a few other options.
Step 3: Set Brush Size
So, once you click on the document a dialog box with brush tool setting will show up.
You have to set the options so you can use the new brush color.
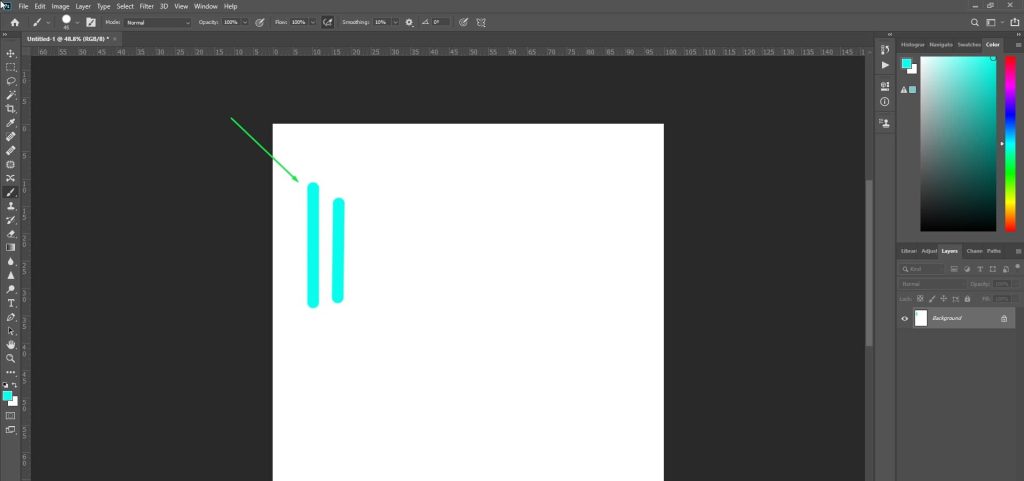
Step 4: Start Drawing
Click on the document again and start using the brush with the new color.
Learn more color adjustment techniques in the next part of the guide.
Advanced Photoshop Brush Settings
In Photoshop, if you want to modify your brush settings beyond the basics, you can do so by clicking on the brush settings icon located in the options bar. And you must keep the brush tool selected.
This action will bring up the Brush Settings panel, where you can fine-tune a range of parameters.
These include – the shape of the brush tip, dynamics (which cover attributes like size, angle, roundness, scatter, etc.), texture, dual brush settings, and more.
Shortcuts
- Windows: Alt + Shift + Ctrl + B – Press Alt + Shift + Ctrl + B to open the Brush Settings panel.
- Mac: Option + Shift + Command + B – Press Option + Shift + Command + B to open the Brush Settings panel.
Custom Brush Creation In Photoshop
When you make custom brushes in Photoshop, it lets you make special textures, patterns, and effects to use in your digital art and design work.
You can start by designing a shape or texture and setting it up as a brush style. Alternatively, you can turn existing images or shapes into brushes.
Custom brushes give you lots of ways to be creative, allowing you to easily add detailed touches, textures, and stylized elements to your creations.
Shortcuts
- Windows: Ctrl + Alt + B: Press Ctrl + Alt + B to open the Brush Preset Picker for creating custom brushes.
- Mac: Command + Option + B: Press Command + Option + B to open the Brush Preset Picker for creating custom brushes.
Here is a valuable resource for those who want to explore advanced brush settings and customization. You can access the guide here.
Check the next section to learn about the uses of Photoshop Brush Tool.
Enhancing Your Artistry: 10 Practical Uses of Photoshop Brush Tool
The Brush Tool in Photoshop is super handy for digital artists and designers. Here’s how people use it:
- You can use it to paint and draw things like illustrations or digital paintings.
- It’s excellent for adding fine details to your artwork, like textures or intricate patterns.
- You can make your own brushes or modify existing ones to get cool effects.
- Use it with layer masks to hide or reveal parts of your image without messing it up.
- Perfect for creating fancy letters and cool calligraphy styles.
- Want to give your art some unique elements? Use the Brush Tool to add effects and textures.
- Fix up photos by removing blemishes, smoothing skin, or even adding makeup effects.
- Make your own stamps or patterns for scrapbooking or web design.
- Experimenting with brush size and opacity to add depth and make your art pop.
- You explore and learn different brushes and techniques to see what works best for you.
Find more techniques related to brush tools in the following sections.
How to Pick A Color From An Image In Photoshop
People often pick colors from images in Photoshop for their designs, photos, artwork, or websites to look just the way they want them to.
This process helps them work faster and get the colors they need without guessing or trying out different options.
So, it’s like using real-life inspiration to get the perfect colors for their digital creations.
Shortcuts
Windows: Alt + Shift + right-click: This shortcut allows you to select a color from an image. Hold down Alt and Shift keys, then right-click on the desired color in the image.
Mac: Press Option + Shift + Command keys together and click on the desired color in the image.
Blending Modes in Photoshop
Blending modes determine how pixels from different layers mix together. There are many blending modes to choose from, each giving different results by combining colors, light, and shadows in different ways.
Some popular blending modes used in digital art and design projects include Overlay, Multiply, Screen, Soft Light, and Color Dodge.
Trying out different blending modes can enhance the depth, texture, and atmosphere of your artwork – allow you to create distinctive and visually appealing compositions
Shortcuts
Windows
- Shift + Plus (+) or Minus (-): Press Shift + Plus (+) or Minus (-) to cycle through blending modes forward or backward.
- Alt + Shift + letter key: Press Alt + Shift + a letter key (e.g., N for Normal, M for Multiply) to quickly switch to a specific blending mode.
Mac
- Shift + Plus (+) or Minus (-): Press Shift + Plus (+) or Minus (-) to cycle through blending modes forward or backward.
- Option + Shift + letter key: Press Option + Shift + a letter key (e.g., N for Normal, M for Multiply) to quickly switch to a specific blending mode.
Essential Photoshop Keyboard Shortcuts for Brush Tool
| Function | Mac Shortcuts | Windows Shortcuts |
| Switch to Brush Tool | Press B | Press B |
| Adjust Brush Size | [ (left bracket) | [ (left bracket) |
| ] (right bracket) | ] (right bracket) | |
| Change Brush Hardness | { (left curly brace) | { (left curly brace) |
| } (right curly brace) | } (right curly brace) | |
| Rotate the Brush | Command + Option + Drag Left or right | Control + Alt + Right-click + Drag left or right |
| Change Brush Blending Modes | Shift + Plus (+) or Minus (-) | Shift + Plus (+) or Minus (-) |
| Adjust Brush Opacity | Shift + Number keysPress Number key (e.g., 1 for 10%, 4 and 5 quickly for 45%) | Shift + Number keysPress Number key (e.g., 1 for 10%, 4 and 5 quickly for 45%) |
| Toggle Precise Crosshair | Press Caps Lock | Press Caps Lock |
