
To create a sepia tone in Photoshop:
- Open your image and set it as the Background Layer.
- Optionally, create a Sepia Effect Action for quick application.
- Add a Gradient Map adjustment layer.
- Set the color stops in the Gradient Editor: #170400 at 0%, #6b4e3b at 25%, #c5a989 at 65%, #dfcebf at 85%, and #f6e5d5 at 100%.
- Adjust the opacity of the Gradient Map layer if needed.
- Save and enjoy your sepia-toned image!”
The aesthetics of old photos never get old! For instance, the Sepia tone – has this warm mood that pulls people even closer to a memorable photo.
Below you will find screenshots and steps explaining how to create sepia tone in Photoshop to create a warm effect. How to create Sepia Tone in Photoshop Mac? Same.
Detail Steps to Create Sepia Tone in Photoshop With Screenshot
Step 1: Setting the Background Layer
To begin, open your desired image and ensure it’s set as the Background Layer.
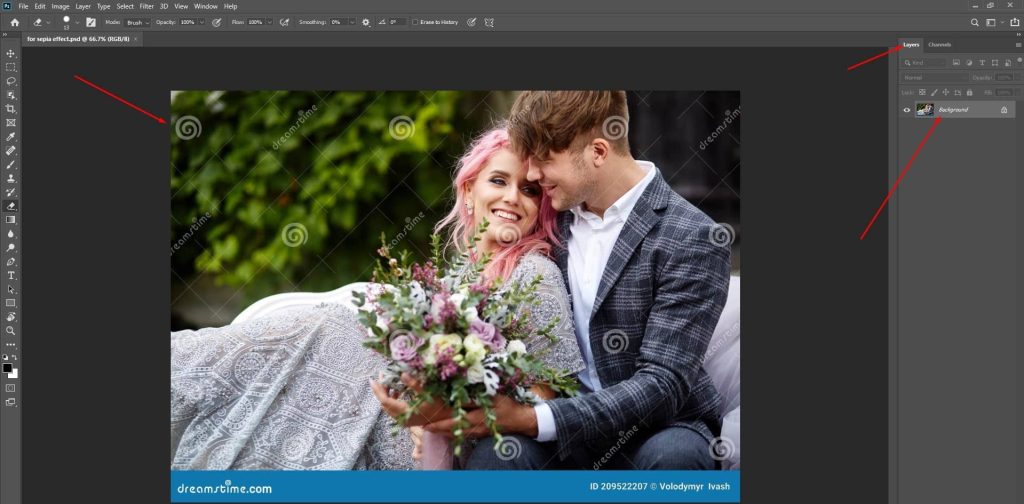
If you’re unfamiliar with this process, navigate to Layer > Background from Layer.
After setting up your background layer, the next step is to customize your workflow by creating a sepia effect action.
This optional but time-saving action will streamline the process for future edits. Let’s explore how to set it up seamlessly.
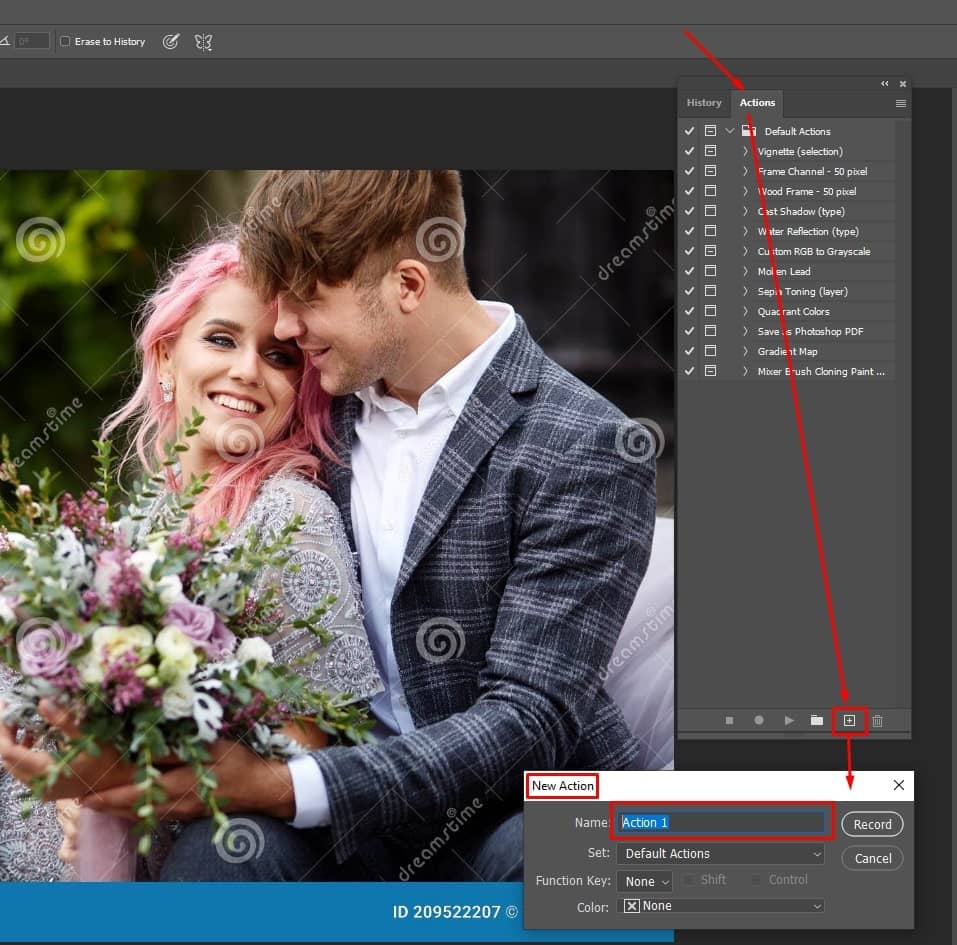
Step 2: Creating a Sepia Effect Action (Optional)
Action Panel Shortcuts
Streamline your workflow by recording a custom Sepia Tone action, saving time for future sepia tone applications.
For Windows: Alt + F9 For Mac: Option + F9
- Open the Action Panel and create a New Action.
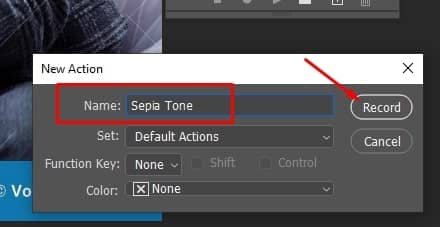
- Replace the default name with Sepia Tone and press Record.
Tip: Recording this action will expedite future sepia tone applications.
Step 3: Add a Gradient Map Adjustment
Click on the Layer and go to the New Adjustment Layer. There you will find the Gradient Map in the list.
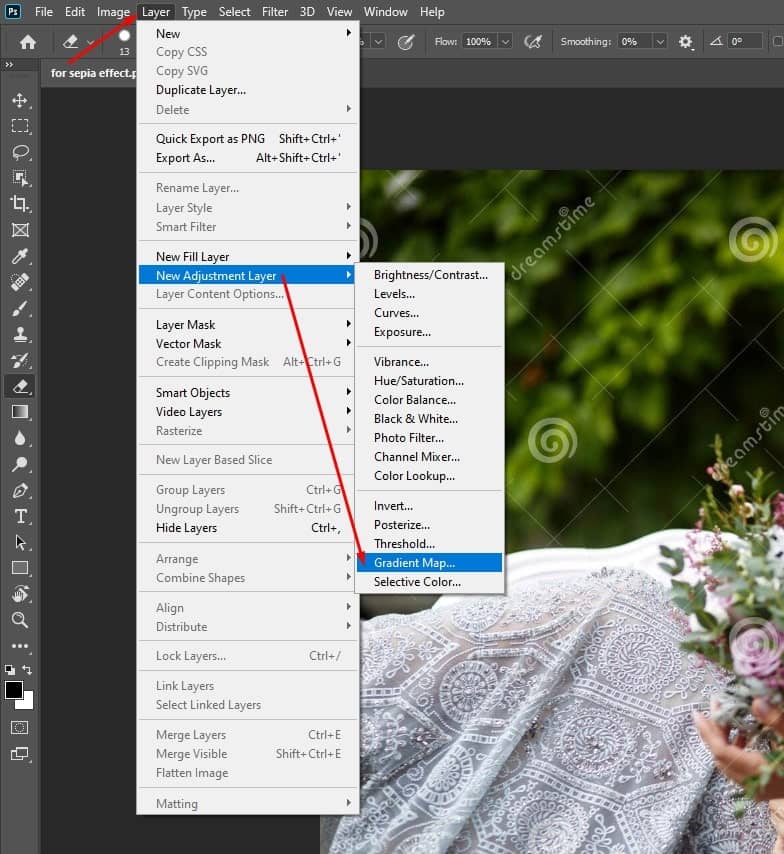
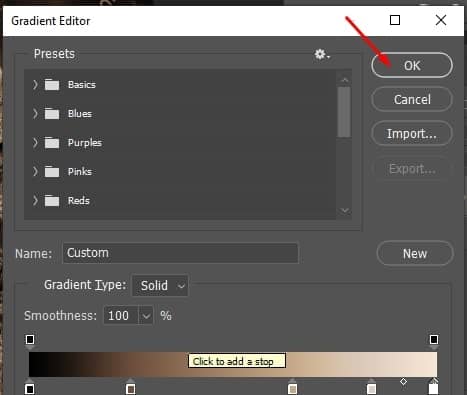
Click on the option and there will be this window.
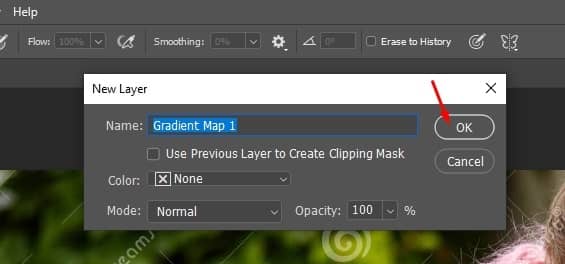
Press OK and the Gradient Map will be added. There will be another window to work on adjusting the Gradient Map. Also, the photo color will change.
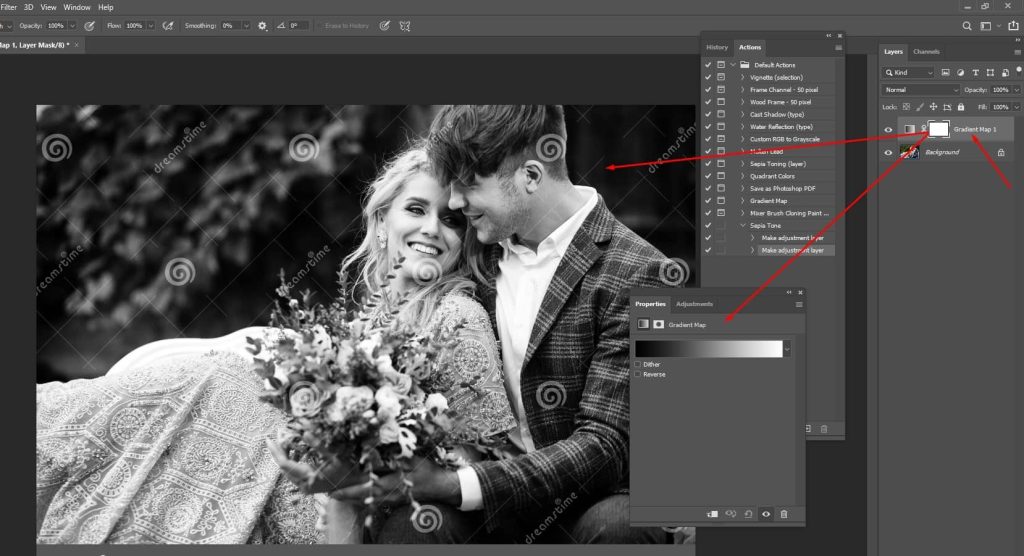
Now that we’ve laid the foundation with the gradient map adjustment, let’s proceed to the next phase: adding specific colors to achieve the desired sepia tone.
This step will bring your sepia effect to life with carefully selected hues.
Step 4: Adding Color in Different Locations to Produce Sepia Tone
In Properties, click once on the Color Bar then a Gradient Editor window will come up as pointed out in this picture:
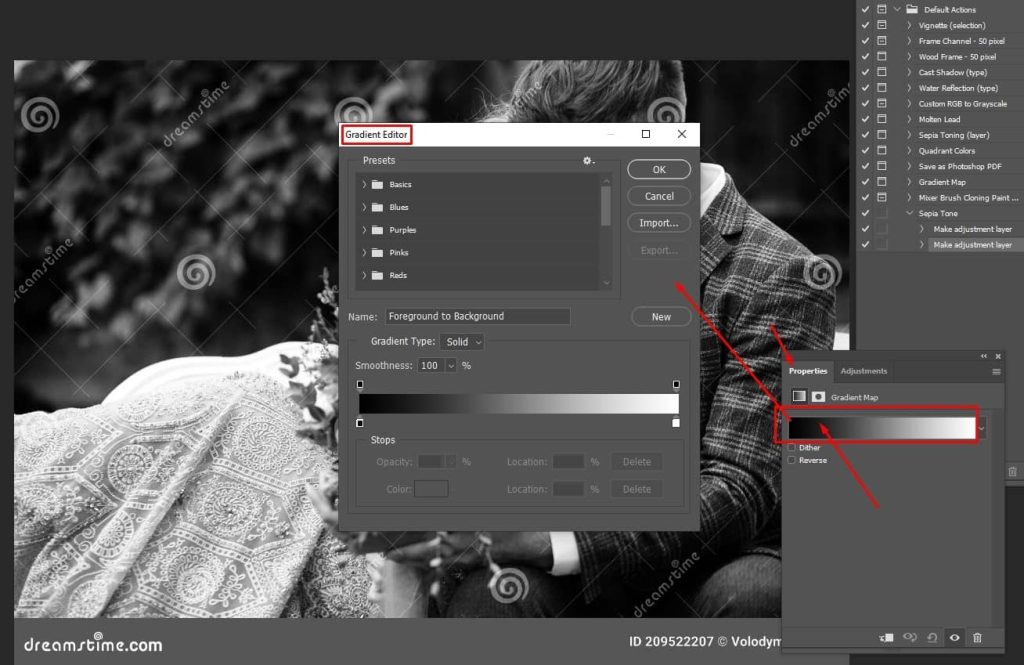
Note: You can’t use the Gradient Picker just like this. Click on the first Color Stop slider of the Color Bar in the Gradient Picker. Now you need to work on the Location box to produce the sepia effect.
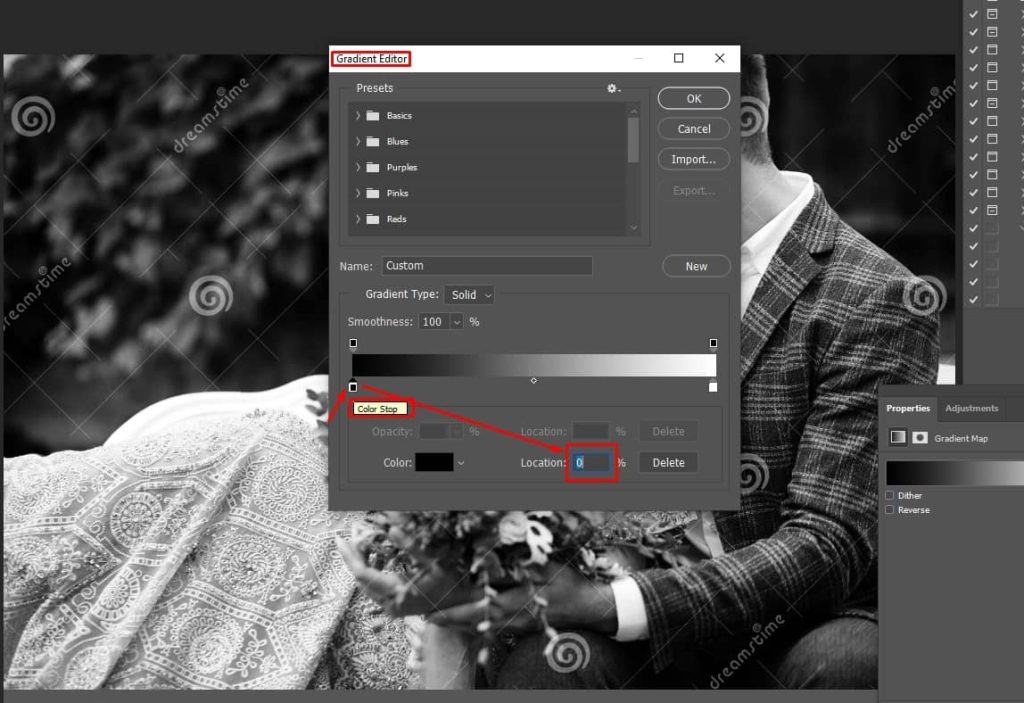
Pressing the Alter / Option key and dragging the right-side Color Stop set the location to 0%. Click on the box for the Color box indicated. This will open up a Color Picker window.
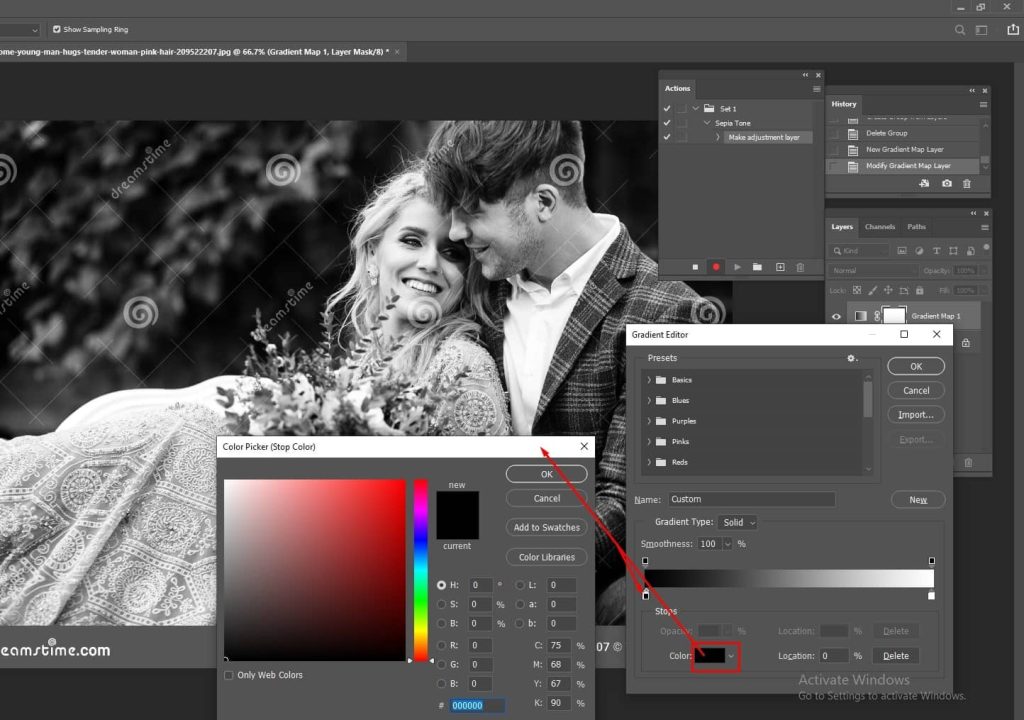
Put the color code: #170400 in the Color Picker window and click OK. You will notice the photo color changing.
For your convenience:
- Alt + Move First Color Stop Slider In Gradient Editor to Location 0% > Click on COLOR box > Type: 170400 Color Code > OK
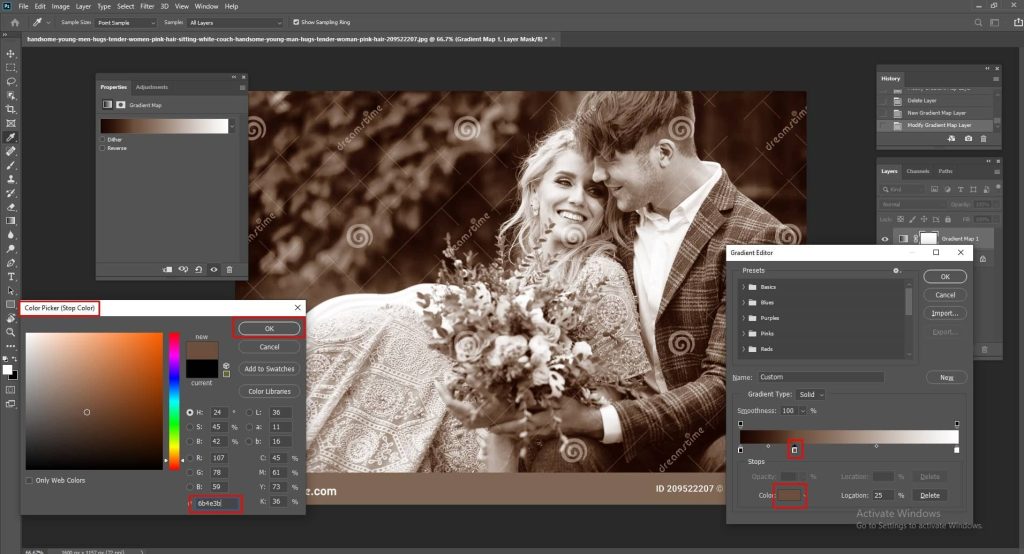
Next, you need to set a Color at 25%. Once again, hold Alter / Option and move the first color stop slider in the Gradient Editor to 25%. Then click on the Color box.
Input olor code: #f6e5d5 in the Color Picker window, and press OK.
For your convenience:
- Alt + Move First Color Stop Slider In Gradient Editor to Location 25% > Click on COLOR box > Type: 6b4e3b Color Code > OK

The process is the same for setting color. Keeping the Gradient Picker window open, moving the Color Stop slider, and clicking on the Color Box as shown in the previous two sections complete the following list of edits:
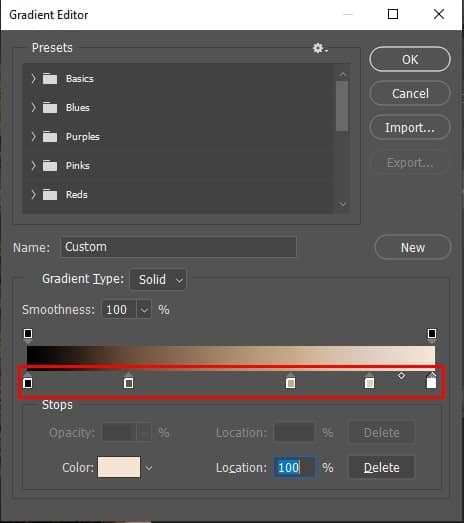
- Alt + Move First Color Stop Slider In Gradient Editor to Location 65% > Click on COLOR box > Type: c5a989 Color Code > OK
- Alt + Move First Color Stop Slider In Gradient Editor to Location 85% > Click on COLOR box > Type: dfcebf Color Code > OK
- Alt + Move First Color Stop Slider In Gradient Editor to Location 100% > Click on COLOR box > Type: f6e5d5 Color Code > OK
If you have completed the step correctly, the gradient bar should have 5 Color Stops as below.
Hit OK on Gradient Editor:
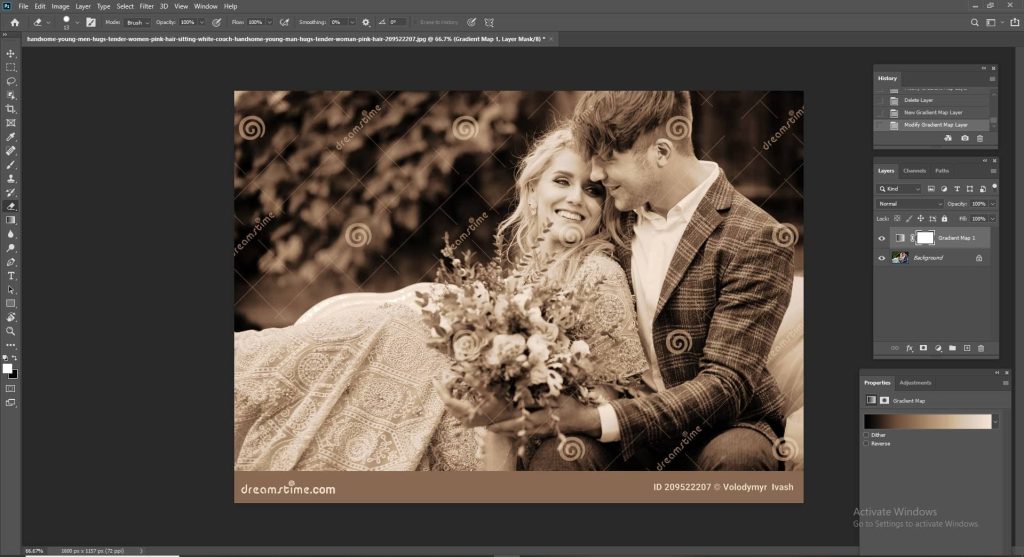
By this, the image will achieve a soothing Sepia Tone.
With the gradient map adjustments in place, your photo is now taking on that warm sepia tone.
Once you’ve perfected your sepia tone, it’s essential to know how to revert back to the original colors if needed.
Let’s explore the process of removing the sepia tone in Photoshop, ensuring flexibility in your editing workflow.
How to Remove Sepia Tone in Photoshop
The easiest way to bring back your image in the actual color is to delete all the layers you have created after setting the background layer.
Removing sepia tone in Photoshop can be done quickly and easily.
Here is the clearer direction for you:
Layers Panel > Press Control or Command > Hit The Trash Bin > Delete
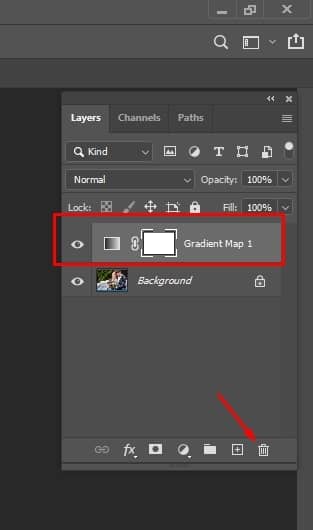
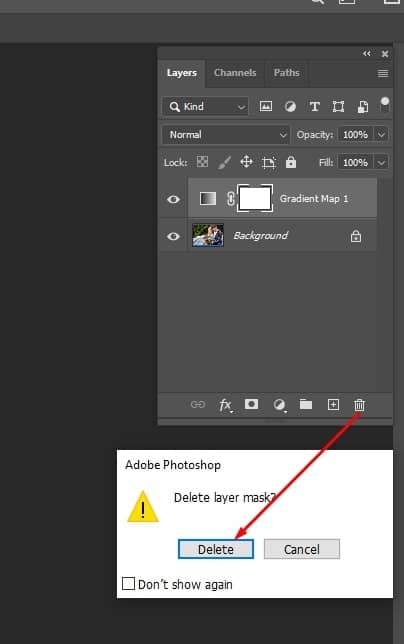
And the photo will be back in its real color again. Once you delete all the layers you have created for the edit, there will be only the very first background layer.
Find expert suggestions in the following section to equip yourself with more knowledge regarding adding vintage color effects in any images.
10 Tips for Creating Vintage Color Tone In Photoshop
Not to mention that forming a vintage color effect in Photoshop can give your images a timeless and nostalgic look.
Keep in mind the following 10 aspects for the best outcome:
- Research
Take a look at old photos from the era you’re trying to replicate. Notice the colors, the tones, and how they make you feel. Understanding these characteristics will guide you in creating your vintage effect.
- Choose the Right Image
Not every picture will look good with a vintage vibe. Look for images that already have a timeless or nostalgic quality to them. Photos with subjects like vintage cars, old buildings, or people in retro clothing often work well.
- Adjust Color Balance
Vintage photos tend to have warm, slightly faded colors. In Photoshop, you can tweak the color balance to give your image that nostalgic hue. Think about adding a bit more reds, yellows, or oranges to the mix.
- Reduce Saturation
Vintage pictures usually aren’t as vibrant as modern ones. To achieve this effect, tone down the saturation a bit. You want your colors to look a bit muted, like they’ve aged over time.
- Add Grain / Noise
Vintage photos often have a grainy texture, especially if they were taken with old film cameras. You can simulate this in Photoshop by adding a grainy overlay to your image. It gives it that authentic, old-timey feel.
- Consider Vignetting
Vignetting is when the corners of an image are slightly darker than the rest. It draws focus to the center and adds a subtle framing effect. You can create this in Photoshop by darkening the edges of your photo.
- Experiment with Blending Modes
Photoshop has various blending modes that can change how layers interact with each other. Overlay and Soft Light modes often work well for creating vintage effects. Play around with them to see what looks best for your image.
- Use Texture Overlays
Adding textures, like the grain of old paper or the scratches of aged film, can really sell the vintage look. You can find texture overlays online or create your own. Apply them to your image and adjust the opacity until it looks just right.
- Keep It Subtle
The key to a good vintage effect is subtlety. You want your photo to look old-fashioned without being too obvious. Make small adjustments and step back frequently to see how they’re affecting the overall vibe.
- Save Your Work
Don’t forget to save your progress as you go. It’s also a good idea to keep copies of your original image so you can always start over if you need to. This way, you can experiment without worrying about messing up your original.
Final Notes on Creating Sepia Effect on Photoshop
In the time, when there was only black and white photography, people used to add effects with particular techniques. Besides, back then there were fewer color tones to choose from.
Now, we can use all the color effects available. Yet, the sepia color effect still leaves special marks on our hearts.
However, in this guide, you have seen how to create a natural and captivating Sepia Effect in a photo.
Also, as a bonus, we have suggested you record an action to use to in future edits.
Keep practicing every day—you will be capable of adding many more special colors to any images and see your creativity bloom.
