
To stitch photos together in Photoshop, follow these steps:
- Open Photoshop and go to File > Automate > Photomerge.
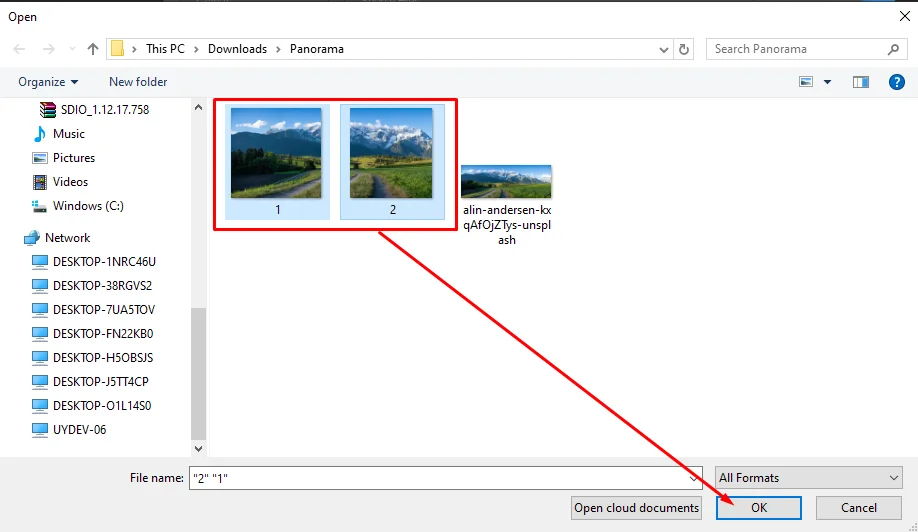
- Browse and select the photos you want to stitch together.
- Choose “Auto” layout and ensure “Blend Images Together” is selected.
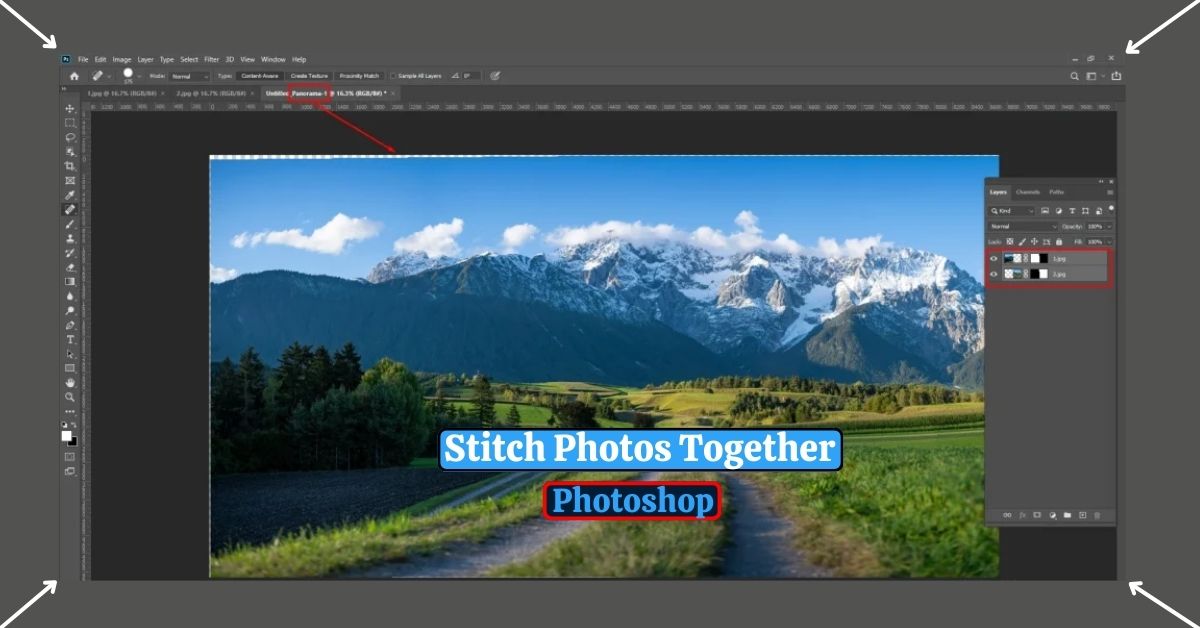
- Click OK and Photoshop will merge the photos into a seamless panorama.
For video slideshows, create a new project, add photos to the timeline, and export as a video. Adjust timings as needed.
With these steps, you can easily stitch photos together in Photoshop for panoramas or video slideshows.
In this guide, you will get:
- Merge Images for Professional Results
- Automatically Stitching Images Together
- Transforming Photos into Engaging Video Slideshows
How to Merge Images in Photoshop: 3 Easy Steps
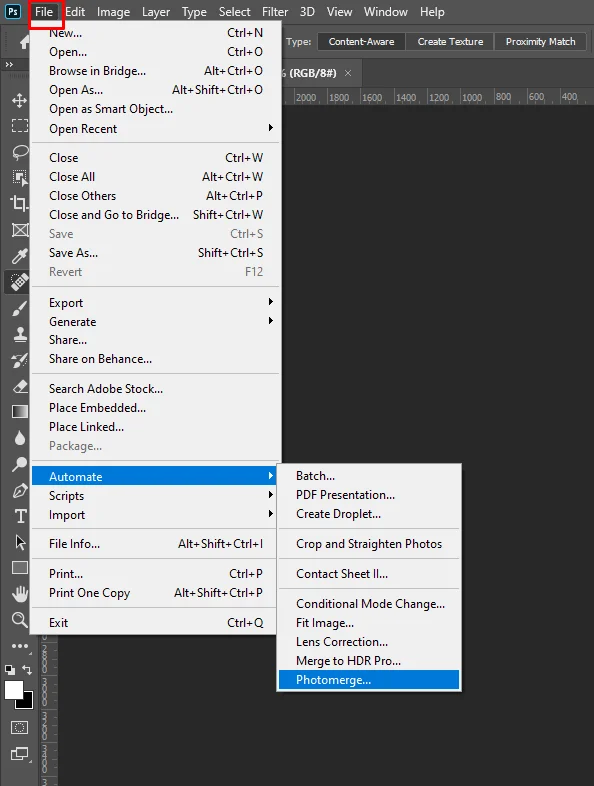
Step 1: Open Photoshop and click on “File” in the top menu. Then, choose “Automate” and select “Photomerge” from the options.
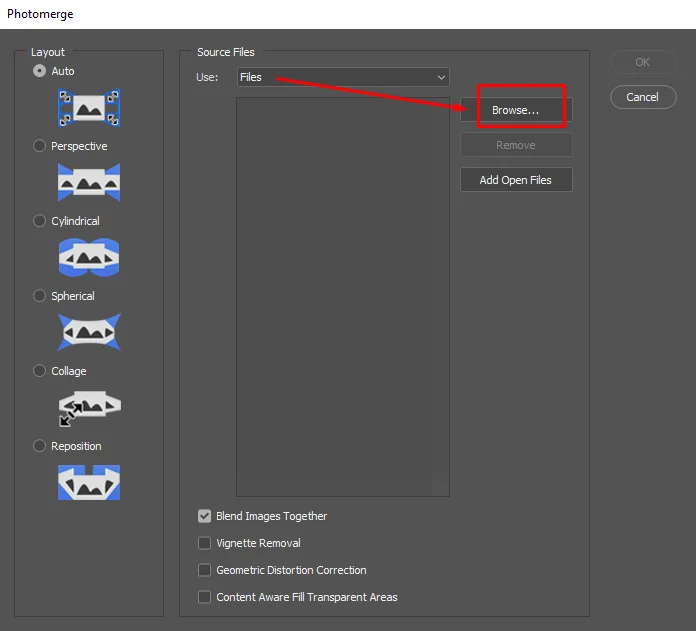
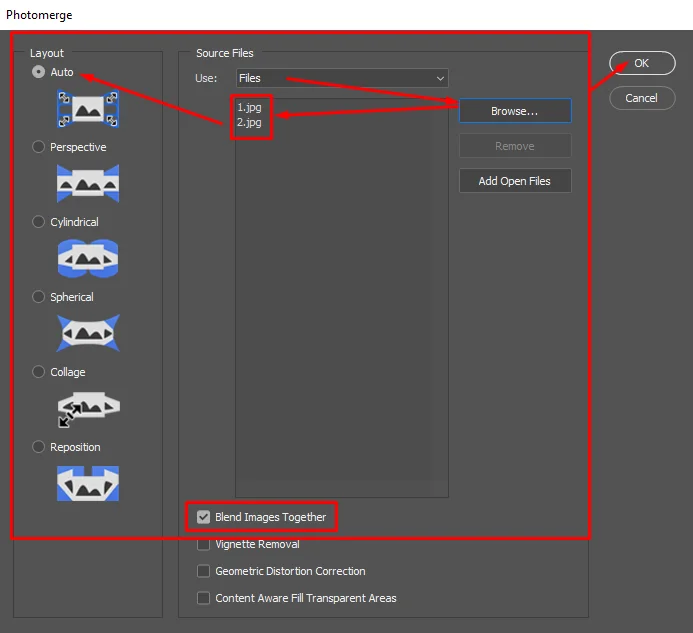
Step 2: A new window called “Photomerge” will pop up. Click on “Browse” to find the images you want to merge. Once you’ve selected your images, click “OK.”
Step 3: Your images will now appear in the “Photomerge” window. Here’s what you need to do next:
- Keep the layout as “Auto.”
- Make sure to check “Blend Images Together.”
- Finally, click “OK” to let Photoshop start blending your images together.
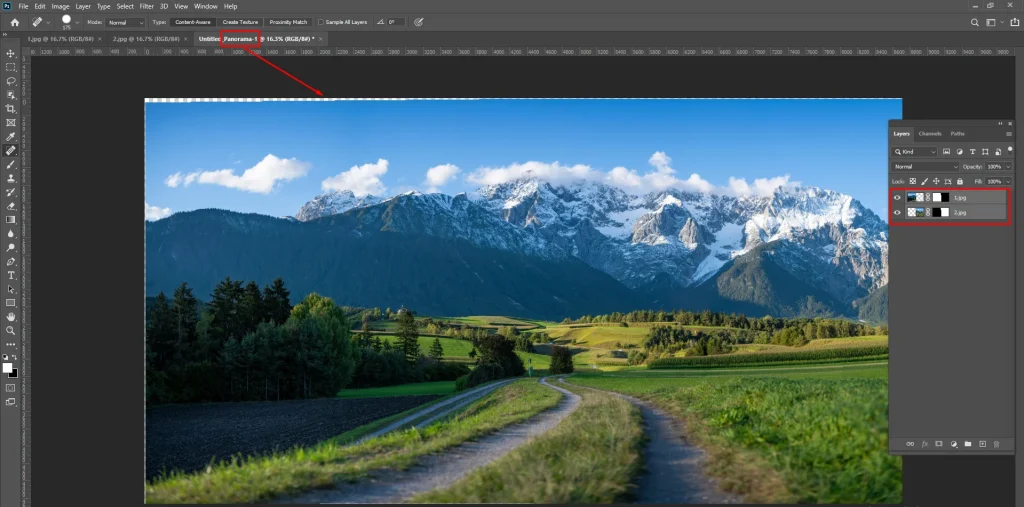
Now, Photoshop will begin working its magic to merge your images. The time it takes depends on how many images you have. More images mean more time.
Once Photoshop finishes, you’ll see your merged photo. Check the file name, and you’ll notice it says “Panorama.” That’s how you know your panorama is ready!
So, in case you are wondering how to make a panorama in Photoshop. The process is the same.
Once you’ve successfully merged your images into a stunning panorama, let’s delve into the process of automatically stitching images together in Photoshop.
Automatically Stitch Images Together in Photoshop
The process for automatically stitching images together in Photoshop is quite similar to blending images or creating a panorama, as discussed in the previous section.
To begin, you can refer to the accompanying video in the following section, which provides visual guidance on finding the “Automate” option.
For your convenience, follow these steps:
- Open Photoshop and navigate to “File” > “Automate” > “Photomerge.”
- In the Photomerge window, click on “Browse” to select the images you want to stitch together.
- Ensure that the layout is set to “Auto” and check the option for “Blend Images Together.”
- Once everything is set, click “OK” to start the automatic stitching process.
Tutorial: How to Combine Multiple Photos in Photoshop
Sometimes people just want to make videos using photos only so, let’s move on to creating captivating video slideshows with your newly merged images.
How to Stitch Photos Together to Make a Video
While the term “stitching” is commonly associated with merging images, in this context, we’ll be focusing on creating a video slideshow using your stitched images
The whole process at a glance:
- Open Photoshop > Crate New > Film & Video
- Select a Preset > Set Preset Details > Click on Create
- Window > Timeline > Create Video Timeline > Add Media
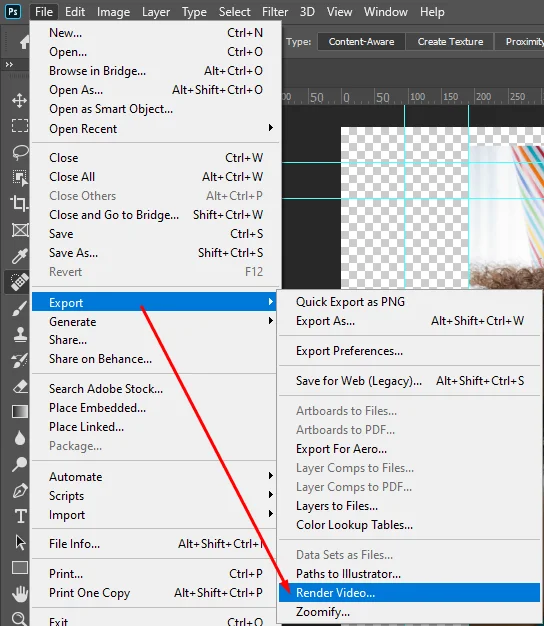
- File > Export > Render Video > Select Location > Render
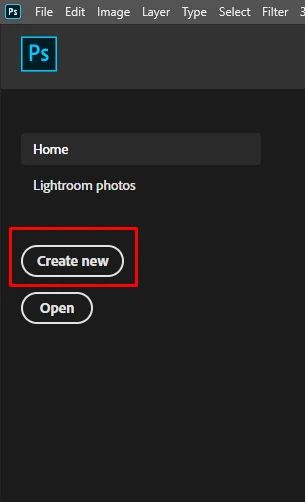
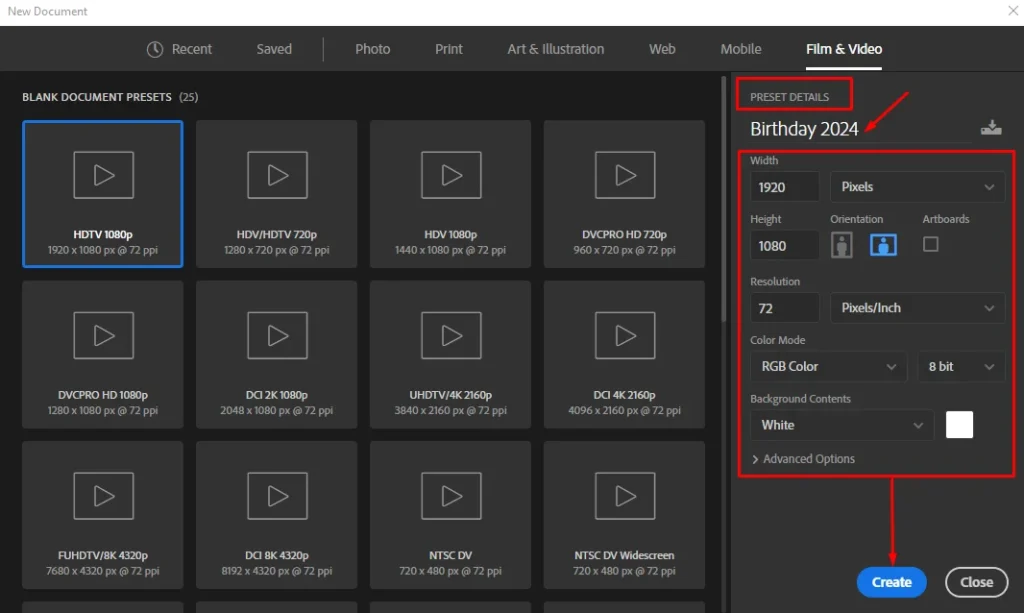
Step 1: Open Photoshop and click on CREATE NEW.
Go to FILMS & VIDEO then select a preset.
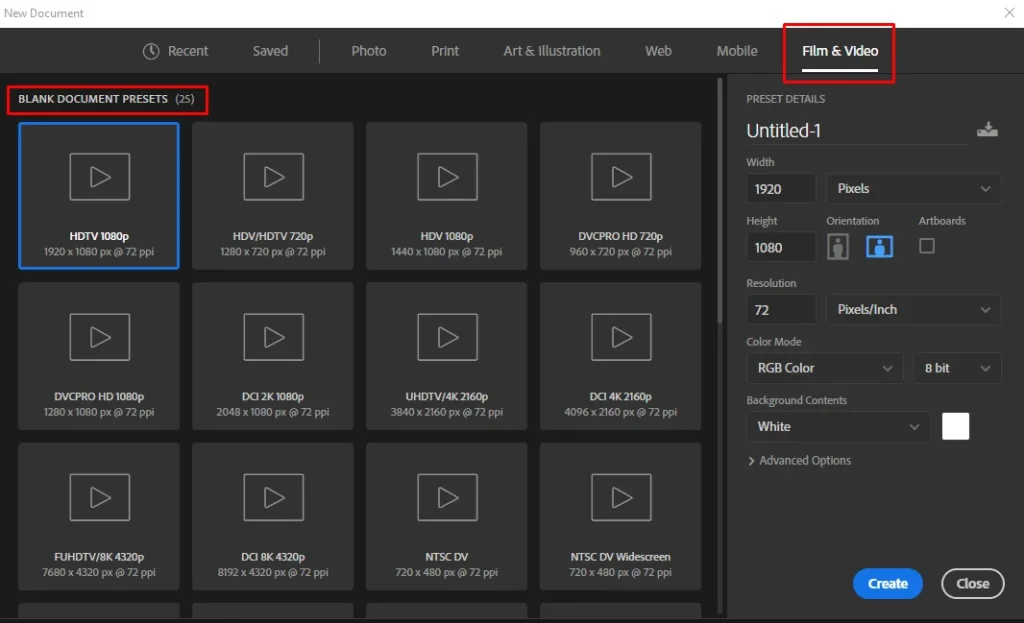
On the right-hand side set PRESET DETAILS. Those are the properties of your slideshow video file, which will contain, the name, resolution, and background selection.
When these are set, hit CREATE.
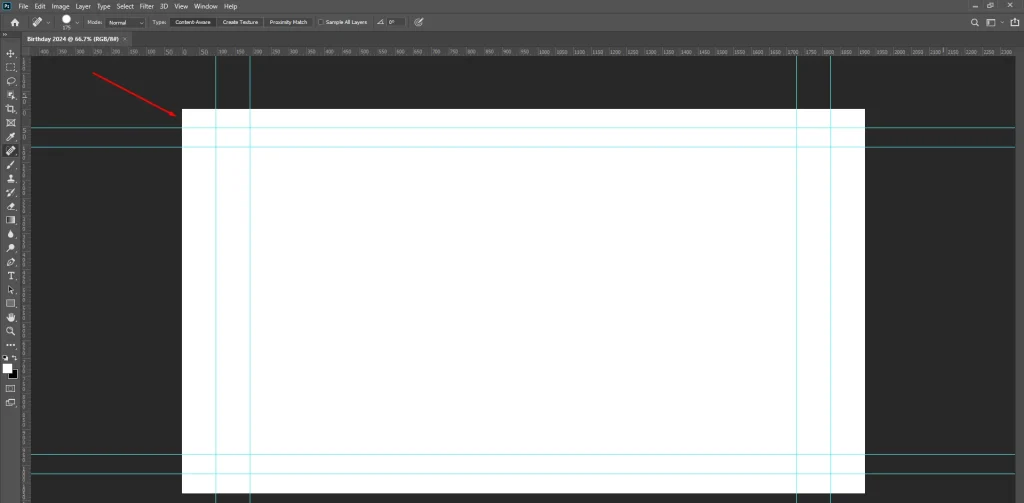
Step 2: After that, Photoshop will show you a white background.
Now, go to WINDOW and find TIMELINE.
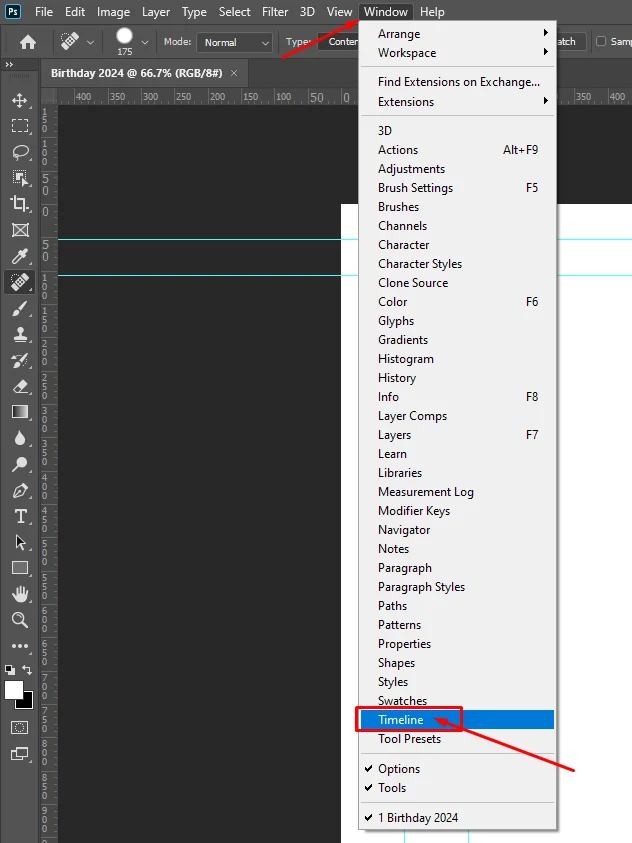
Click on it and notice a TIMELINE PANEL added in the Photoshop window.
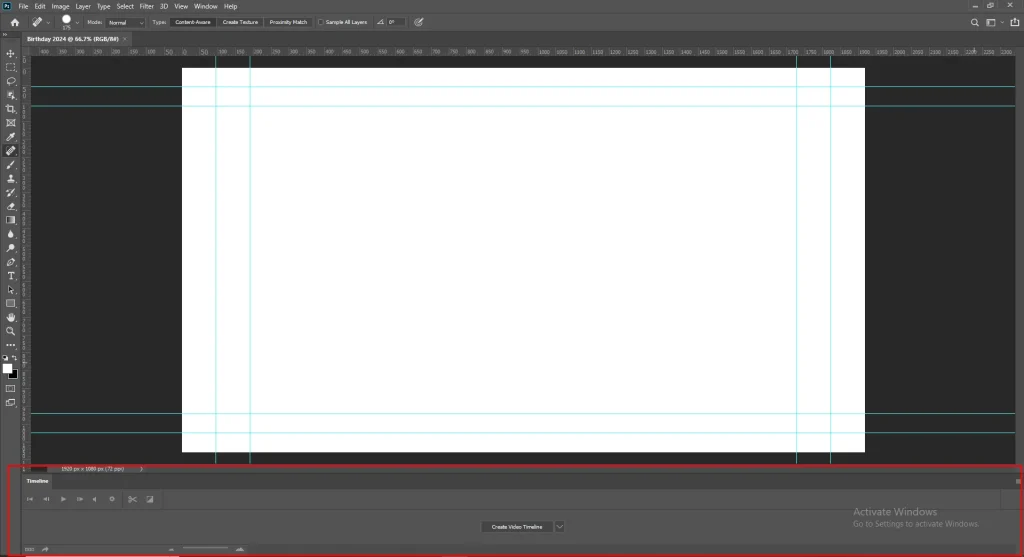
Click on CREATE VIDEO TIMELINE.

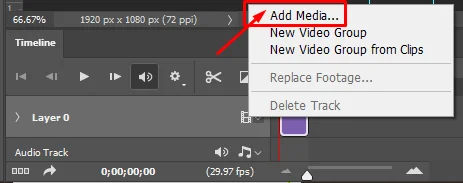
Next, you will see this, click on the REEL ICON pointed out here:

Choose ADD MEDIA.
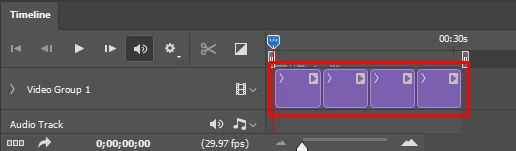
Next, you will get the option to add image files from your computer. Select all the files to add them as a video timeline like this:
Once all the media is uploaded on a video timeline you can save the file by going to the file option shown below:
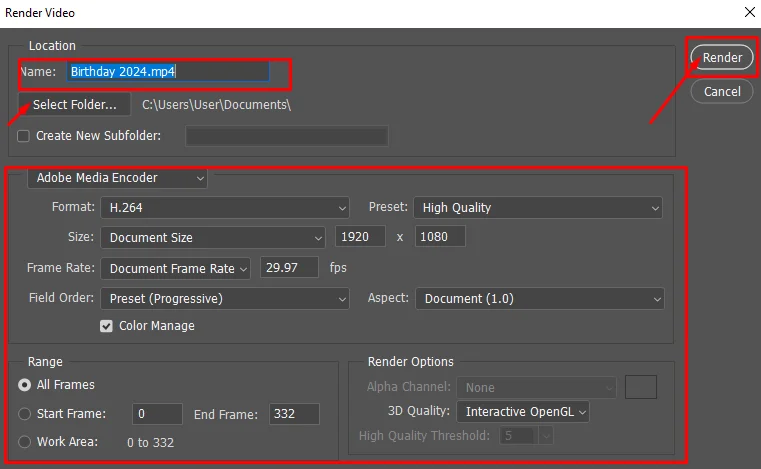
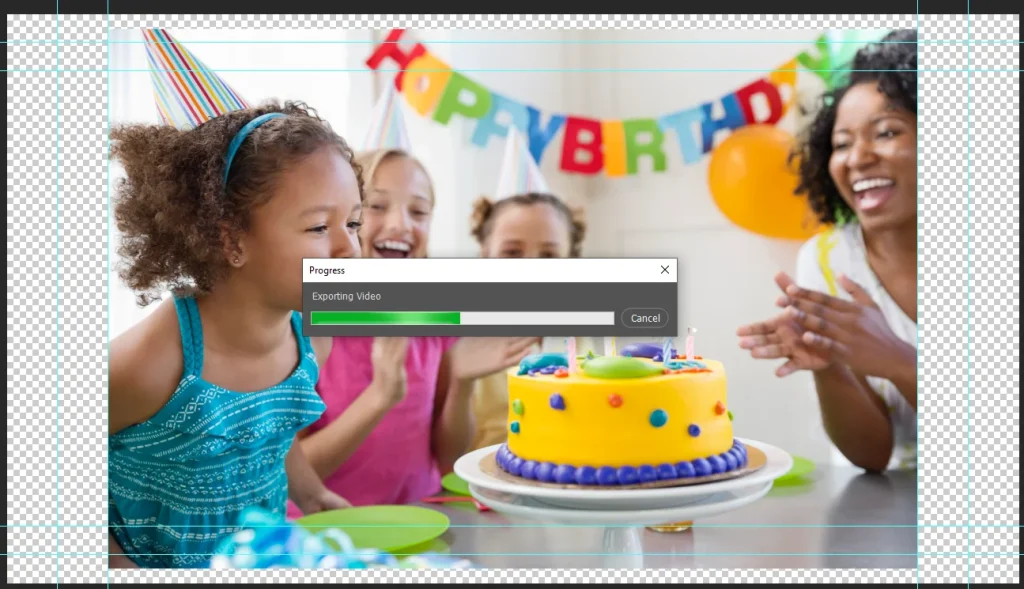
Select the folder where you want to find your video slideshow after it is downloaded or rendered, check all the details again, and click on RENDER.
You will need to adjust the timing for each image. Check the tutorial in the upcoming section to see that.
Photoshop will start working to deliver you the final result.
Now, find your video in the selected location. Also, watch this instruction video to create a slideshow video with images.
Tutorial: Stitch Image & Make Slideshow Video In Photoshop
Final Thoughts
Ready to bring your photos to life? With Photoshop, it’s a breeze to merge images into stunning panoramas or dynamic slideshows. So go ahead, get creative, and start stitching your way to visually captivating stories!
