
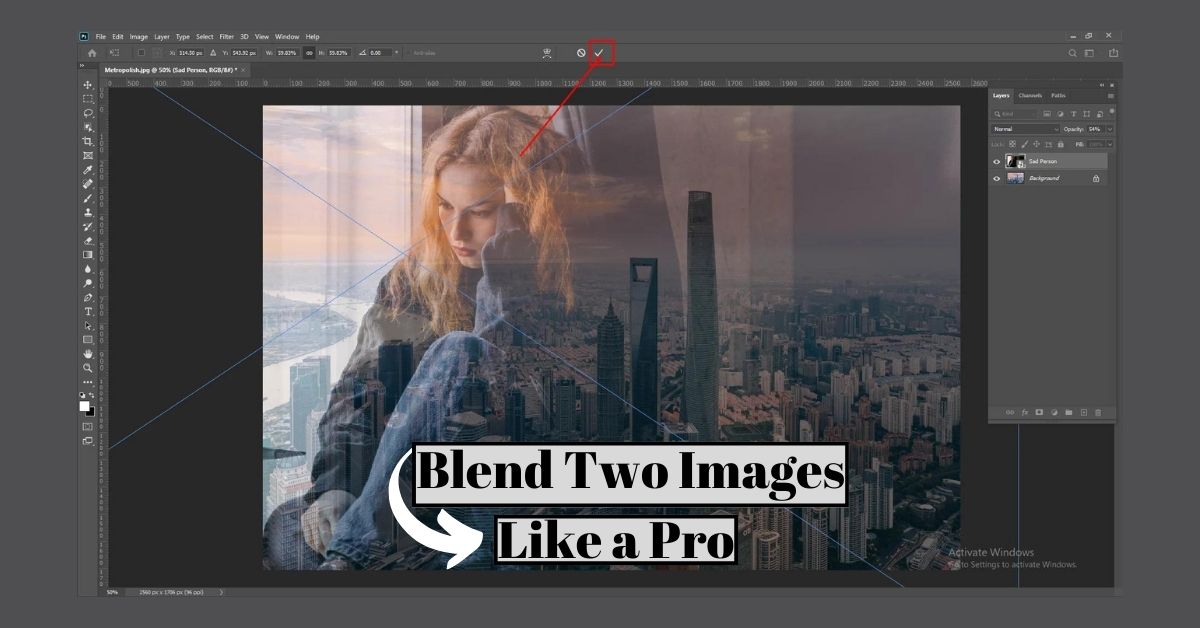
To blend images together:
- Open a BACKGROUND image and drag the second image on top of that.
- CONTROL / COMMAND + T and hit the TICK mark to fix the second image on top of the BACKGROUND IMAGE.
- LAYER panel > Select second image > Decrease OPACITY to create a blended look.
- CONTROL / COMMAND + T again to move and resize the second image.
- Hit the TICK mark to fix the second image on top of the BACKGROUND IMAGE.
Get detailed instructions in the next sections of the guide and learn how to blend two images in Photoshop in two different ways.
Easiest Method to Creatively Blend Two Images in Photoshop
This is a simple technique that serves your creative edits. You do it using LAYER PANEL OPACITY.
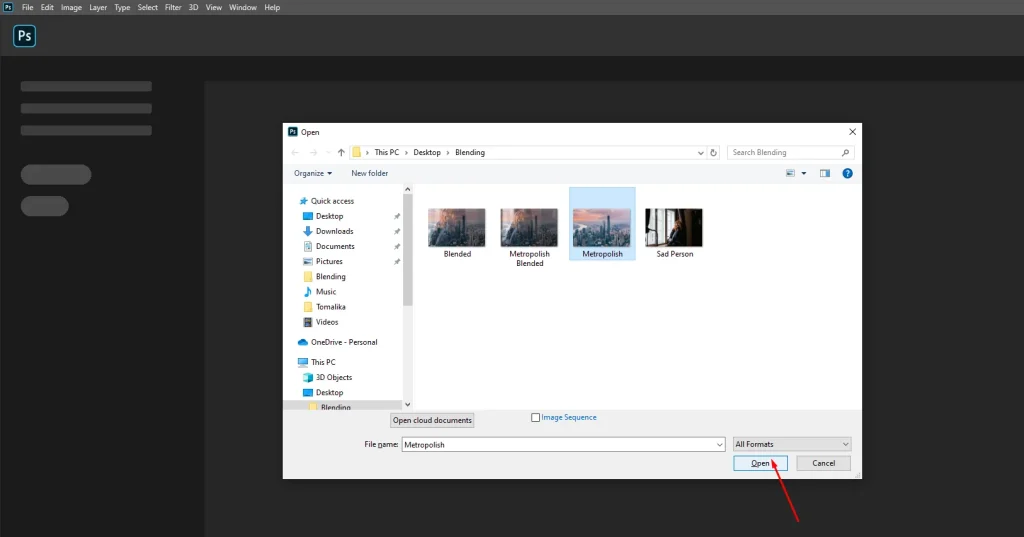
Step 1: Open Photoshop and press Control / Command + O to browse targeted files from your computer.
As we are blending 2 images here, pick one of your chosen images. Click open and you will see it in Photoshop.
Once you open a photo file in Photoshop, you can do the rest of the edit following the upcoming steps.
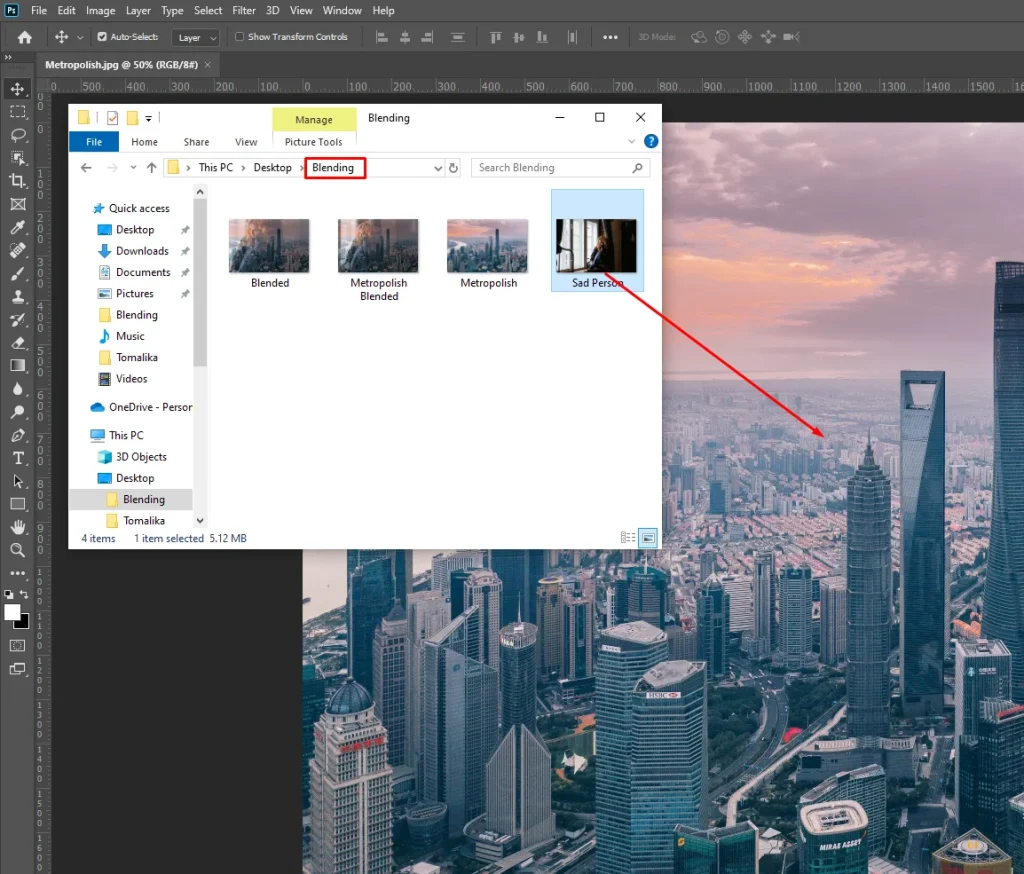
Step 2: So, you should have an image in Photoshop by now. Next, you need to add another image on top of the image already opened.
This is mainly called—opening 2 images in one document in Photoshop. To be more precise, this is one of the ways.
However, here is what you need to do next to bring another image on top of the other.
Go to the FOLDER where you kept your chosen images. Now, DRAG the file keeping the Photoshop window—on top of the previously opened image.
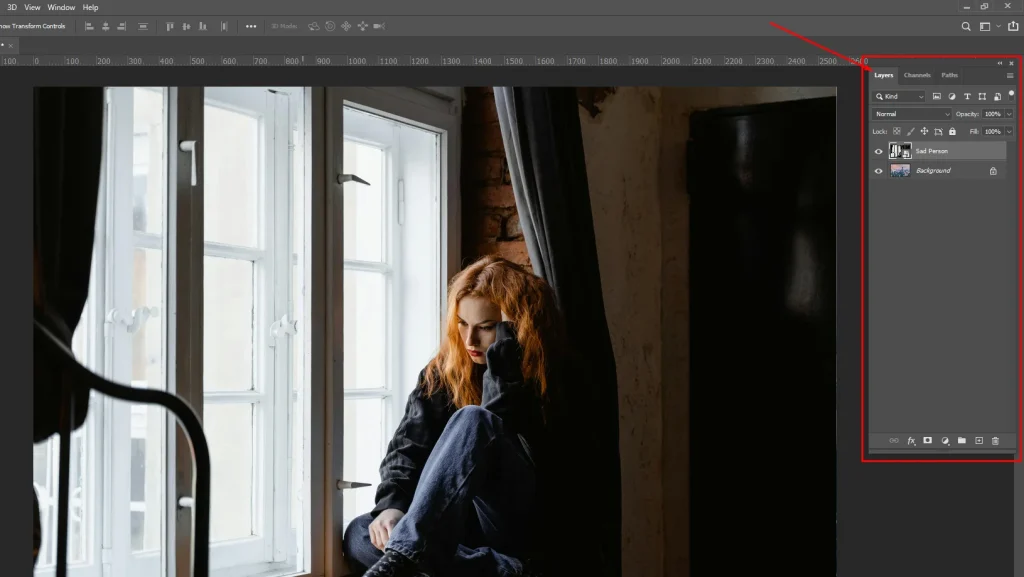
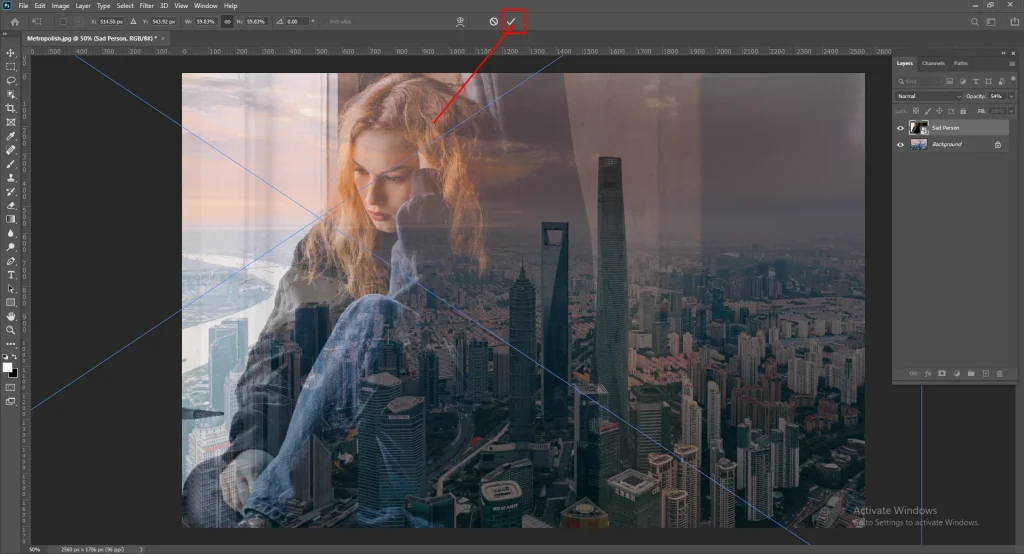
Step 3: The second image you upload on top of the other image will appear with a frame on it. Set the image on the other images by clicking the TICK mark indicated in this picture.
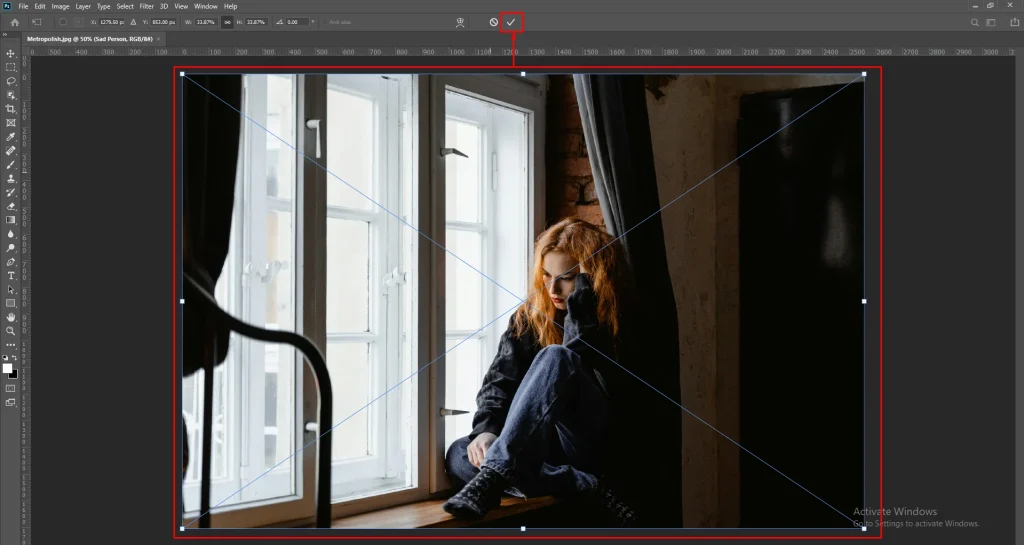
Step 4: When you add the second the box will disappear. Most importantly, you won’t see the first image anymore, as the second image has been set on it with 100% OPACITY.
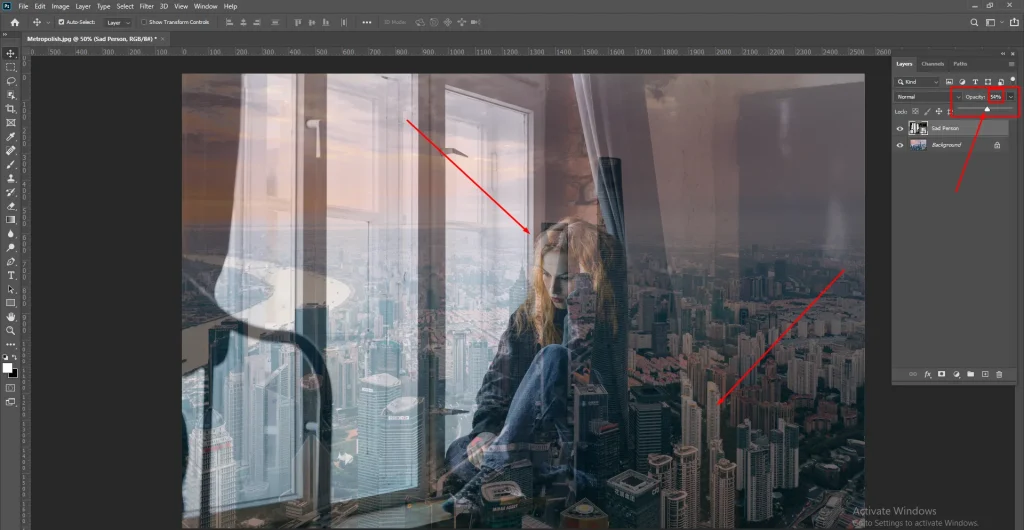
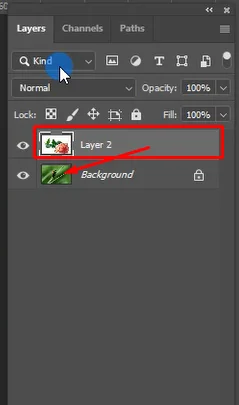
Step 5: Once you have the panel, select the second image from the layer panel. Then, click the OPACITY ARROW.
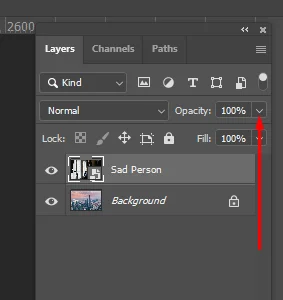
Step 6: A simple bar with a slider will be there. Drag the left and right to see your desired opacity. Also, notice the two images blending while exploring the opacity.
Step 7: You will need to move and resize the image to get it in the right position to create the blended look.

Now, place it just the way you want it. Maybe something like this:
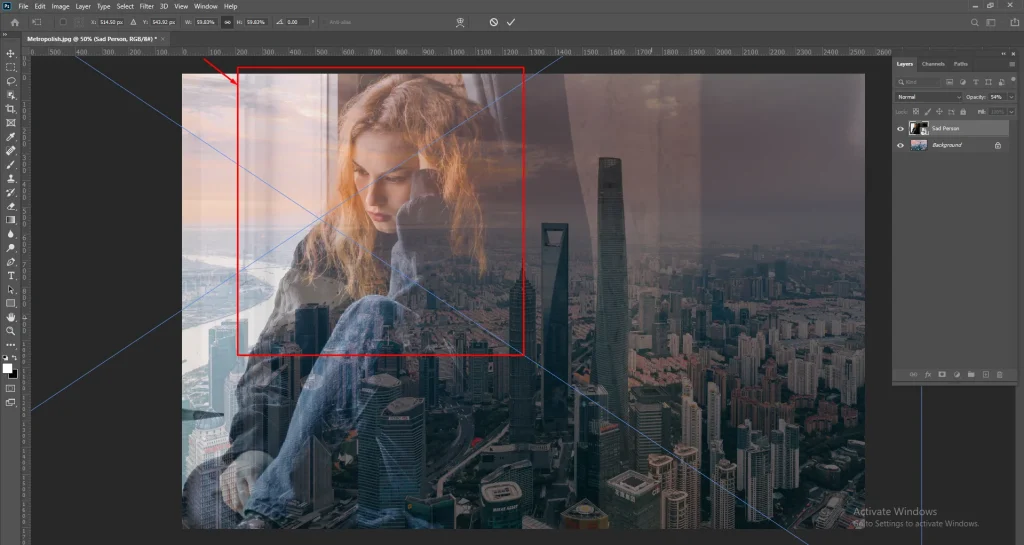
Finally, hit that TICK mark again to fix the image on top of the images opened as a BACKGROUND.
Now, do you want to blend two images side by side in Photoshop? Check the following section.
5 Steps to Blend Two Images in Photoshop Using Gradient
- Open a BACKGROUND IMAGE and place another image on that image.
- Add a Vector Mask on the upper layer.
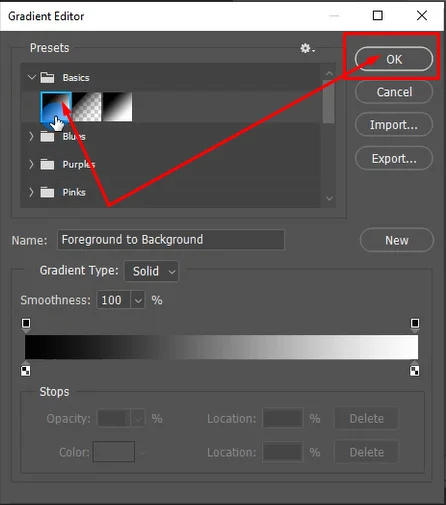
- Click to Edit the Gradient > Presets > Basics > Select First Box > OK.
- Draw a Gradient Line by one side to blend the images.
Let’s elaborate on the steps for your convenience.
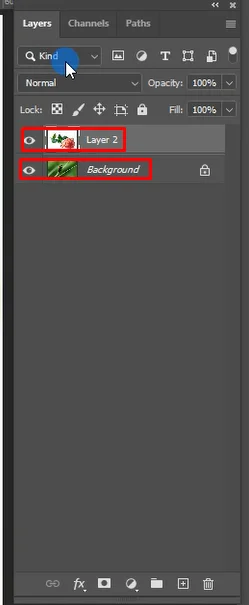
Step 1: Open two images in one document. Just like the image below: one says BACKGROUND layer. Place another image on that layer.
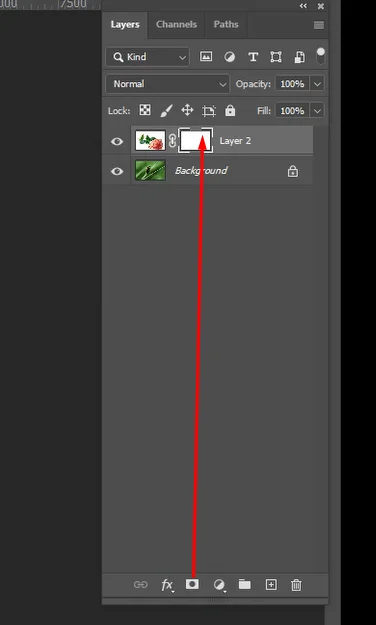
Step 2: Only select the first layer and add a LAYER MASK by clicking the icon indicated below:
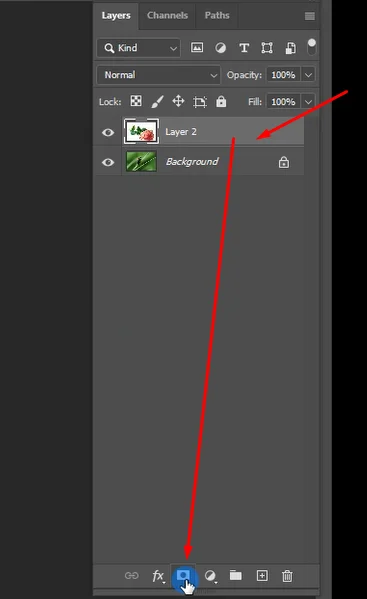
Right after clicking on that icon, you will see a mask added to that layer. Just like this:
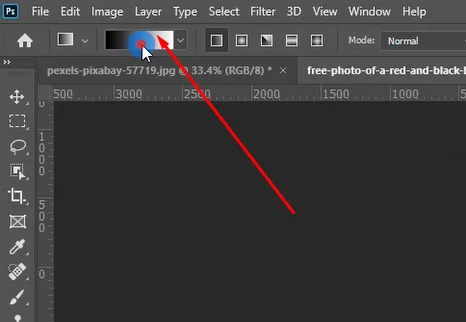
Step 3: Notice carefully and access the Gradient Editor from this place of Photoshop:
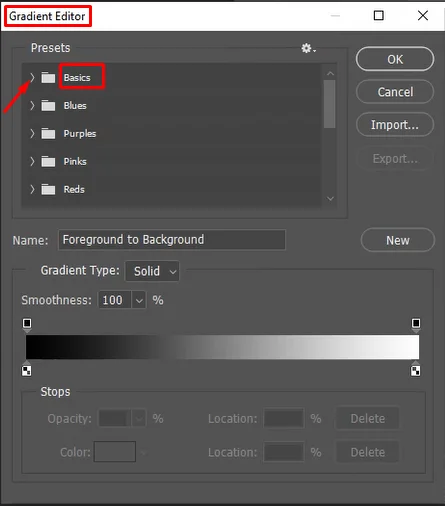
Step 4: Once the gradient editor appears, click on the arrow shown in the following image:
Next, pick the first box or variety of gradients and click ok.
Step 5: In this stage, you get to blend two images together. See the line drawn from left to right on the image?
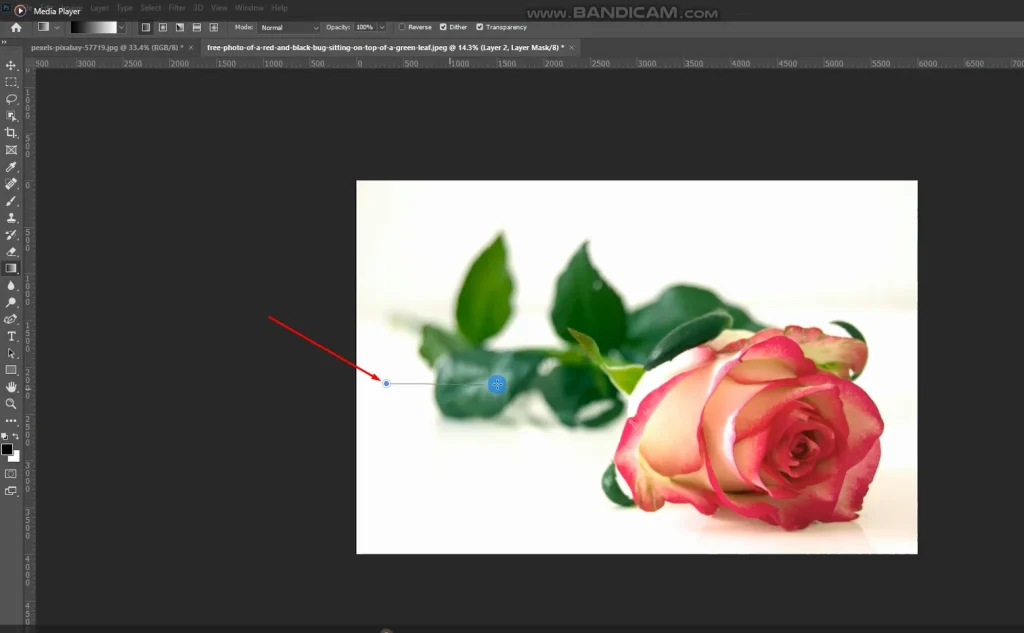
Try drawing lines line like that and see the two images blend.

Finally, save your edit.
Final Notes
Blending two images in Photoshop gives you a whole new playground for your creativity. Thus, we urge you to give the techniques we’ve talked about a try and push yourself to experiment even more.
You see, Photoshop has got loads of features for photo editing. So, the more you explore it, the more you’ll get out of it.
If you found this blog useful, drop a comment below and let us know your thoughts. And don’t forget, this is just the tip of the iceberg.
We’ve got loads more guides and tutorials waiting for you to explore. Keep honing those Photoshop skills and keep those creative juices flowing. Happy blending, folks!
