
Creating the see-through clothes effect in Photoshop involves using specific image editing techniques to make garments appear transparent, revealing the background or the human body beneath. In this guide I will show you how to achieve this effect by manipulating layers, adjusting opacity, and applying blending modes.
What is an X-ray Photo in Photoshop?
An X-ray photo in Photoshop is an image editing technique that creates the illusion of transparency in clothes or garments. This technique enables you to see the background or the human body behind the clothing. The effect is achieved by manipulating layers, adjusting opacity, and using blending modes.
5 Steps to Make See-Through Clothes in Photoshop
Creating the see-through clothes effect in Photoshop involves several precise steps to manipulate the image’s layers, opacity, and blending modes. Follow these steps carefully to achieve the desired effect
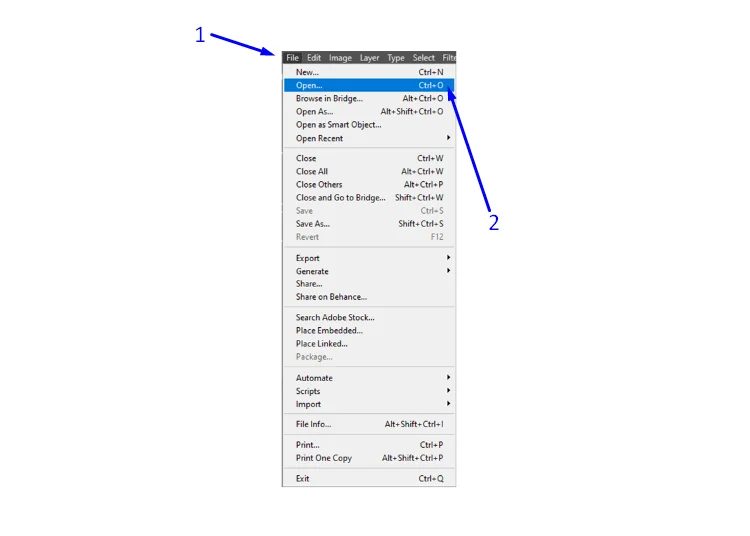
Step 1: Open Your Image in Photoshop
Use the shortcut “Ctrl + O” (if you are using photoshop on Mac use Cmd+O) to open your image in Photoshop. Make sure your image opens as a Background.
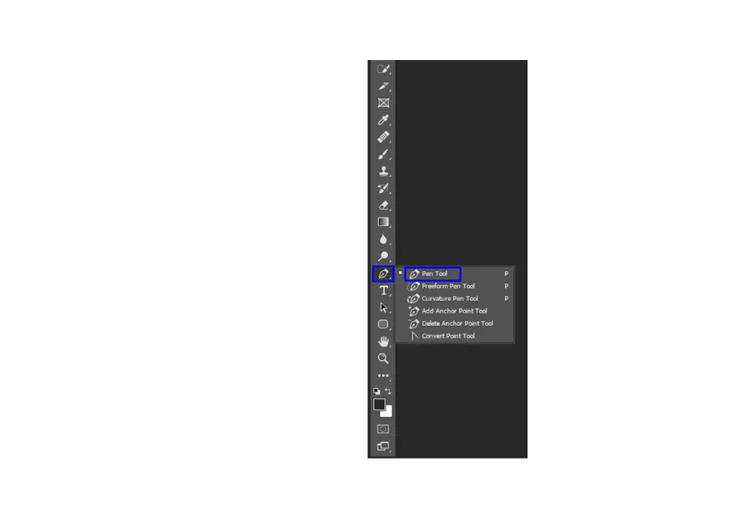
Step 2: Select the Clothes Area to Make Transparent
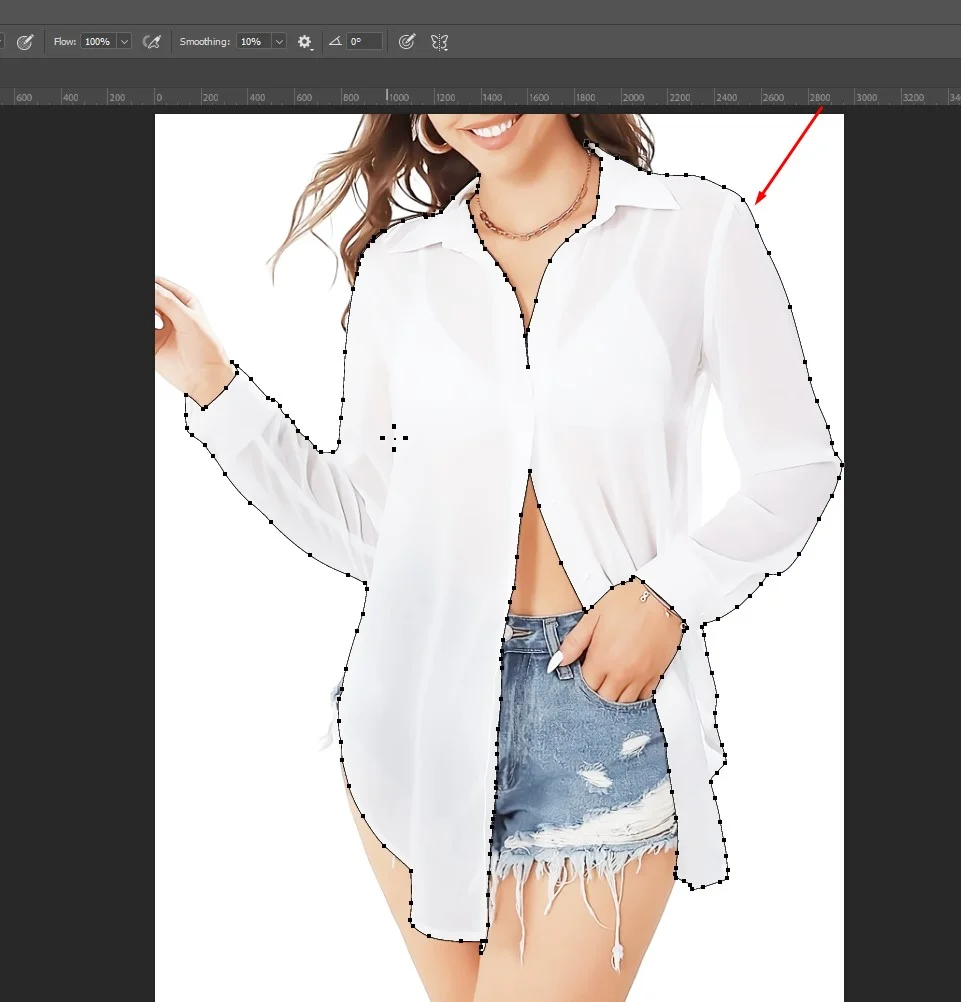
Check the selection bar as shown in the following picture, and select the Pen Tool. Also, you can use the shortcut “P” to activate it.
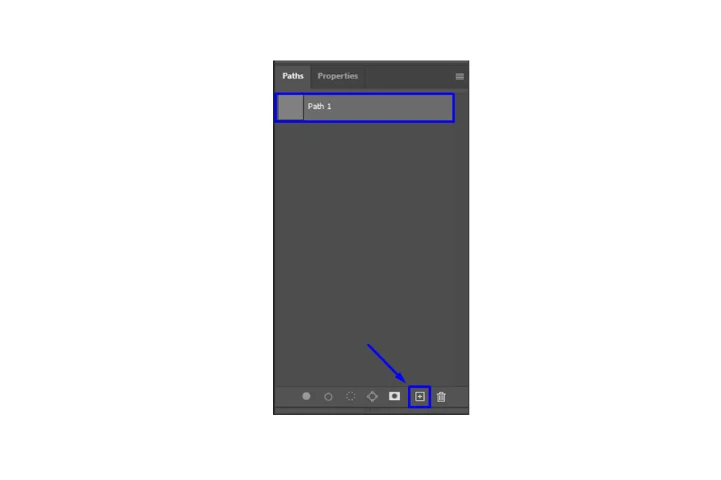
Add a Path
Then, go to the Path Panel and create Path 1.
Create a Complete Path
Now, take your time and create an accurate path around the garment.
Please ask for a suitable image from a designer.
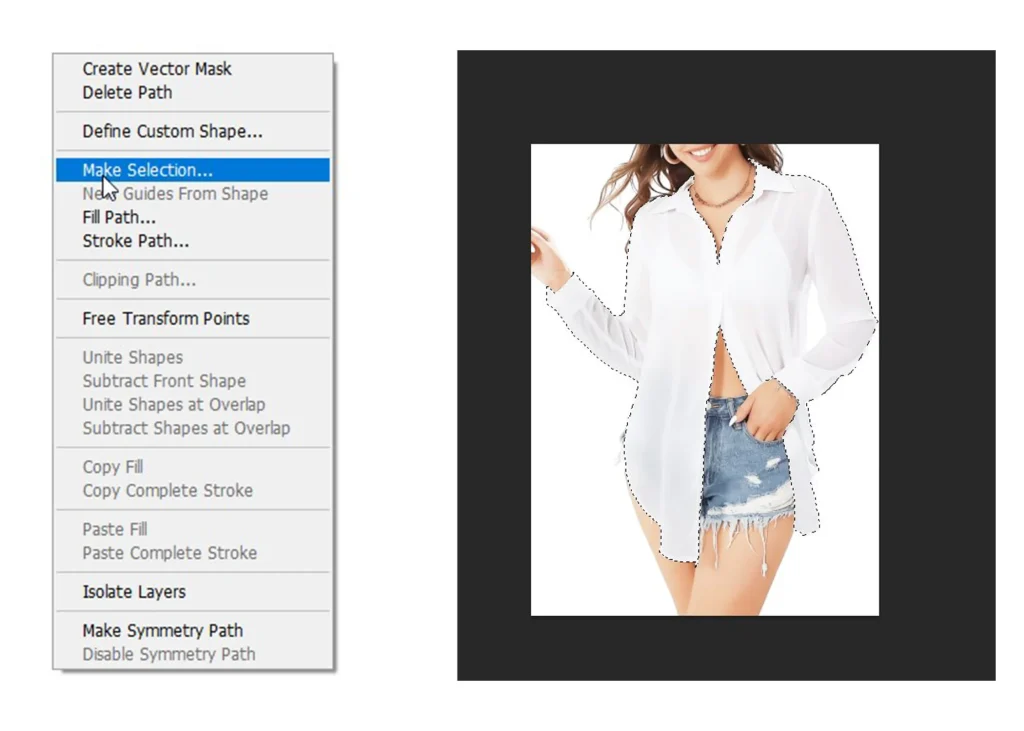
Make Selection of the Path
When the total path is ready, right-click on your image. Next, click on “Make Selection”.
Please ask for a suitable image from a designer.
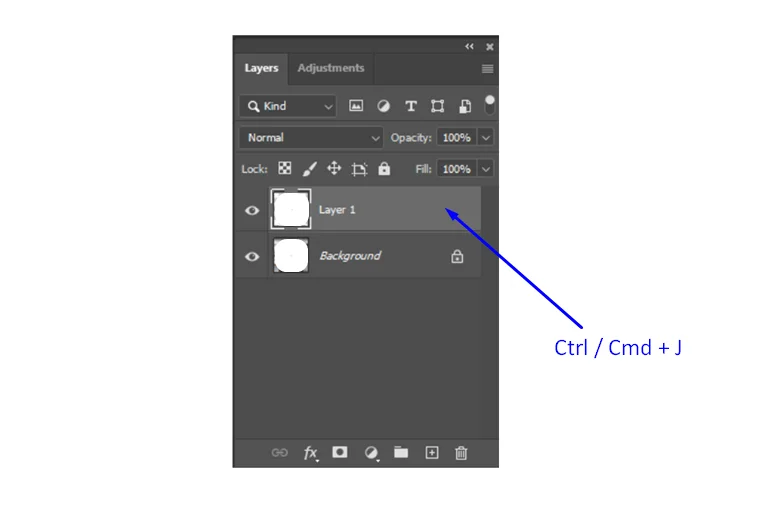
Step 3: Duplicate the Selected Clothing
After that, you have to create a separate layer of the new path or selection. The layer will appear as “Layer 1”. Also you can use the shortcut: Ctrl + J (or if you are a mac user use Cmd + J)
Step 4: Apply Transparency to the Clothing
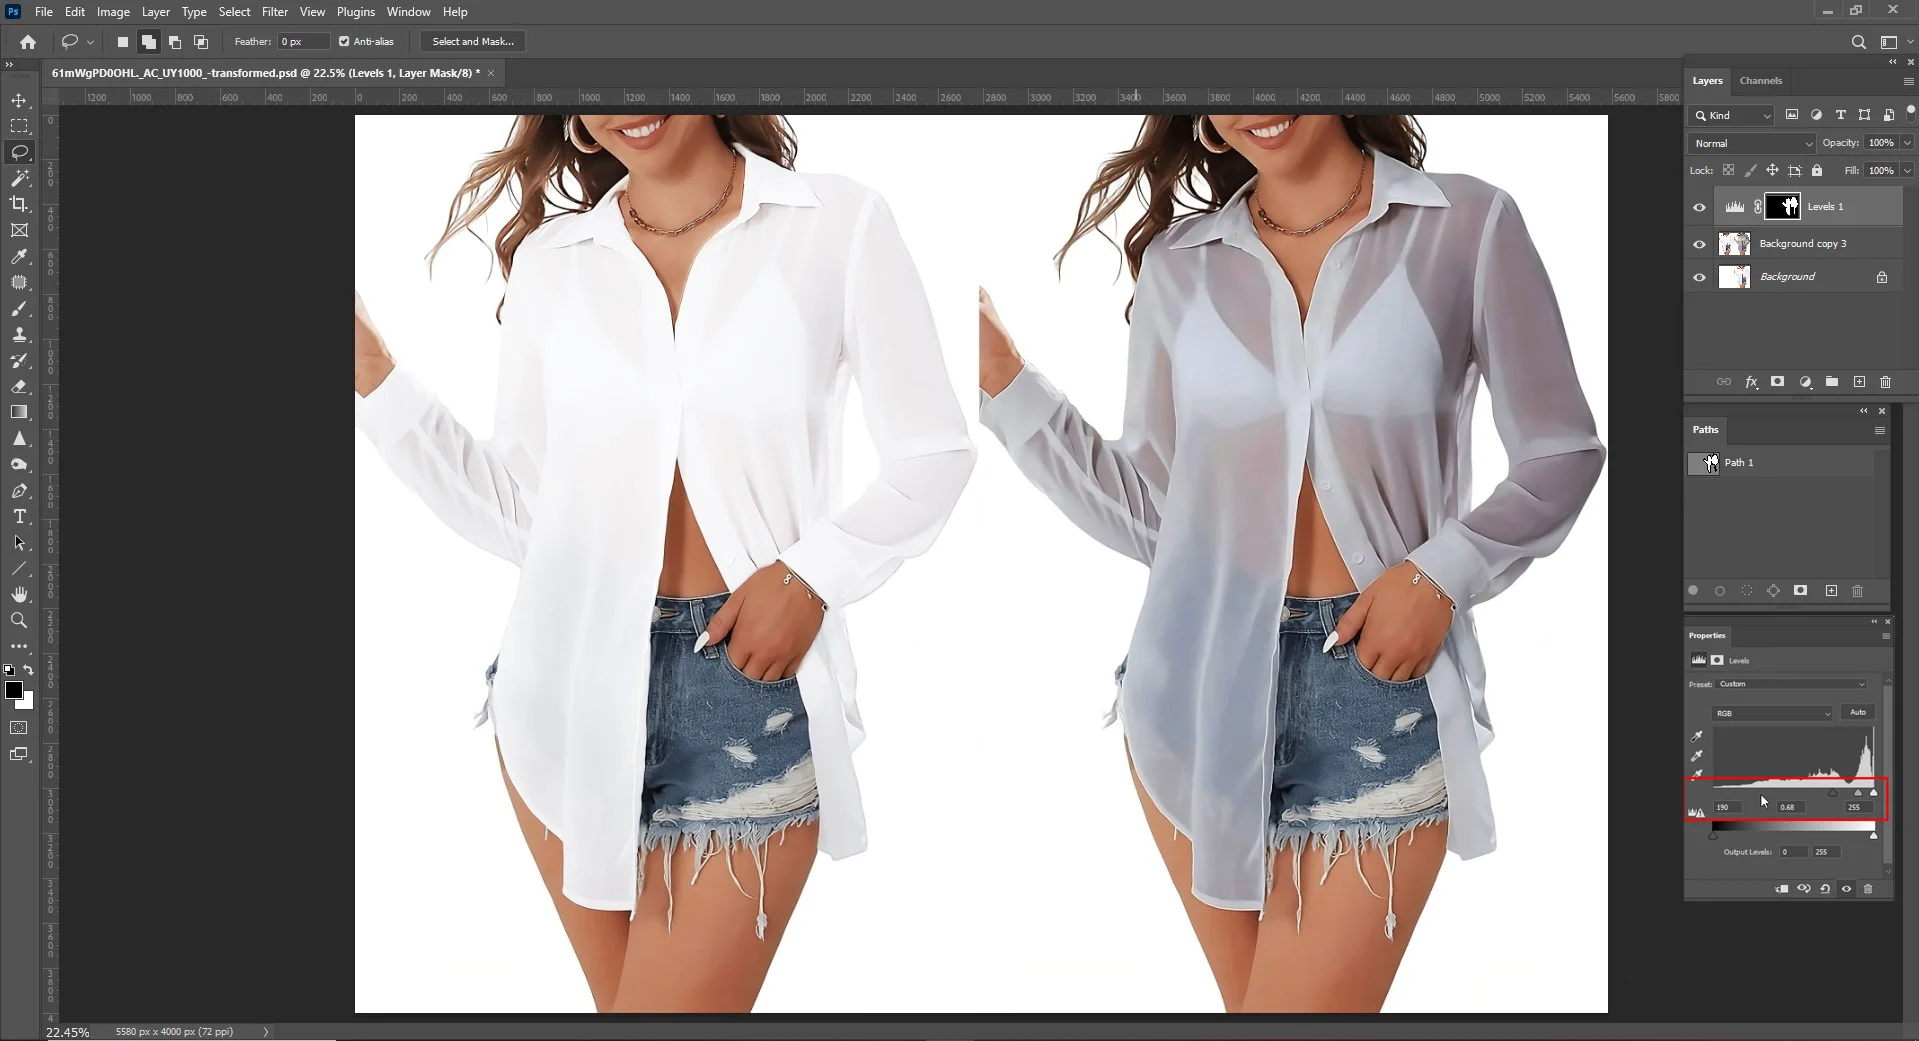
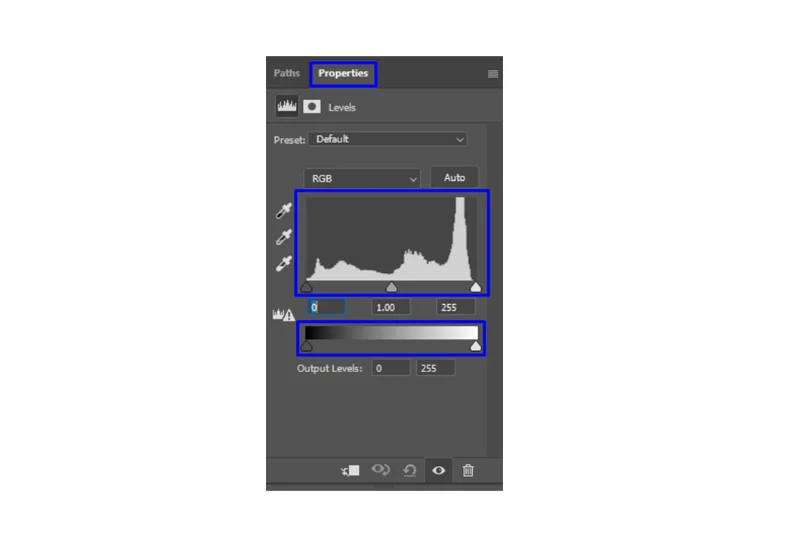
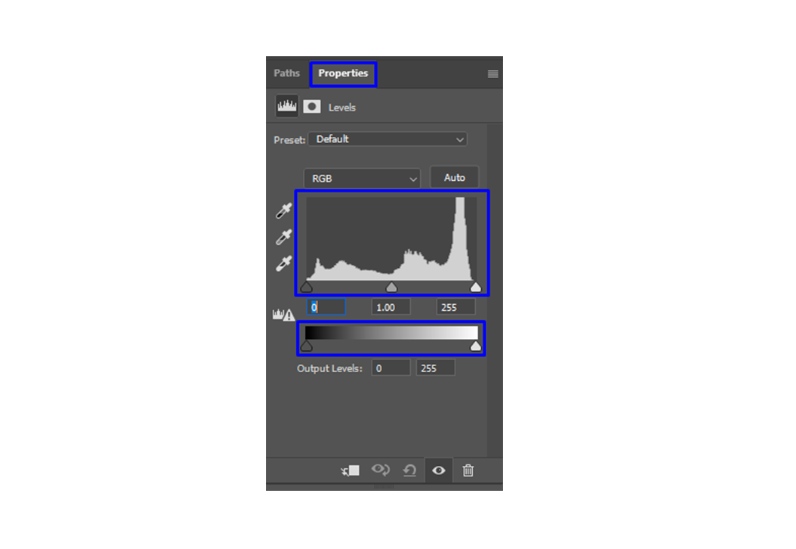
Keeping “Layer 1” selected you have to click on the icon of Create a New Fill or Adjustment Layer”. You need to select “Levels” in this case. Instantly, you will see a new layer named “Level 1” right above the “Layer 1”
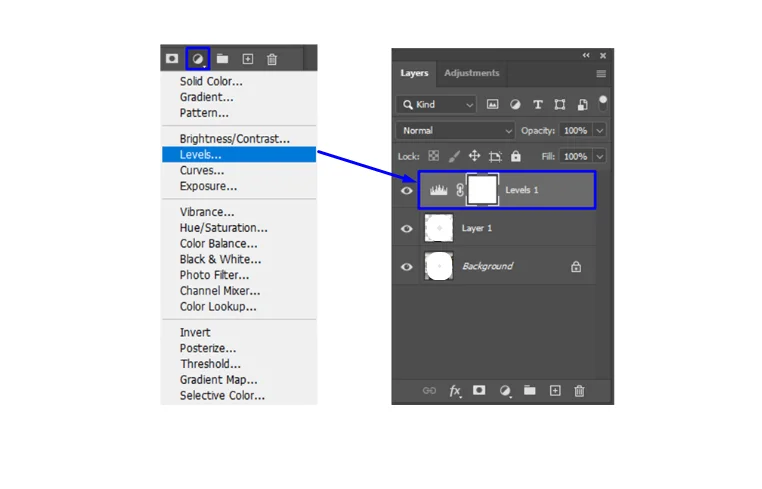
Adjust the Properties
Finally, change the “Properties” (RGB) to change the transparency of the “Layer 1” where you have separated the path of the clothing.
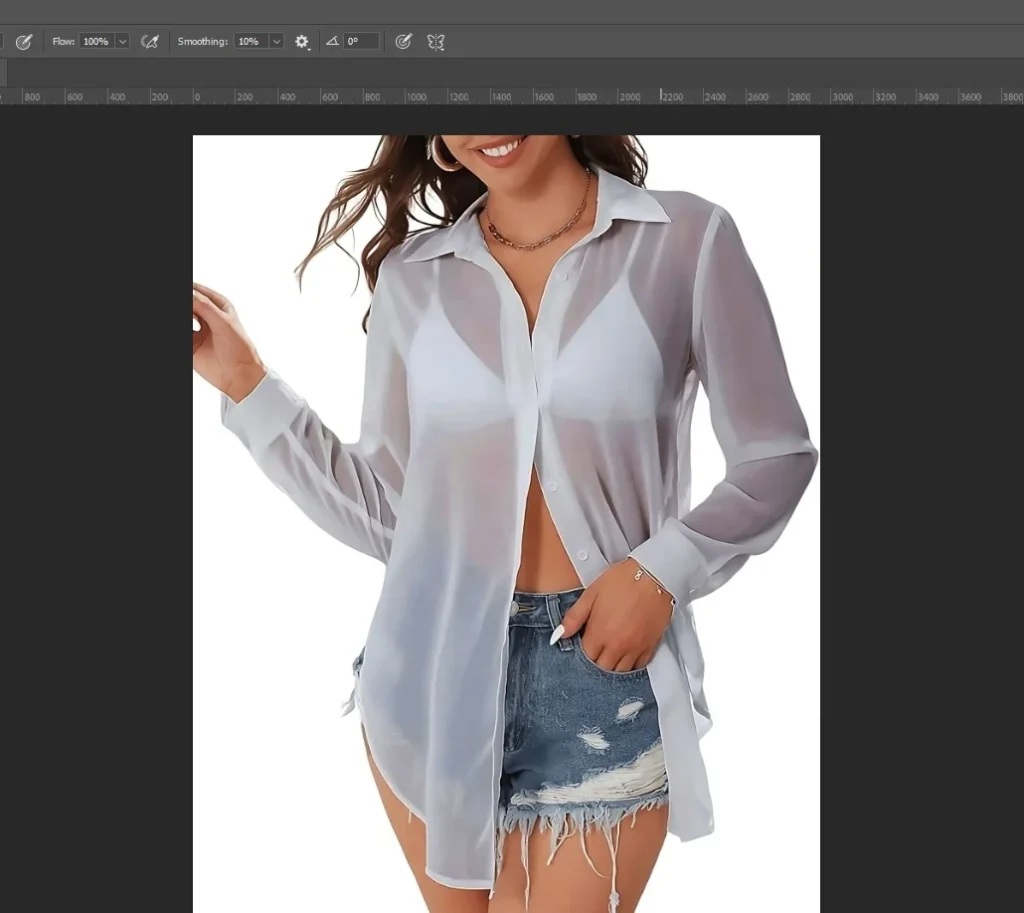
Step 5: Finalize Your Edited Image
Zoom in and review the details to ensure the effect looks realistic. Then Save Your Image: Go to File > Save As to save your edited image.
Photoshop Tutorial to Making See-Through Clothes:
Can ChatGPT Remove Clothes or Generate Nude Images?
No, ChatGPT cannot remove clothing from images or generate nude or explicit content. OpenAI’s technology is built with strict content and ethical policies that prevent any misuse related to nudity, adult content, or non-consensual imagery.
However, ChatGPT can assist with creative, ethical image editing such as:
✅ Changing outfit styles (e.g., from casual to formal)
✅ Modifying clothing colors (e.g., red dress to blue)
✅ Design mockups for fashion, e-commerce, or branding
✅ Generating outfit ideas or digital wardrobe previews
These AI capabilities are useful for designers, online store owners, and photographers who want to visualize clothing adjustments without reshooting an image.
Final Notes
In this comprehensive guide, I showed how to create the illusion of see-through clothing in Photoshop using various methods: Selection and Adjustment Layers, Layer Masking, and Blending Modes.
Remember, the key to a successful see-through clothing effect lies in choosing the right method for your specific fabric type and utilizing a combination of techniques for optimal results. Therefore, don’t hesitate to experiment and have fun with your creativity. Moreover, while exploring these methods, prioritize ethical considerations and always seek consent when working with images of people. Check out our other blogs to discover more Photoshop tips and tricks.
