
High-quality photos are key for 90% of online sales. At its core, displaying product images is about guaranteeing an inviting shopping experience. If you need to display garments in the best possible way this blog will equip you with the essential knowledge and techniques.
I’ll explore presentation modes that go beyond the basic mannequin, from creative flat lays to showcasing drapes and fit with models.
We’ll also help you utilize lighting and background selection to create clean, professional-looking photos that showcase both the clothes and your unique photographic vision.
Let’s ensure a stunning showcase of clothing for online shops or e-commerce.
Although this video is titled Product Photography, it’s useful for you as it covers the entire process of showing garments beautifully.
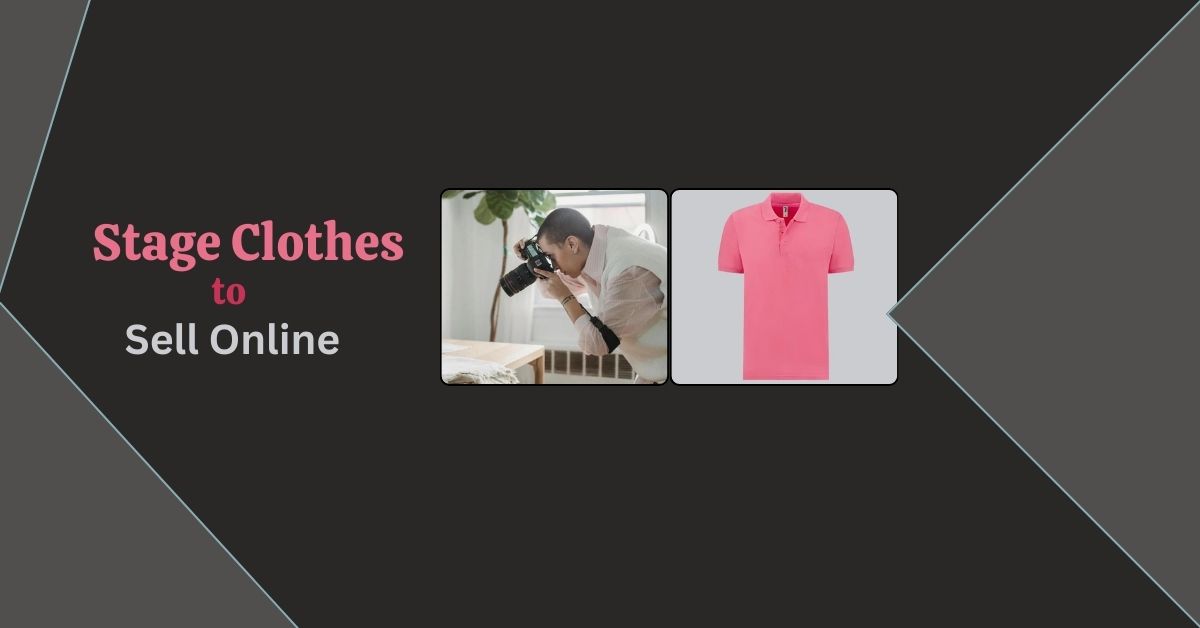
How to Stage Clothes to Sell Online: 7 Steps
My suggested steps here will help you capture high-quality photos and showcase the clothing appealingly. Additionally, these steps will help you grab buyers’ attention and customers are more likely to purchase.
Here is the first step to the great presentation of clothing:
Step 1: Preparing Your Clothing Items
Before you start snapping photos, make sure your clothes are ready for their close-up:
Selecting the Perfect Pieces
Before you start snapping photos, take a moment to carefully choose the clothes you want to showcase.
Check if they’re in good condition, and free from any rips, stains, or excessive wear and tear. Consider what your target audience is looking for are they into pristine pieces or a more lived-in vibe?
Choose clean and fresh One
Once you’ve selected your items, it’s crucial to ensure they’re clean and fresh. No one wants to see a dirty shirt or smudged pants in a photo! So, find the best one from among the clothes
Ironing or Steaming

Now that your clothes are clean, it’s time to tackle any wrinkles. Grab your trusty iron or steamer and smooth out those creases.
This step might seem small, but it can make a big difference in how your clothes look in photos. A little effort here goes a long way in making your wardrobe look polished and professional.
Step 2: Choosing a Suitable Background
You’ve got your clothes prepped and ready to go, now it’s time to think about the backdrop for your photos.
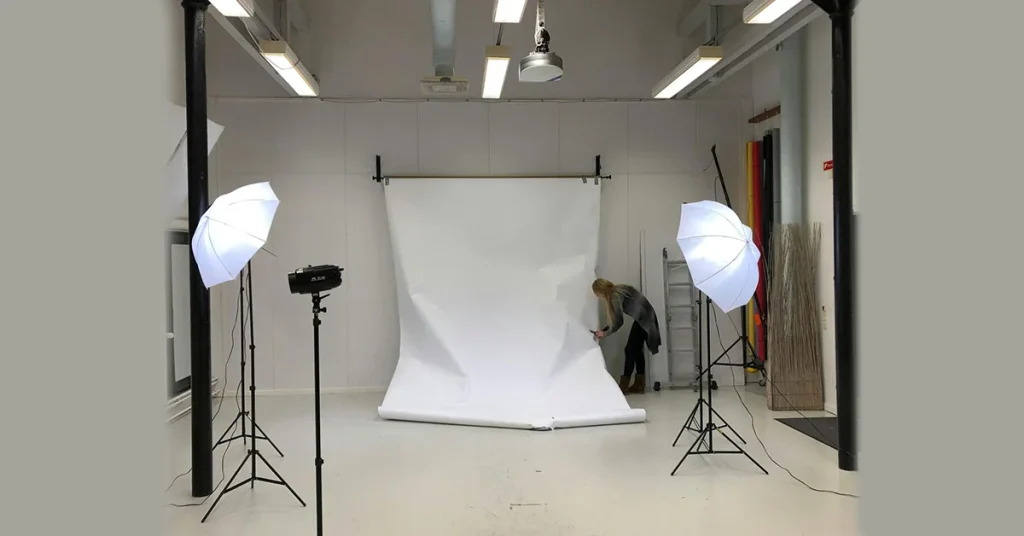
Neutral is Best
When it comes to backgrounds, simplicity is key. Opt for solid-colored walls or plain backdrops. Think white, gray, or beige these are popular choices because they don’t steal the spotlight from your fabulous outfits.
A neutral background helps your clothes take center stage, allowing your audience to focus on the details without any visual clutter.
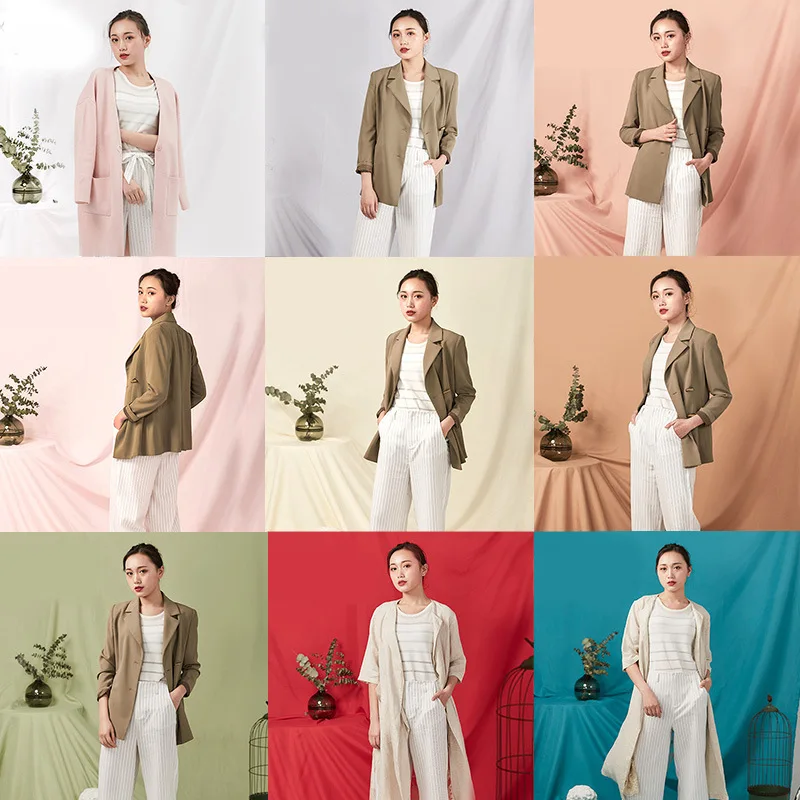
Texture or Pattern (Carefully)
You can experiment with textured or patterned backgrounds to add some visual interest to your photos. But you must ensure they complement your clothes rather than competing with them.
The last thing you want is for your background to clash with your outfit, stealing attention away from your carefully curated looks. So, if you’re going for texture or patterns, choose ones that enhance the overall vibe of your clothing without overwhelming it.
Step 3: Optimizing Lighting
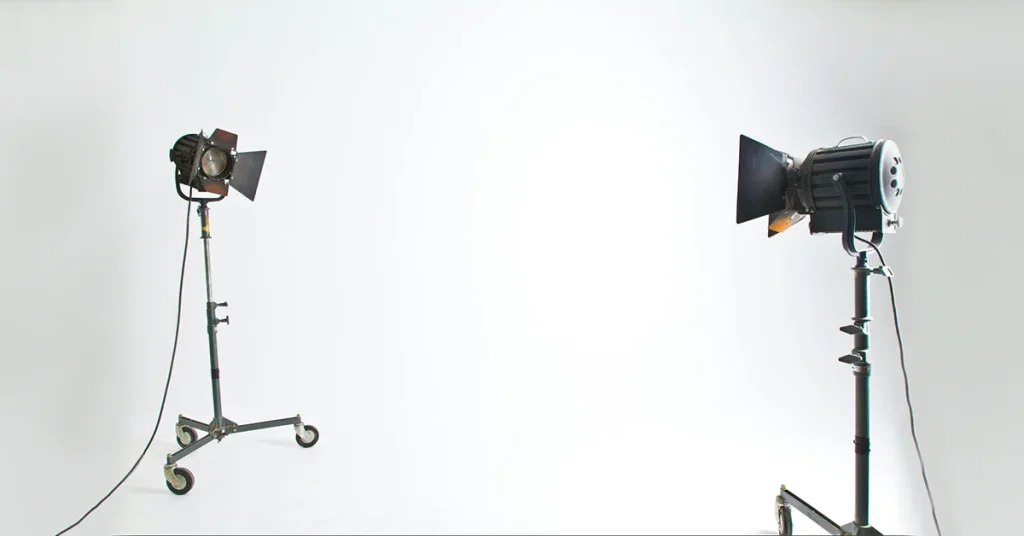
In this step, we’re diving into the essence of photography now—lighting! This is about making sure your photos look top-notch by getting the lighting just right.
Natural Light is Ideal
Picture this: soft, gentle sunlight streaming in through a window, casting a warm glow on your clothes. That’s the dream, right? When it comes to lighting, natural light is your best friend.
So, whenever you can, set up your photoshoot near a window where you can take advantage of that beautiful diffused light. It’s flattering, it’s natural, and it’ll make your clothes look amazing.
Just watch out for super harsh sunlight that can create weird shadows ain’t nobody got time for unflattering shadows ruining your shot!
Artificial Lighting
Now, we get it sometimes Mother Nature doesn’t cooperate, and you’re left with a cloudy day or shooting at night. No worries, I’ve got a solution for that too! Invest in some soft, diffused artificial lighting.
Think of it as your own personal sun but without the risk of sunburn! These lights will give you that natural, even illumination you’re after, without any harsh shadows cramping your style.
So, even if the sun decides to take a nap, you’ll still be able to capture your clothes looking their absolute best.
Step 4: Arranging Items Effectively
Now that you’ve got your clothes ready and the lighting sorted, the next step for staging clothes to sell online is to arrange them. How you set up your clothing items can make a big impact on how they’re perceived in your photos.
Group Display
Group displays are perfect for showcasing multiple items at once, creating a cohesive and visually appealing scene. Here’s how to nail it:
Group Similar Items: Arrange clothes that go well together in terms of style, color, or theme. This could mean grouping all your spring dresses together or showcasing a collection of cozy sweaters.
Experiment with Composition: Play around with the arrangement until you find a layout that looks balanced and aesthetically pleasing. Try layering items, staggering heights, or creating interesting patterns to add visual interest.
Consider Props: Don’t be afraid to add props like accessories, shoes, or even plants to enhance the overall vibe of your display. Just confirm they complement your clothes without overshadowing them.
Individual Display
Sometimes, you want to give a single item the spotlight it deserves. Whether it’s a statement jacket or a stunning dress, here’s how to make it stand out:
Focus on the Hero Piece: Place your star item front and center, ensuring it’s the focal point of the photo. This could mean hanging it on a hanger, laying it flat, or even draping it over a chair to show off its silhouette.
Highlight Details: If your item has unique details or textures, you need to capture them up close. Zoom in on intricate embroidery, delicate lace, or luxurious fabric to showcase the craftsmanship and quality.
Create a Clean Background: Keep the background simple and uncluttered to draw attention to the item you’re highlighting. A plain wall or backdrop works well here, allowing the focus to remain on the clothing without any distractions.
Choosing the Right Way to Showcase Clothes Online
When it comes to displaying clothes online, how you do it can make all the difference in attracting and engaging potential customers. So, let’s talk about step one:
- Mannequin or Ghost Mannequin

I’m always worried about how clothes will fit when I buy online. What helps you get a good idea of fit? The answer is “mannequin”.
If you have structured pieces such as dresses, coats, and tailored shirts. By utilizing a mannequin and precise editing techniques, you can achieve a seamless “ghost” effect, providing customers with a clear idea of fit and shape. Also, note that it’s a go-to choice for creating a high-end aesthetic.
If you don’t want to waste your time as a businessman you can take our ghost mannequin service
How it works
A mannequin is used to display the clothes, but then it’s edited out in post-production to create a floating, “ghost” effect.
Benefits
- Shows fit and shape clearly, especially for structured garments.
- Creates a professional, high-end look.
Drawbacks
- Requires editing skills or software.
- Can’t show how the clothes move.
Live Model
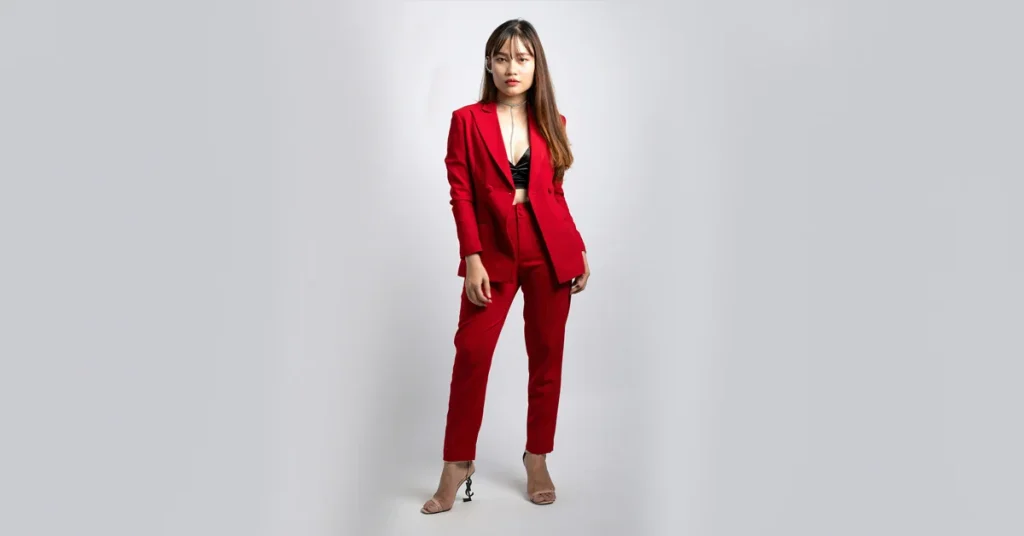
Want to show off how your clothes move and flow? Get a real-life person to model them! This approach is particularly effective for flowy dresses, jackets, and activewear, offering customers a more lifelike representation of the clothing.
How it works
A real person models the clothes, allowing customers to see how they drape and move on a human body.
Benefits
- Shows the movements and flow of the clothes realistically.
- Can be more engaging for customers.
Drawbacks
- Requires hiring a model, which can be expensive.
- Needs more planning and coordination for the photoshoot.
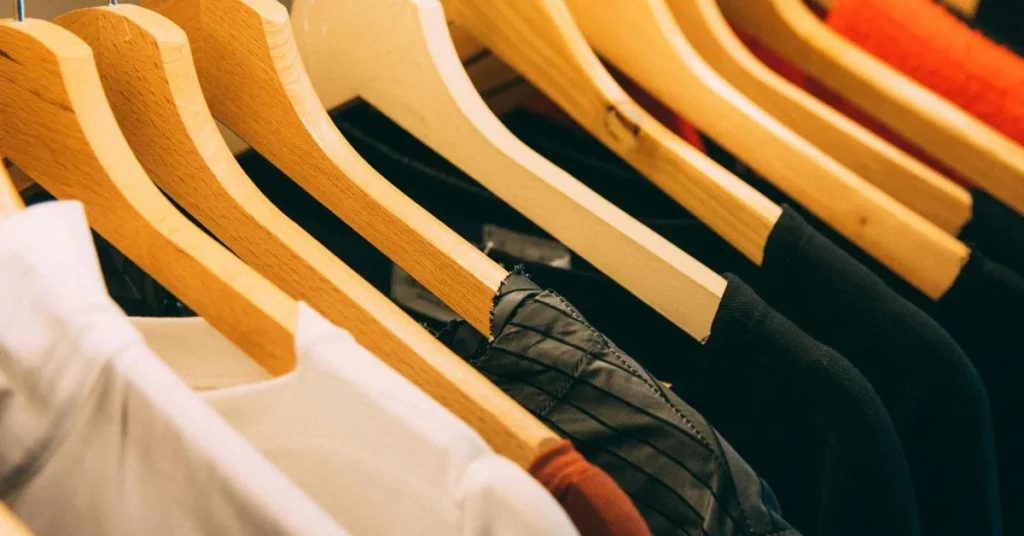
- Hanger
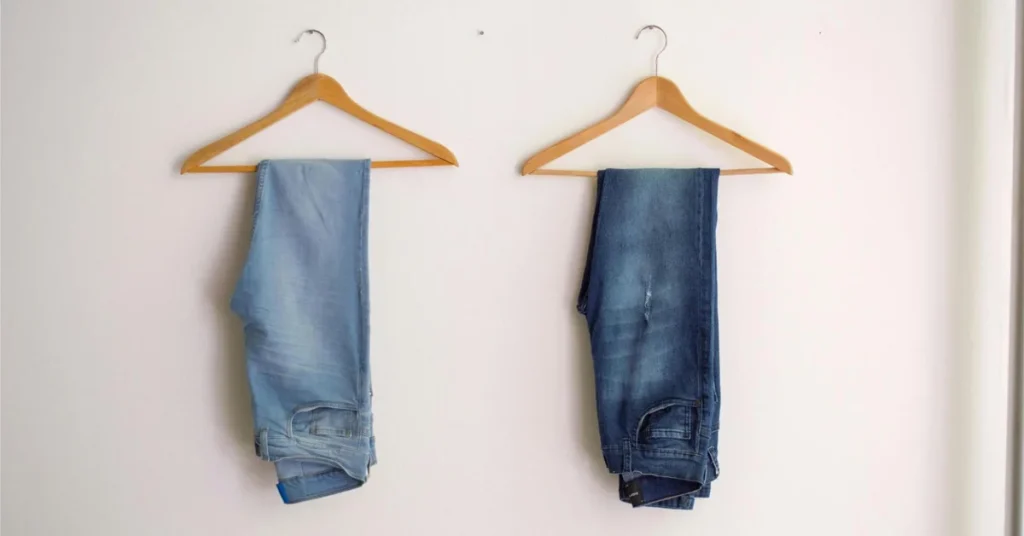
Classic move – just hang your clothes up! It’s great for tops, dresses, jackets—you name it. While using hangers for displaying clothes, you need to pick a natural color tone to maintain a polished appearance.
How it works
Simply hang the clothes on a hanger and photograph them.
Benefits
- Easiest and most cost-effective way to present clothes.
- Works for a variety of clothing types.
Drawbacks
- Doesn’t show fit as well as mannequins or models.
- Can look less professional if not done carefully. (e.g., using a wrinkled hanger or busy background)
- Flat Lay Finesse
Lay your clothes flat on a clean surface to really zoom in on the details. This works well for shirts, pants, skirts, and accessories, letting people see all the little patterns and textures up close.
How it works
Lay the clothes flat on a clean surface and photograph them from above.
Benefits
- Great for showcasing details like patterns, textures, and embellishments.
- Easy to set up and photograph.
Drawbacks
- Doesn’t show fit or how the clothes drape on a body.
- Can look cluttered if not arranged well.
Now, let’s take a look at the factors that you need to consider to decide which option will work best.
4 Factors to Consider: Choose the Best Presentation Method
You can make informed decisions about which presentation mode best suits each item and your overall brand identity by thinking about the following aspects:
| Factor 1: Type of Clothing | Presentation Mode |
| Structured garments | Mannequins or Live models |
| Flowy garments | Live models or Hangers |
| Detailed items | Flat lays or Hangers |
| Factor 2: Budget | Presentation Mode |
| Mannequin | Editing skills or software (costly) |
| Live model | Most expensive – includes hiring multiple professionals |
| Hanger | Cost-effective – requires good lighting setup |
| Flat lay | Relatively inexpensive – needs clean surface and good lighting |
| Factor 3: Level of Detail | Presentation Mode |
| Mannequin & Live model | Show overall fit and drape |
| Hanger | Offers mid-ground, and shows some shape but is not as detailed |
| Flat lay | Best for showcasing intricate details and patterns, not fit |
| Factor 4: Brand Image | Presentation Mode |
| High-end aesthetic | Mannequin magic creates a polished, professional look |
| Lifestyle brand | Live models convey a relatable, engaging vibe |
| Minimalist brand | Hangers with clean backgrounds emphasize simple, modern aesthetic |
| Detailed-oriented brand | Flat lays paired with close-up shots highlight the craftsmanship and unique details |
Summary of Step 4
- Group display: Arrange similar items, experiment with composition, and consider adding props.
- Individual display: Highlight hero pieces, focus on details, and ensure a clean background.
- Utilize presentation methods like mannequins, live models, hangers, or flat lays based on clothing type, budget, detail level, and brand image.
Step 6: Capturing High-Quality Images
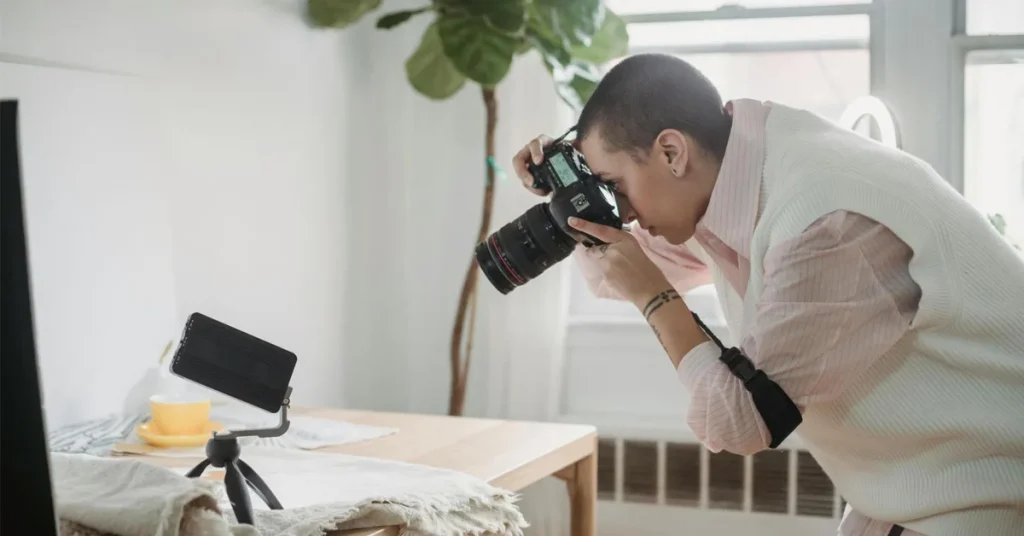
With the right camera, framing, and angles, you can showcase your clothes in the best possible light. So, before you grab your camera go through these tips first:
- Camera Choice
First things first, let’s talk about the most important tool in your arsenal—the camera! Whether you’re using a fancy-schmancy DSLR or your reliable smartphone, the key is to use a camera with good quality.
Look for one with high resolution and sharp focus to ensure your photos come out looking crisp and clear. Remember, the better the quality, the better your clothes will look to potential buyers.
- Framing
Now that you’ve got your camera sorted, it’s time to think about framing your shot. You want to make sure your clothing is the star of the show, so position it front and center in the frame.
But be careful not to crop too tightly—you want to give your audience a good view of the entire garment without cutting off any important details. Think of it like Goldilocks—just right!
- Multiple Angles: Show It Off
Don’t hesitate to get a little creative with your angles. Take multiple photos from different perspectives to showcase all the fabulous details of your clothing.
Whether it’s a close-up of that intricate embroidery or a full-body shot to show off the fit, giving your buyers a variety of angles helps them get a better understanding of the item and increases the chances of making that sale.
Step 7: Edit Photos

Alright, you’ve snapped those amazing photos, but we’re not quite done yet! You need to look for an e-commerce image retouching company. Here is image editing can make those clothes pop:
- Clipping Path: Bye-bye Background
Ever seen those clothes that seem to float on a nice, clean background? That’s the magic of clipping paths! It’s like cutting out the background so your clothes really stand out. This makes your pictures look super professional and helps shoppers focus on what matters—the clothes!
Why it’s great for online selling: Clipping paths make your products look slick and professional, helping you stand out from the competition and draw in more customers.
- Color Correction: True Colors Shine
You know when you take a photo and the colors just don’t look right? Color correction fixes that! It’s like adjusting the brightness and colors to make your clothes look how they do in real life. This way, shoppers know exactly what they’re getting.
Why it’s great for online selling: True-to-life colors mean happy customers who know exactly what they’re getting, which reduces returns and boosts your sales.
- Background Removal: Clean Slate
If your photos have a busy background, no worries! Background removal gets rid of all that extra stuff so your clothes really stand out. It’s like giving them their own spotlight.
Why it’s great for online selling: A clean background makes your products look more professional and helps shoppers focus on what they’re buying.
- Mannequin Removal: Ghostly Glamour
Ever seen those photos where it looks like there’s an invisible person wearing the clothes? That’s the ghost mannequin effect! By editing out the mannequin, your clothes look like they’re being worn by a real person, which helps shoppers see how they fit and flow.
Why it’s great for online selling: Ghost mannequin photos give shoppers a better idea of how the clothes will look on them, which means more confident purchases and fewer returns. This is an amazing way to display clothes to sale.
- Model Retouching: Perfectly Polished
If you’re using models, a little retouching can make your photos look even better. Think of fixing skin tone or removing small blemishes. But remember, less is more!
Why it’s great for online selling: Retouching gives your photos a polished look, making your products more appealing to shoppers.
- Shadow Addition: Adding Depth
Photo Credit: pexels.com
Adding a subtle shadow to your photos makes them look more three-dimensional like the clothes are popping right off the screen! It adds a nice touch of realism.
Why it’s great for online selling: Shadows make your photos look more lifelike and inviting, which draws shoppers in and makes them more likely to buy.
Wrapping up: Perfectly Stage Clothes to Sell Online
Staging clothes to sell online is an art form that requires careful attention to detail and thoughtful execution. From choosing the right presentation method to optimizing lighting and editing photos, every step plays a crucial role in creating compelling product images.
With these tips at your disposal, you’ll be equipped to showcase your clothing in the best possible light, captivating shoppers and driving sales.
Let us know in the comments if you have any further questions. Also, I would love to know how helpful these tips are. Check out the IRL blog section to learn about image editing needs and tricks.
