
Are you a small business owner, DIY enthusiast, or simply someone looking to showcase your clothing without breaking the bank? If so, you’ve likely found yourself wondering about alternatives to traditional mannequins.
Whether it’s due to space constraints, a desire for creativity, or concerns about sustainability, there are plenty of reasons to explore mannequin alternatives.
In this article, we’ll explore creative and cost-effective solutions that cater to various needs and preferences.
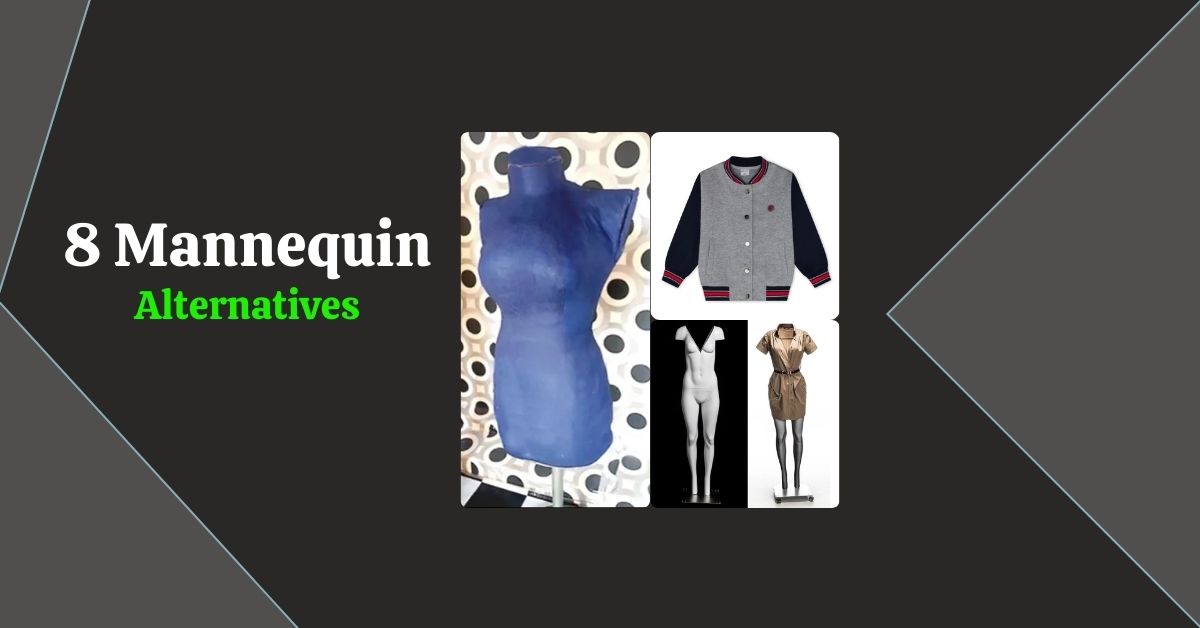
Here are 8 Mannequin Alternatives
- DIY Fabric Mannequin
- Hanging Displays
- Flat Lay Photography
- Wall-Mounted Displays
- Ghost Mannequins
- Dress Forms
- Use Recycled Materials
- Upcycled Mannequins
Cost-Effective Solutions
For many, the search for mannequin alternatives begins with a desire to save money. Traditional mannequins can be expensive, especially for small businesses or individuals on a budget. Luckily, there are plenty of affordable options available:
1. DIY Fabric Mannequins:
Create your own mannequins using wire frames and fabric. Not only is this option cost-effective, but it also allows for customization to fit your brand’s aesthetic.
Let’s say you run a small boutique specializing in vintage clothing. Instead of purchasing expensive mannequins, you could create DIY fabric mannequins using wire, foam, and vintage fabric. Displaying your unique creations on these handmade mannequins adds charm and authenticity to your store while staying within budget.
DIY Fabric Mannequins: Step-by-Step Guide
Creating your own fabric mannequins is a cost-effective and creative solution for showcasing clothing. Follow these steps to make your own:
Materials Needed:
- Cardboard
- Fabric scraps (old T-shirts, bedsheets, or fabric remnants)
- Scissors
- Glue or fabric adhesive
- Sewing machine (optional)
Step 1: Prepare the Pattern
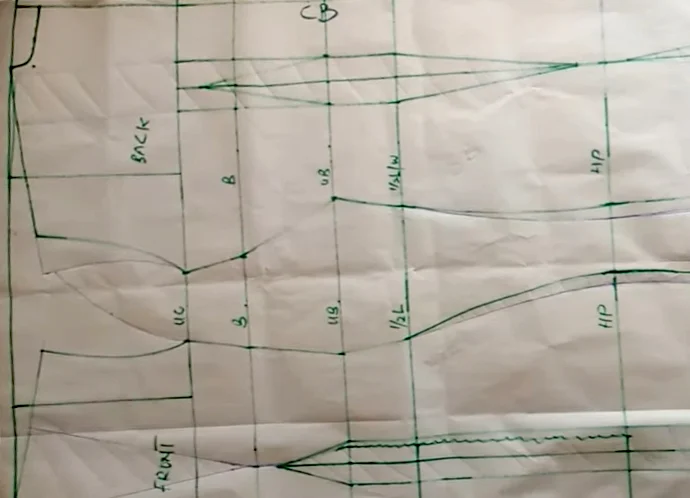
- Draft the Pattern: Using the measurements of the intended user or standard dress form measurements, draft the pattern for the front, side, and back panels of the mannequin on cardboard. Include a half-inch seam allowance around each panel.
- Cut Out the Panels: Cut out the pattern pieces, ensuring to leave a seam allowance around each panel.
You can also check out the video for detailed instructions.
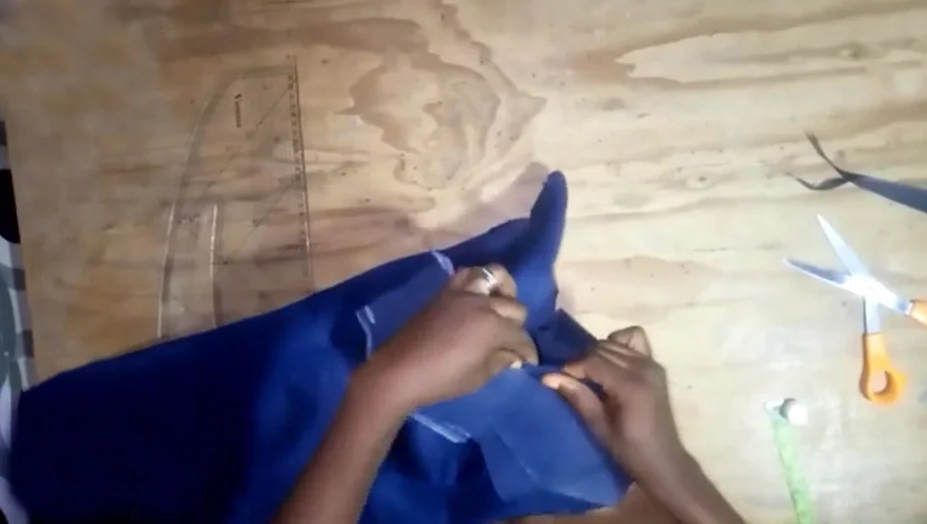
Step 2: Assemble the Front and Back Panels
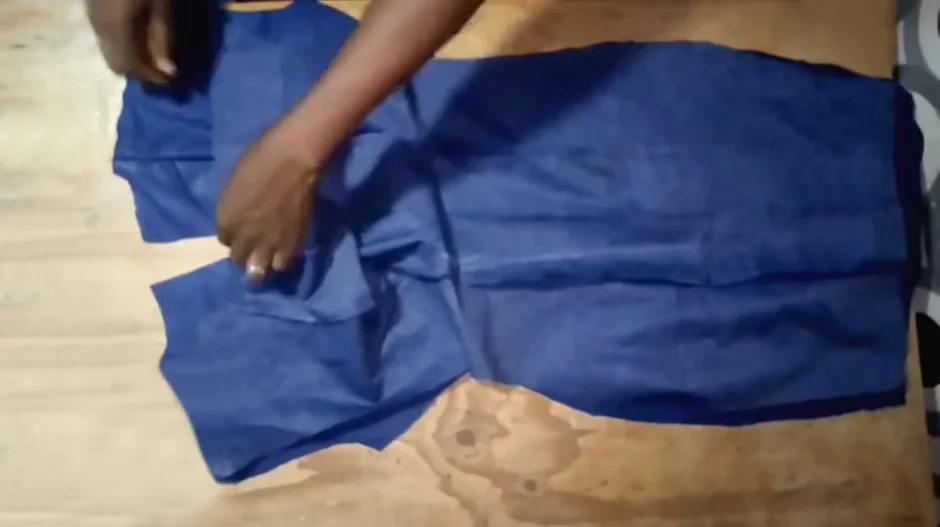
- Join the Side Panels: Place the side panels onto the center front panel and stitch along the edges with a half-inch seam allowance. Repeat for the other side.
- Join the Back Panels: Join the center back panels to the side back panels in the same manner.
- Assemble the Front and Back: Place the front and back panels together, matching the shoulder lines, and stitch along the shoulders with a half-inch seam allowance.
Step 3: Create the Neckline
- Cut and Attach the Collar: Fold a piece of fabric to the desired width of the collar and cut it to match the neckline circumference. Attach it to the neckline of the mannequin, matching the center front and back.
Step 4: Stuff the Mannequin
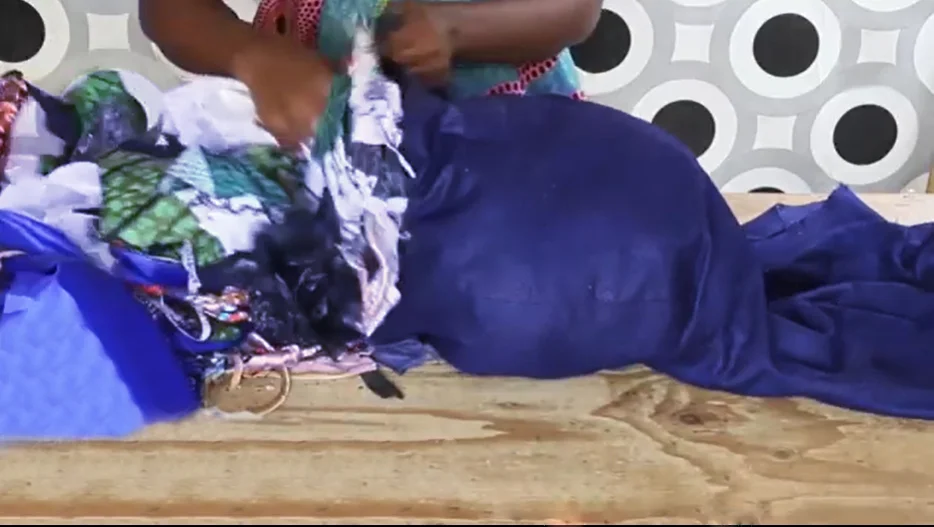
- Prepare the Scrap Fabric: Gather fabric scraps such as old clothes or fabric remnants. Ensure the scraps are clean and of various densities to create a realistic shape.
- Pack the Fabric: Begin stuffing the mannequin starting with the bust area, ensuring to shape it to mimic the natural contours of the body. Continue stuffing the torso and hips, making sure to maintain a smooth and even shape.
- Shape the Belly and Bottom: Pay attention to shaping the belly and bottom areas to ensure they are realistic and not flat.
- Insert Support Structures: For stability, insert a support structure such as a cardboard or PVC pipe through the center of the mannequin. This will help maintain its shape and provide a sturdy base.
Step 5: Finish the Mannequin
- Close Openings: Once the mannequin is fully stuffed, close any openings along the neckline or bottom with fabric adhesive or by sewing.
- Wrap and Secure the Stand: Wrap the stand (e.g., a PVC pipe or broomstick) with fabric and secure it to the base of the mannequin using glue or fabric adhesive.
- Final Touches: Trim any excess fabric, ensure all seams are secure, and make any final adjustments to the shape and appearance of the mannequin.
Step 6: Customize (Optional)
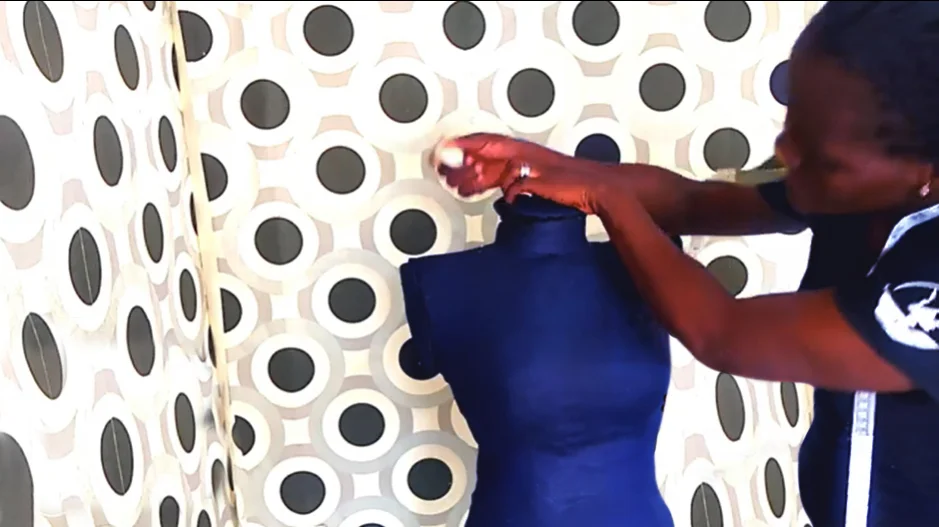
- Personalize the Mannequin: Customize the mannequin further by adding features such as arms, hands, or facial features using additional fabric or sculpting materials.
- Paint or Decorate: Paint the mannequin to match your desired aesthetic or cover it with fabric for a more polished look.
Step 7: Use and Enjoy
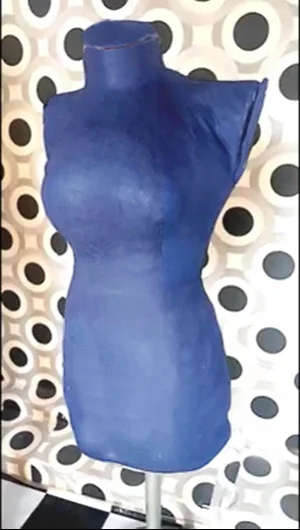
Your DIY fabric mannequin is now ready to use! Use it to display clothing, create garments, or showcase your sewing projects. Enjoy the satisfaction of having a customized and budget-friendly solution for your display needs.
2. Hanging Displays
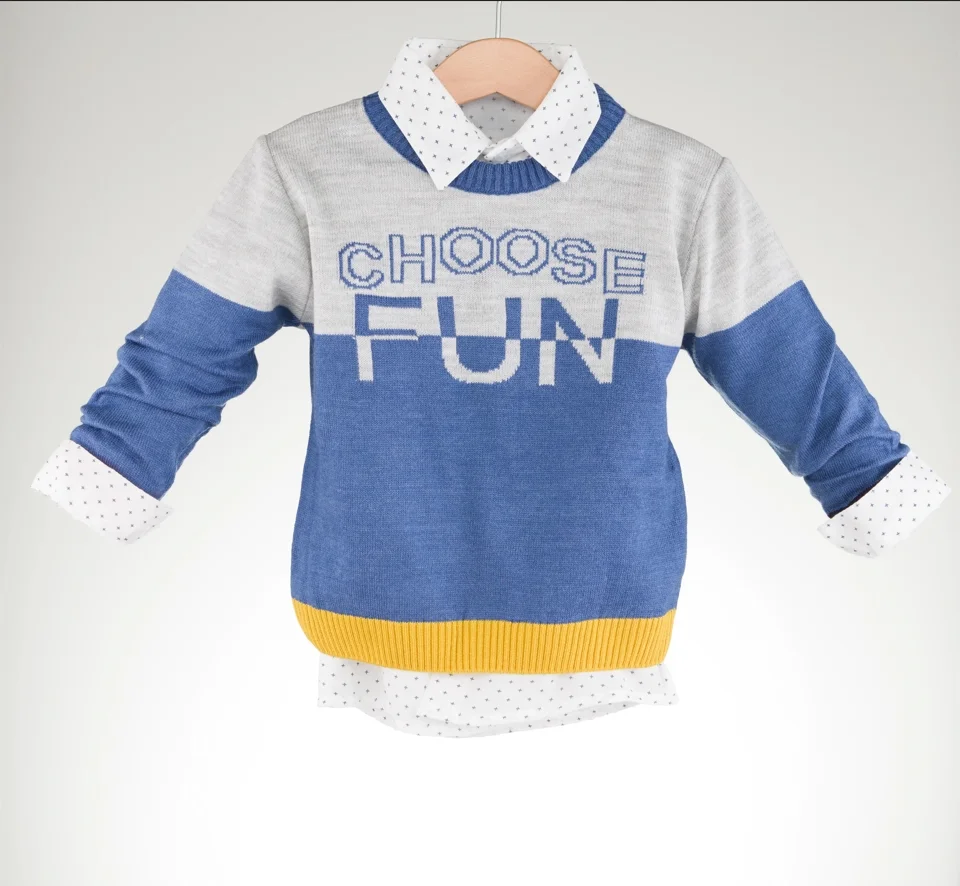
Invest in sturdy clothing racks or wall-mounted hooks to showcase your clothes without the need for a mannequin. This option works particularly well for items like jackets, dresses, or shirts.
2. Space Constraints
Limited space shouldn’t limit your creativity when it comes to displaying clothing. Here are some space-efficient alternatives to traditional mannequins:
1. Flat Lay Photography:
Lay your clothing items flat and photograph them against a clean background. This method is perfect for online stores or social media and requires minimal space.
2. Wall-Mounted Displays
Utilize wall space by installing shelves or pegboards to showcase your clothes vertically. This not only saves floor space but also creates an eye-catching display.
3. Aesthetic Appeal
Visual appeal is crucial when it comes to attracting customers. Here are some alternatives that offer a similar visual impact to traditional mannequins:
1. Ghost Mannequins
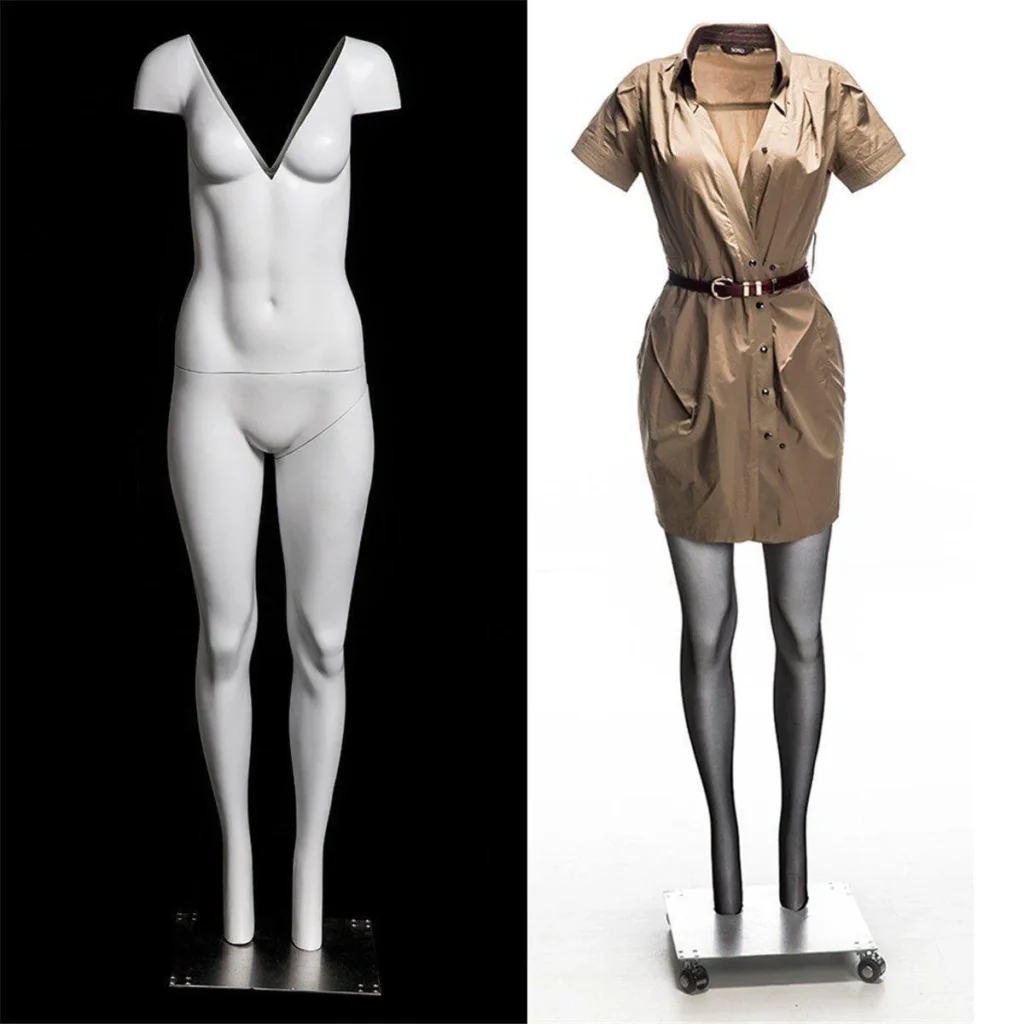
Use ghost mannequins or invisible stands to give the illusion of a floating garment. This method highlights the clothing while maintaining a sleek and modern aesthetic.
And to make your clothes more perfect you may need to take a ghost mannequin service.
2. Dress Forms

Opt for dress forms or body forms that mimic the shape of the human body without the need for a full mannequin. Choose forms with adjustable height and width for added versatility.
4. Sustainability and Eco-Friendliness
Reduce your environmental footprint with eco-friendly alternatives to traditional mannequins:
1. Recycled Materials
Get creative with recycled materials such as cardboard, paper, or wood to create unique display stands. Not only is this option eco-friendly, but it also adds a rustic charm to your store.
2. Upcycled Mannequins
Give old mannequins a new lease on life by upcycling them into something fresh and stylish. Paint them in vibrant colors or repurpose them as functional decor pieces.
Conclusion
In conclusion, there are numerous creative and cost-effective alternatives to traditional mannequins that cater to various needs and preferences.
(And if you want to remove your mannequin form clothes to give a ghost effect click on that link.)
Whether you’re looking to save money, maximize space, or express your unique style, these options allow you to showcase your clothing in a way that’s both practical and visually appealing.
Experiment with different ideas to find the perfect solution for your store or brand. Happy displaying!
