
Learn how to easily create, remove, and print image slices in Photoshop. Image slicing allows you to segment your images for precise control and optimization in web design and digital art projects.
Follow our step-by-step guide to master this valuable skill and enhance your workflow effortlessly.
Additionally, explore our tutorial on exporting slices in Photoshop, which complements this guide perfectly.
Creating Image Slices in Photoshop: A 3-Step Guide
Now that you’re familiar with the importance of image slicing, let’s dive into the process of creating image slices in Photoshop.
Easily segment your images for precise control and optimization.
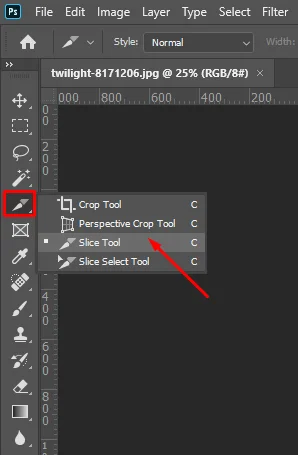
Open your image in Photoshop and select the “Slice Tool” from the toolbar.
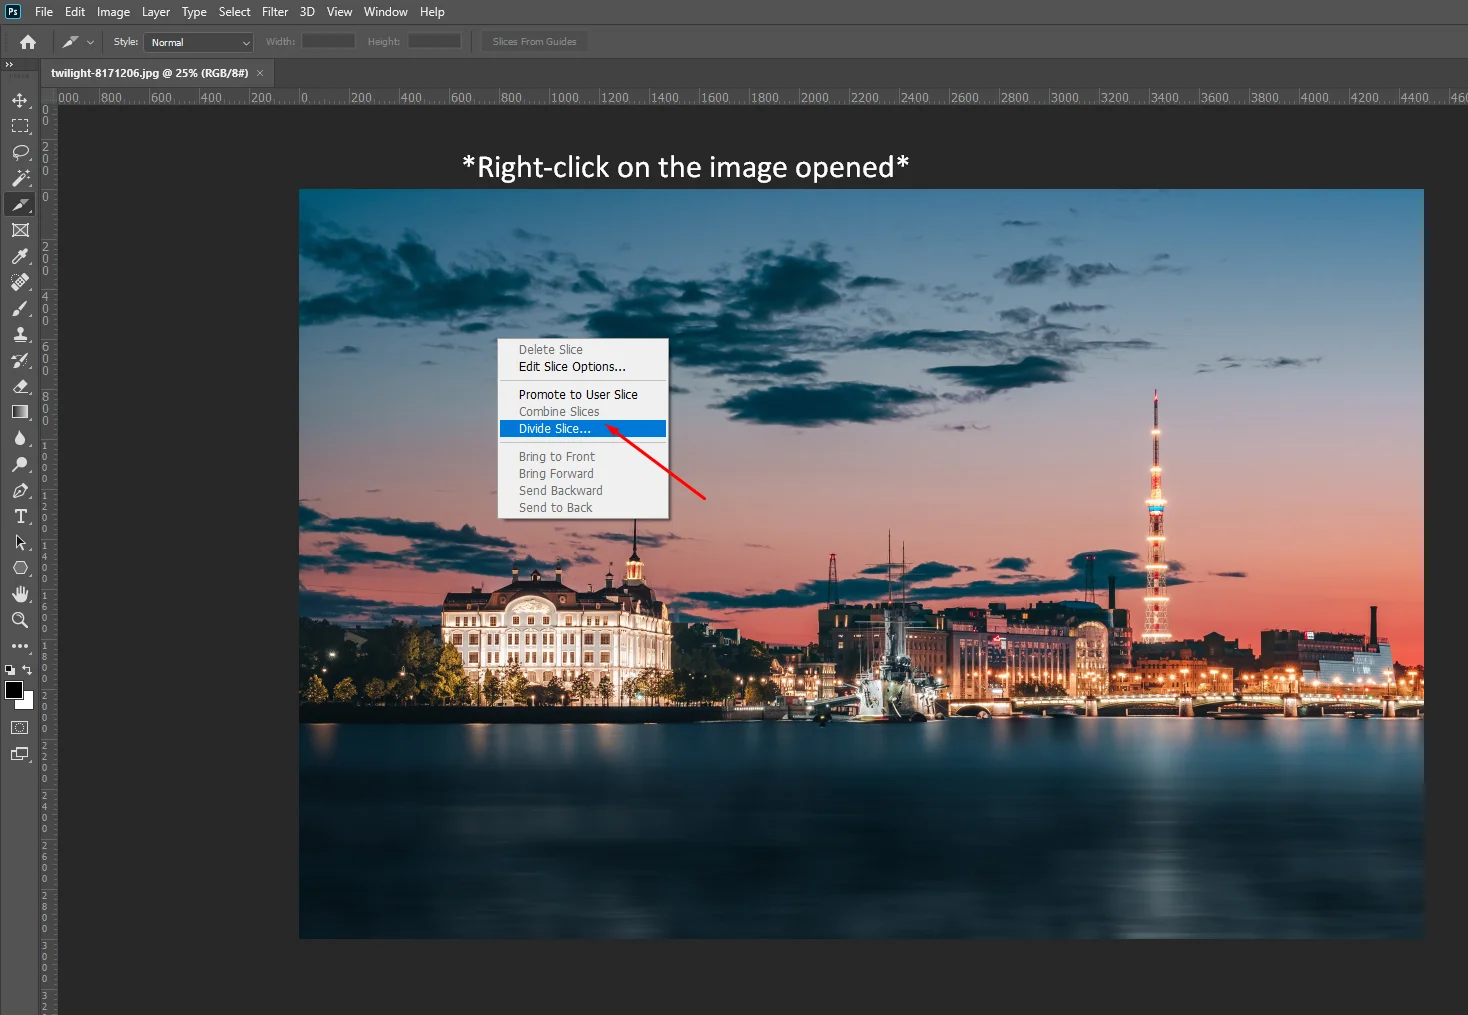
Right-click on the image and choose “Divide Slice“.
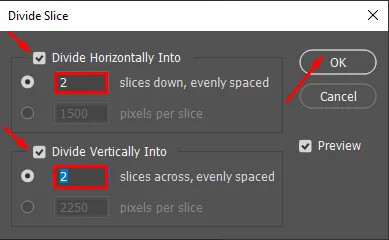
Specify the number of slices horizontally and vertically as needed. Confirm your settings and click “OK” to create your image slices. Preview your slices if necessary for accuracy.
Removing Unwanted Slices: Easy Steps in Photoshop
Once you’ve created your image slices, it’s essential to know how to remove any unwanted slices efficiently.
Streamline your workflow by eliminating unnecessary elements.
- Press Control / Command + Shift to activate the slice selection tool.
- Select the slices you want to remove by clicking on them.
- Once selected, press Delete or Backspace to remove the unwanted slices from your image.
Deleting All Slices: Streamlining Your Workflow
Sometimes, you may need to start fresh or simplify your project. Here’s how to delete all slices in Photoshop.
Start fresh or simplify your project with a single click.
- Press Control / Command + Shift to select all slices in your image.
- With all slices selected, press Delete or Backspace to remove all slices and revert to a single image slice.
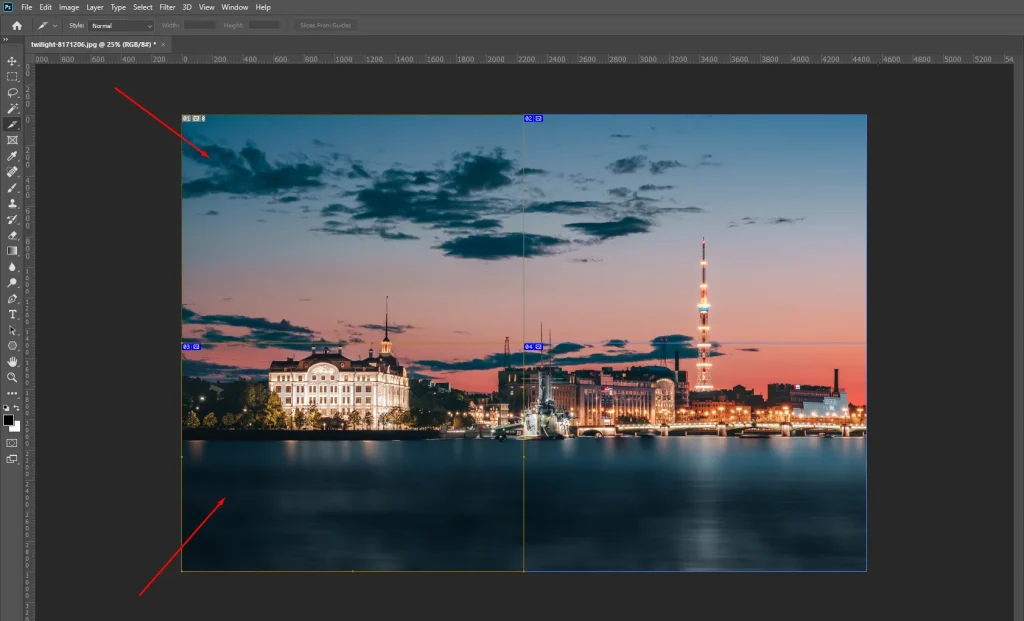
Here you can see 4 slices:

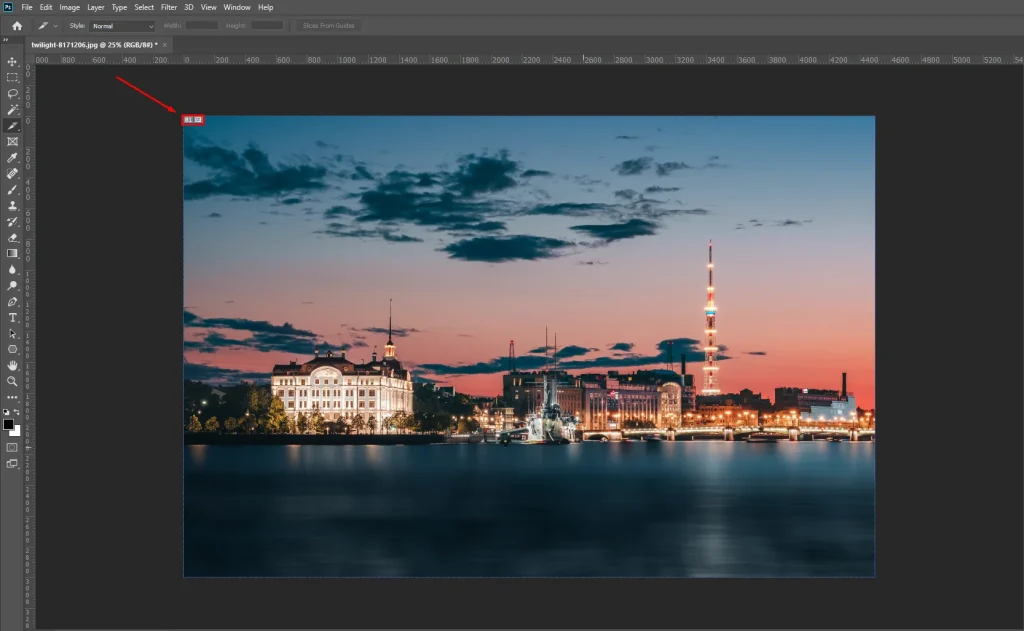
After selecting and removing you will see just one 1 slice (the whole image) like this:
Printing Your Slices: Tips for Perfect Results
Finally, let’s explore how to print your image slices in Photoshop.
Bring your sliced images to life on paper with ease.
- Save your sliced image in the desired format.
- Select all slices by clicking and dragging over them or using Control / Command + A.
- Press Control / Command + P to open the print dialog. Adjust printing properties as needed, then proceed to print your image slices.
By following these steps, you’ll have full control over your image slices in Photoshop, allowing you to optimize your workflow and achieve professional results with ease.
Using the slice tool is essential for web design and creating interactive images. Discover how to turn your sliced images into clickable elements in our guide on How to Add a Hyperlink to a JPEG in Photoshop.
