
Graphic designers often have to put pictures inside different shapes for their projects, like making logos, posters, or digital drawings. You can fill a shape with an image in Photoshop in this simple and professional method:
- Create a “New Document”. Shortcut – “Control / Command + N”
- Open the “Shape” panel from “Window”
- Pick a shape then drag & drop it
- “Double Left-Click” on the “Shape Layer Thumbnail”
- Change Color
- Link “Width” and “Height”
- Resize with “Alter / Option”, “Left-click” to reposition, and “Enter” to set
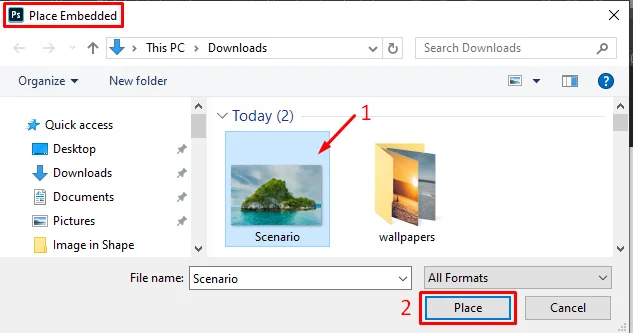
- “File > Place Embedded” to add the picture to the same document
- Select an image and click “Place”
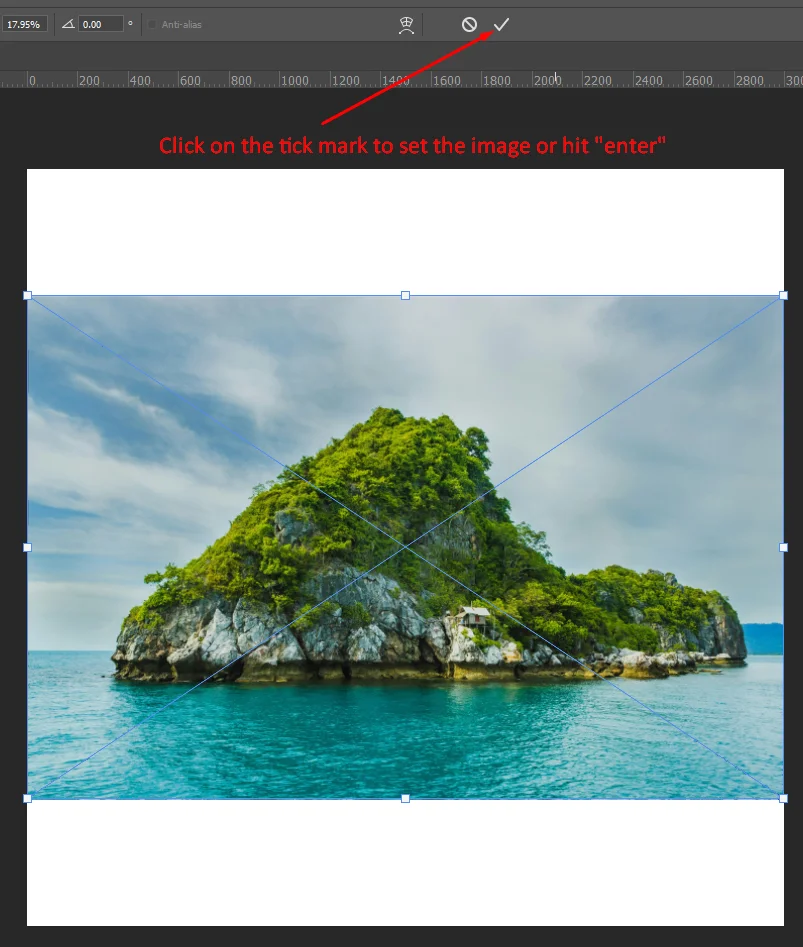
- “Enter” to set the image
- “Create a Clipping Mask” selecting the layer with shape and image: “Alt+ Ctrl+ G” / “Opt + Cmd + G”
- Get a clipped image
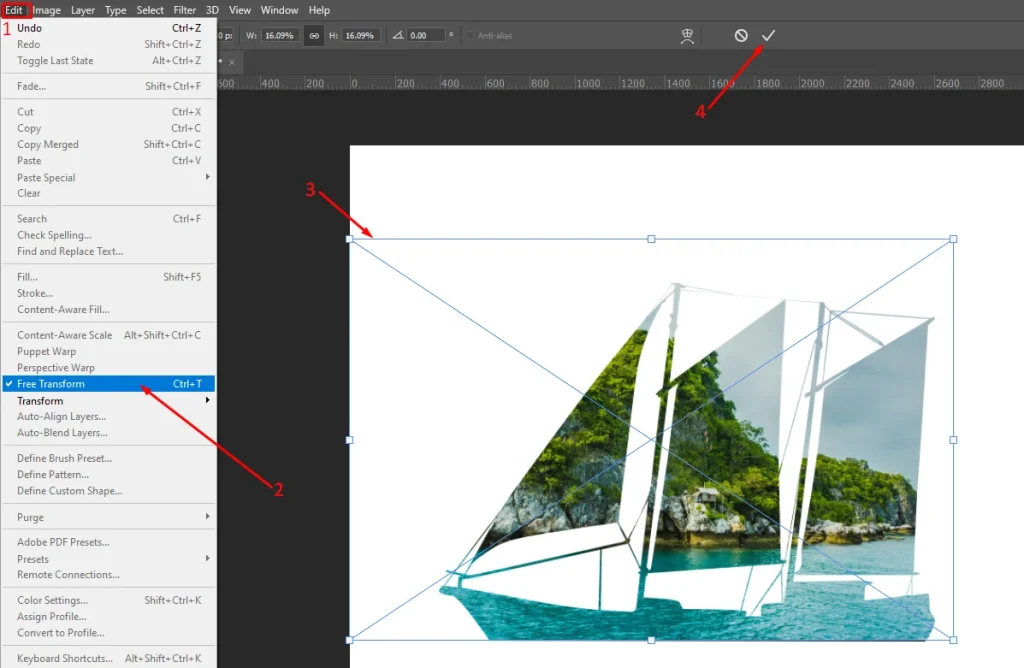
- Press “Alter / Option” to resize, reposition, and “Enter” to fix the image
13 Simple Steps To Put an Image in a Shape in Photoshop
Creating visually captivating images is pretty easy with Photoshop if you can follow our instructions correctly. Follow these simple steps to put a picture inside a shape. Also, keep in mind this method is often used by image masking service providers as well.
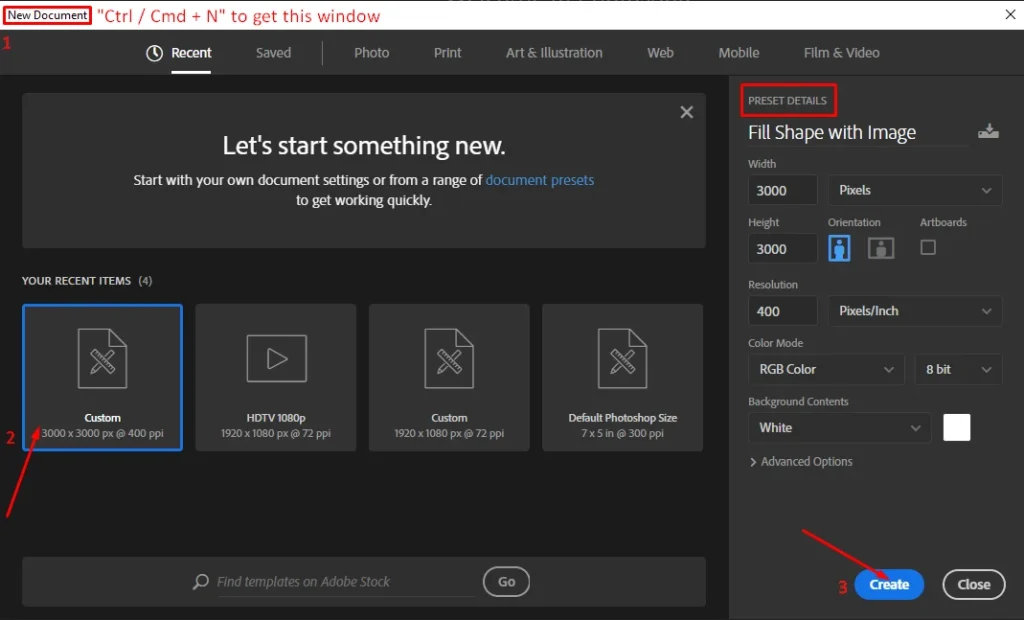
Step 1: Create a “New Document”. Shortcut – “Control / Command + N”. Pick your desired shape or make your “Custom Preset”.
Step 2: Go to “Window” and click on “Shape” to get a separate panel to work on.
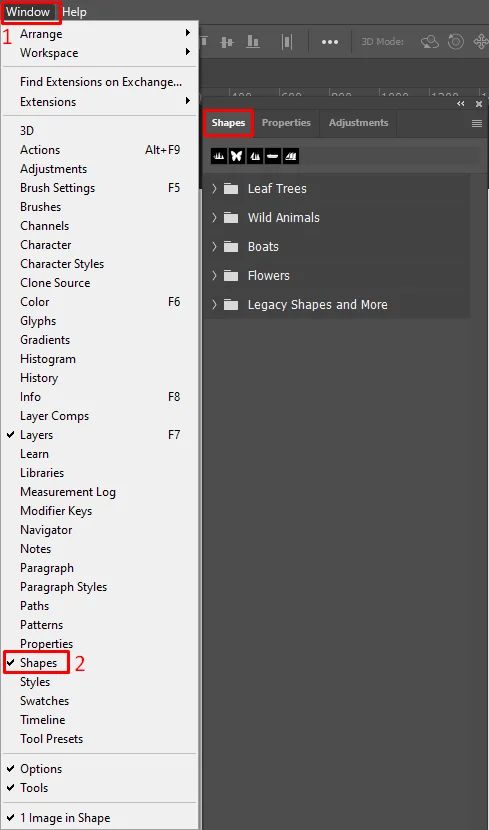
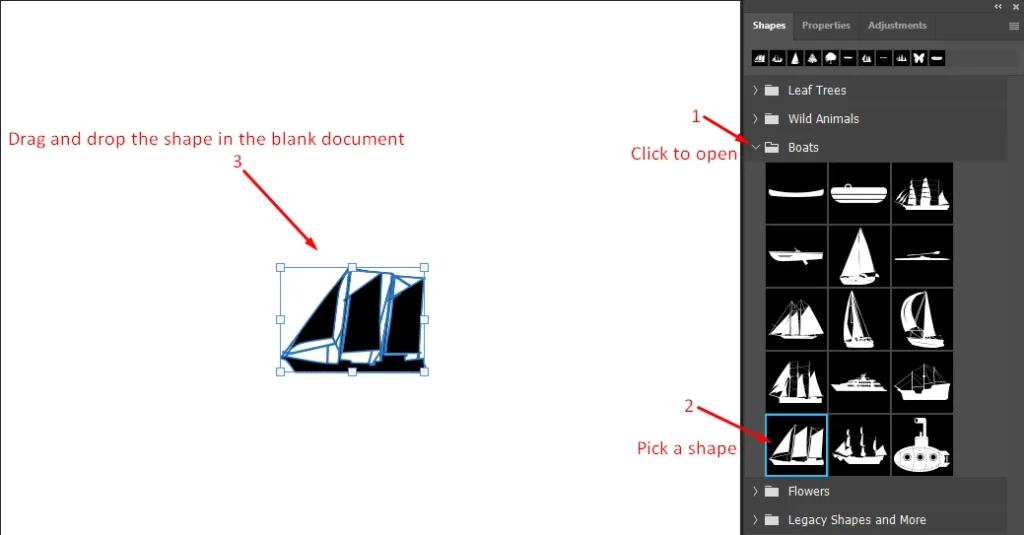
Step 3: Explore the “Folders” in the “Panel” to find a desired “Shape”.
Once you pick a shape- with the left-click on the mouse drag and place on the blank document you have.
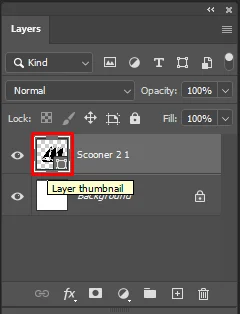
Step 4: You’ll find the “Shape” in a “New Layer” with a specific “Name”. “Double Left-Click” on the “Shape Layer Thumbnail”.
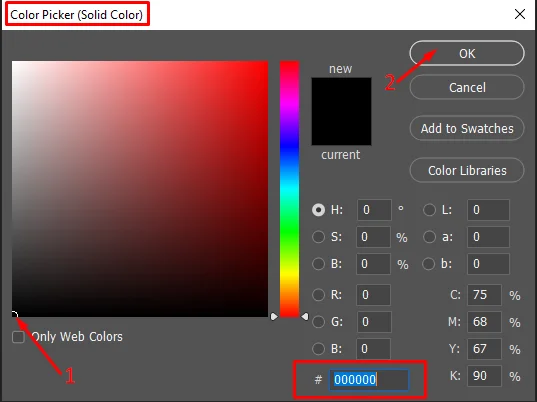
Step 5: Next, you will see a “Color Picker (Solid Color)” window. Pick “Black” and press “OK”.
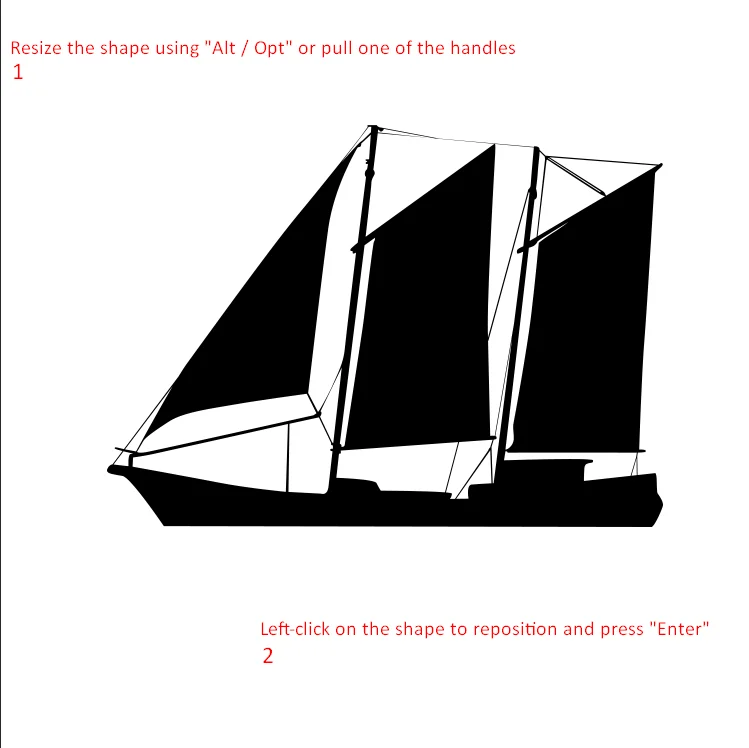
Step 6: You must link the “Width” and “Height” to lock the “Aspect Ratio”.

Step 7: Hold “Alter / Option” to resize the image or you can also pull one corner.
Reposition the shape with “Left-click” and press “Enter” to fix the “Shape” in the document.
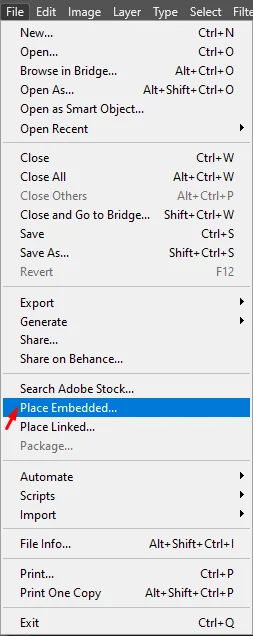
Step 8: Now, bring the other image in the same document:
“File > Place Embedded”
Step 9: Once the “Place Embedded” window opens up, “Select an Image” and click on “Place”.
Step 10: Next, set the image by simply hitting “Enter” or clicking on the “Tick Mark”.
Step 11: Select the “Layer with the Shape and Image on its Top”. Next, “Create a Clipping Mask“. Shortcut “Alt+ Ctrl+ G” / Opt + Cmd + G”.
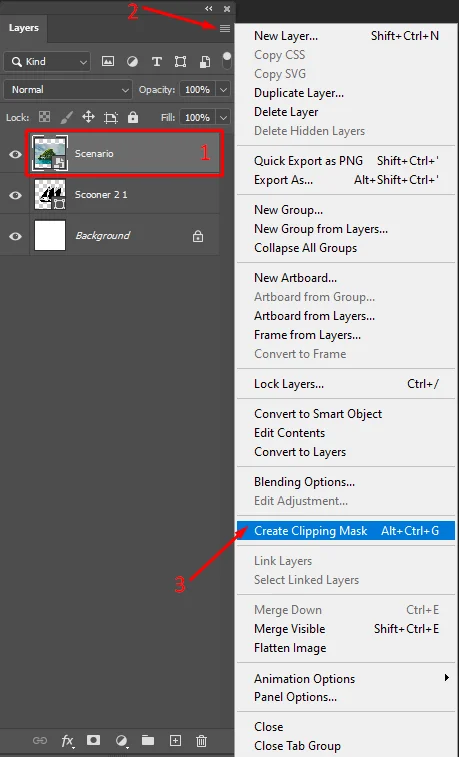
Step 12: The “Downward Arrow” on the “Image Layer” means it’s clipped the way the “Shape” is.
This time, some parts of the image will only be visible on the shape. The rest of the image will be hidden because of the “Clipping Mask”.
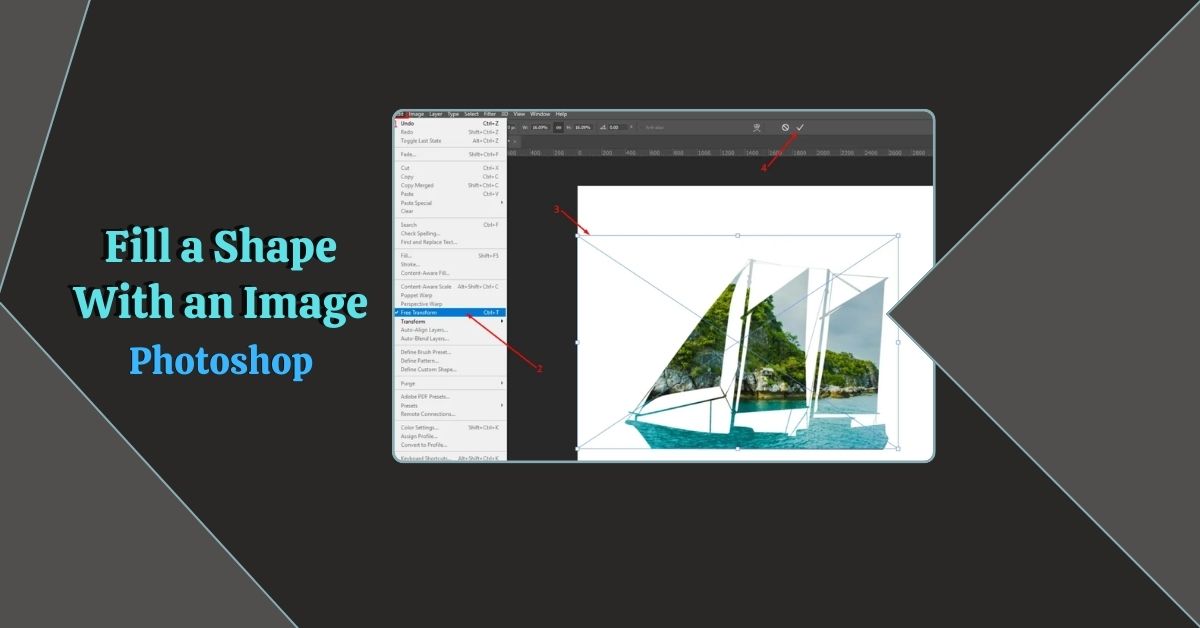
Step 13: Finally, hold “Alter / Option”, or pull one corner- resize, reposition, and “Enter” to fix the image just how you like it.
Add a professional touch to your designs—check the above video tutorial to watch the entire process. Also, learn how to change the “Background” and add a “Layer Style” such as “Inner Shadow” and “Drop Shadow” for a palatable look.
In case you are seeking to learn to fill a shape with text, check those simple steps now.
Finishing off Putting a Photo into a Shape on Photoshop
In short, you’ve mastered filling a shape with an Image in Photoshop. From creating a new document to refining your design, you’ve learned essential techniques for captivating compositions. Explore our other blogs for more Photoshop tips and tricks. We value your feedback, so feel free to engage with us in the comments for help or suggestions.
