
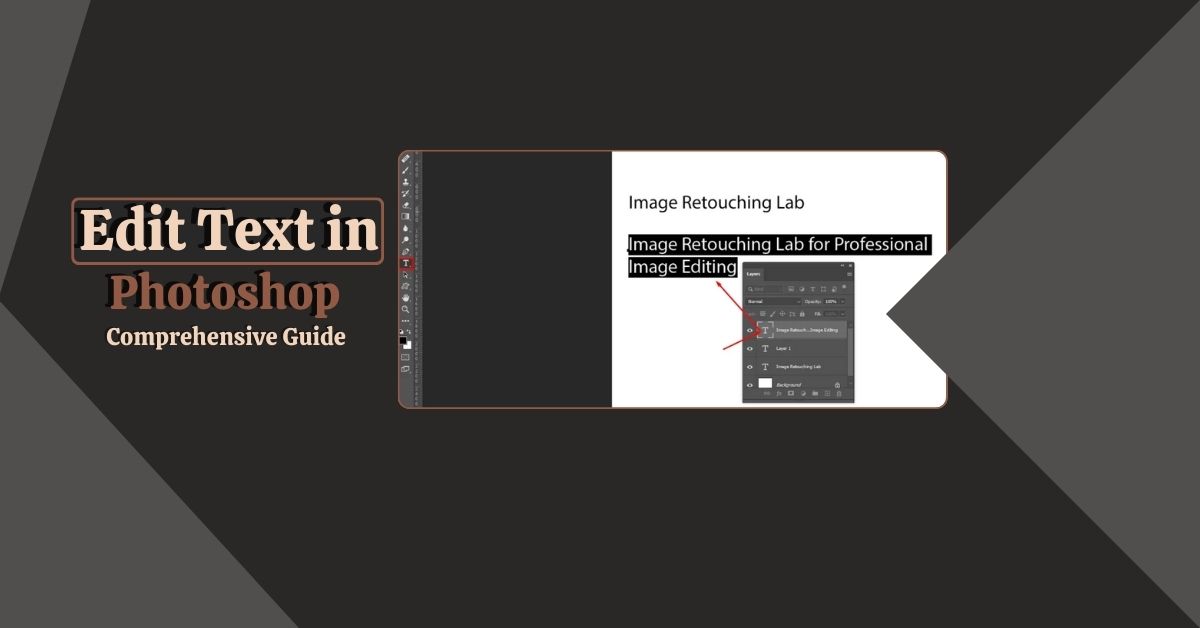
The essential technique to edit text in Photoshop:
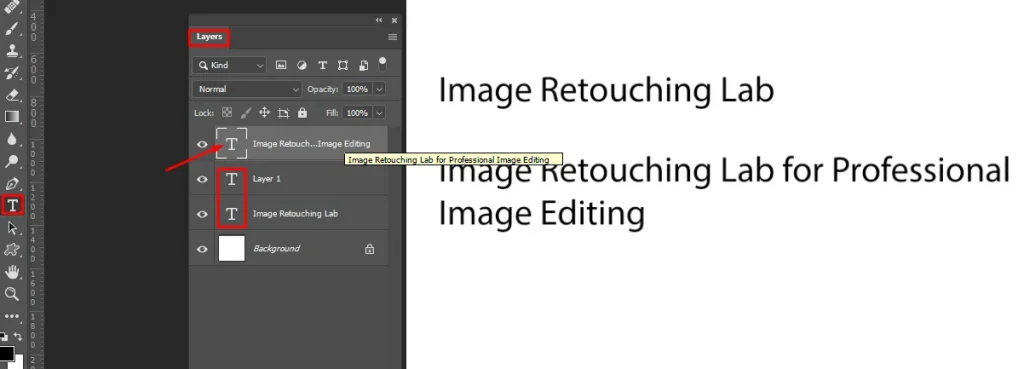
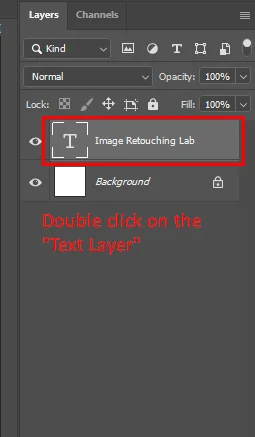
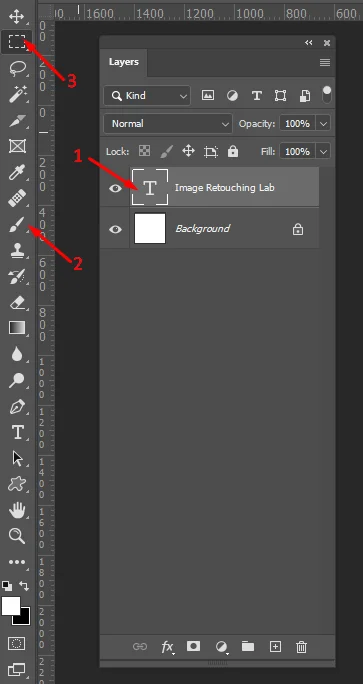
- Select the “Text Layer”
- “Double-click” on the “T” of the ” Text Layer”
- Click on the “Text Box” in the image and edit
This is purely initial if you are willing to learn more about editing text. We have covered a range of text editing tasks in Photoshop.
Since we are targeting to have a thorough discussion about handling texts in Photoshop, you might want to go deeper into the aspect.
In connection with that, while exploring graphics design and digital art, text editing task is widespread. To be more plain, it’s a big deal if you have complete knowledge!
Reason?
Text editing in Photoshop is used to create all the wonderful ads, logos, and text effects in Photos you can see. Besides, when it comes to creating amazing graphics, Adobe Photoshop is your friend. Every other graphics designers and visualizers love this application for text editing and design features.
So, let’s start with some basics and learn about the type of edits you might need to perform and the tools you might have to use.
Get Your Fundamentals Straight for Photoshop Text Editing
The entire text editing aspect of Photoshop is a big journey, but where to begin? You, as an aspiring designer, must make yourself familiar with the main tools, and functionalities first.
1. The Text Tool
The first thing you need to know is where to find the tool that lets you play with words. It’s called the Text Tool, and it looks like a big “T” in the toolbox. With this tool, you can pick different fonts, change the size of your words, and make sure they’re all lined up nicely.
2. Layers as Your Design’s Building Block
Now, here’s something important to understand – layers. Think of layers like sheets of tracing paper stacked on top of each other. Each word or design you add to your picture goes on its own sheet. This helps you keep everything organized and easy to change later if you need to.
3. Layer Styles to Add Some Flair
Ever wondered how designers add those mind blowing effects to text like drop shadows or gradients? That’s layer styles. They’re the effect you make by yourself! effects for your text. Make your words glow, or give them a texture – all with just a few clicks.
4. Precise Tweaking with Transform Tool
Sometimes, you need to adjust the position or size of your words to get them just right. That’s where transform tools come into play. They let you stretch, rotate, and flip your text until it looks perfect.
5. Smart Moves with Smart Objects
If you ever wish you could go back and change something without messing up everything else- you would like to use smart Objects. They’re like magic containers that keep your text safe while you play around with it. You can edit and tweak without any worries.
Now begins our detailed step-by-step guide. Go through every section to see all the techniques we have covered and become a pro at text editing.
Primary Techniques for Text Editing
Editing text is really important in graphic design, especially when you’re using software like Adobe Photoshop. Knowing the main methods for editing text in Photoshop is key to changing text effectively in your designs.
Add Text in Photoshop
The journey begins with adding text to your canvas. Whether you’re creating a poster or a digital masterpiece, knowing how to add text with precision is essential.
Step 1: Launch Adobe Photoshop and open your project.
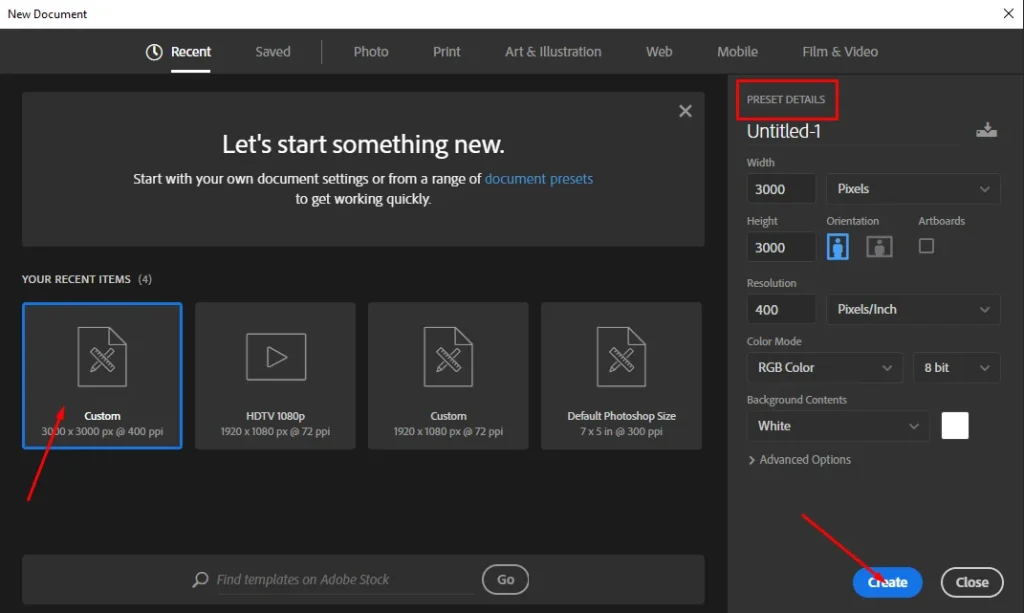
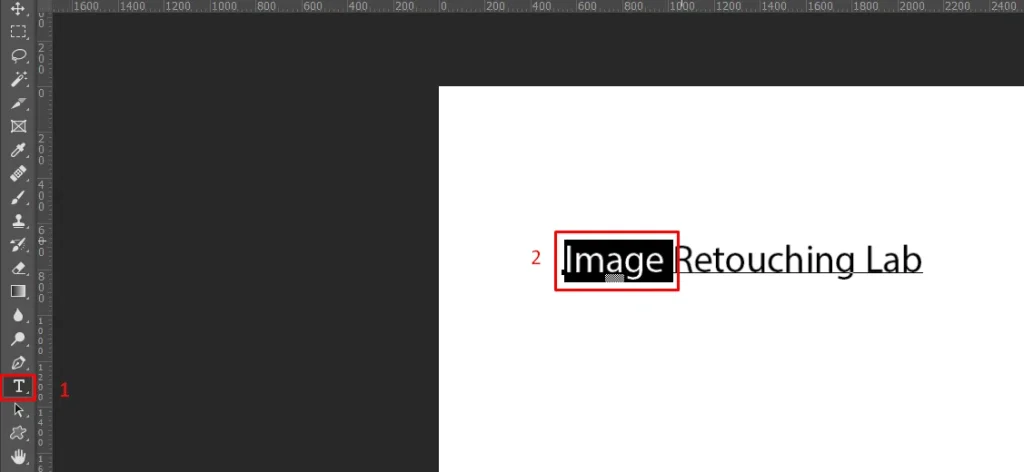
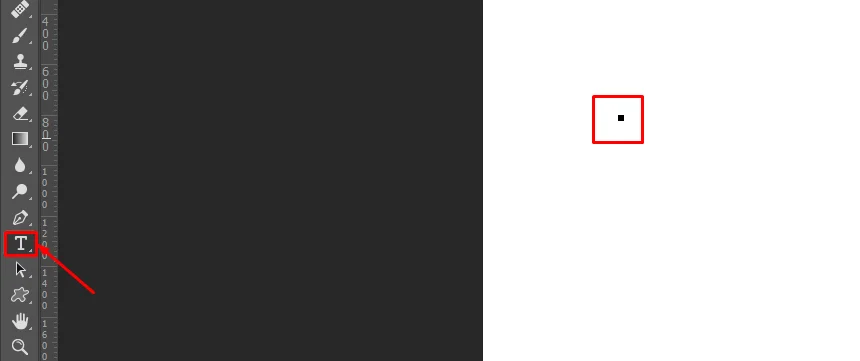
Step 2: Locate the Text tool in the toolbar (usually represented by the letter “T”).

Step 3: Click anywhere on your canvas where you want to insert text.

Step 4: Start typing your desired text; a text cursor will appear.

Step 5: Customize the text properties such as font, size, color, and alignment from the options toolbar at the top.

Once your text is in place, mastering selection techniques allows for efficient editing and manipulation.
Select Text in Photoshop
Selecting text allows you to perform various editing actions.
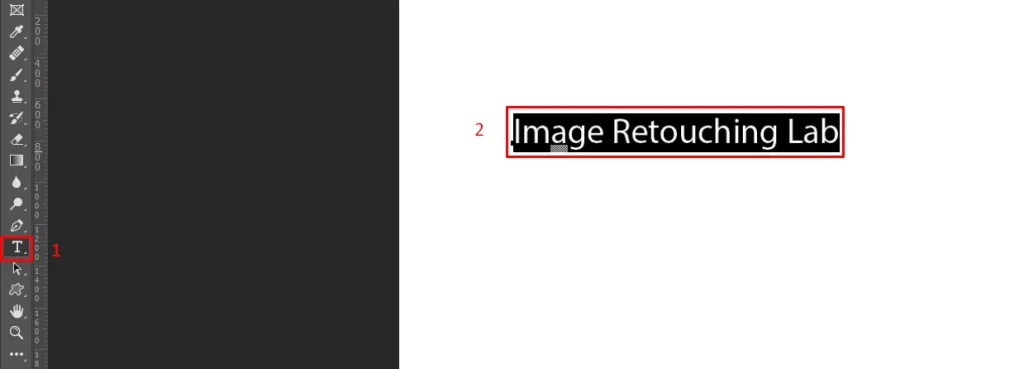
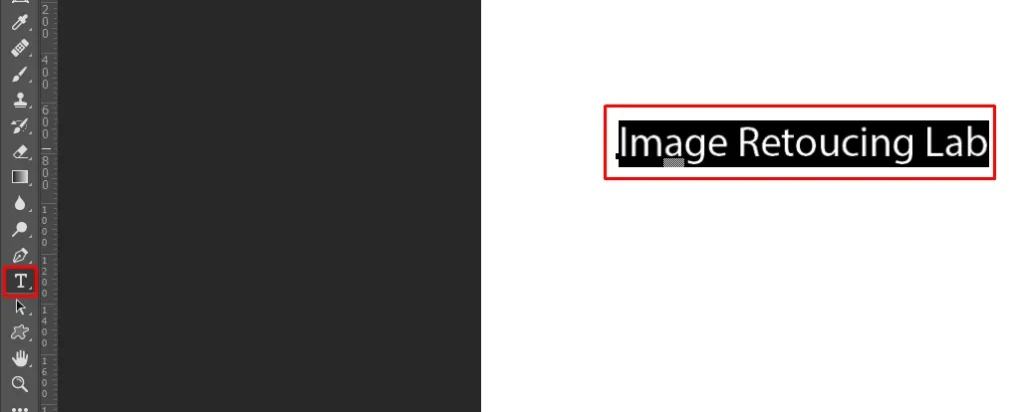
- Use the Text tool to click and drag over the text you want to select.
| Quick Tips Alternatively, double-click on a word to select it, or triple-click to select an entire line. For selecting non-contiguous text, hold down the Ctrl (Cmd) key while clicking on each desired text element. |
Editing isn’t just about adding; it’s also about refining. Discover how to erase and edit text seamlessly, giving you the power to perfect your designs with ease.
Erase and Edit Text in Photoshop
Sometimes, you may need to remove or edit text box in Photoshop.
Step 1: To erase text, select it using the Text tool. You can use the shortcuts:
- “Ctrl / Cmd + A” to select the entire text
- “Ctrl / Cmd + X” to cut the text.
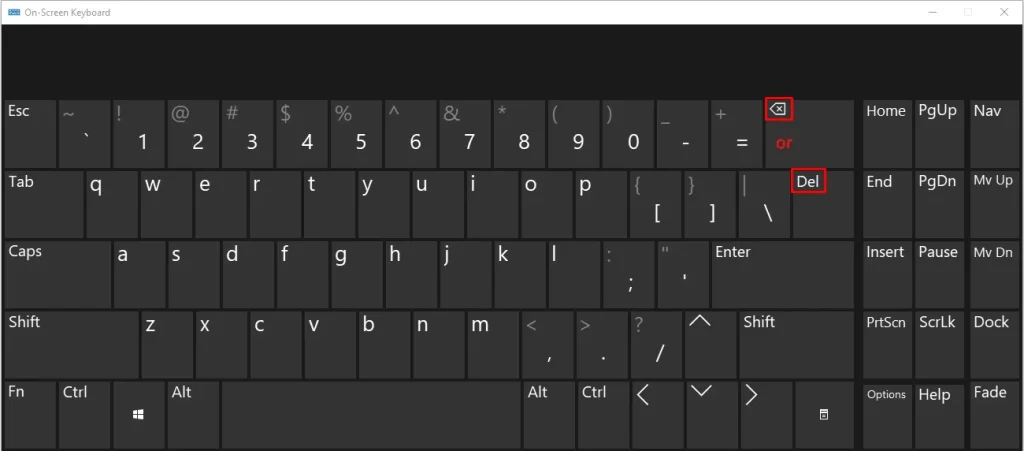
Step 2: Press the Delete key on your keyboard to remove the selected text.
Step 3: To edit text, click on it with the Text tool, and the text cursor will appear, allowing you to make changes directly.
Efficiency is key in design. Learn how to copy and edit text to streamline your workflow and unleash your creativity without constraints.
Copy and Edit Text in Photoshop
Copying text can be useful for duplicating or modifying content.
Step 1: Select the text you want to copy using the Text tool. Shortcut for selecting: “Ctrl / Cmd + A”
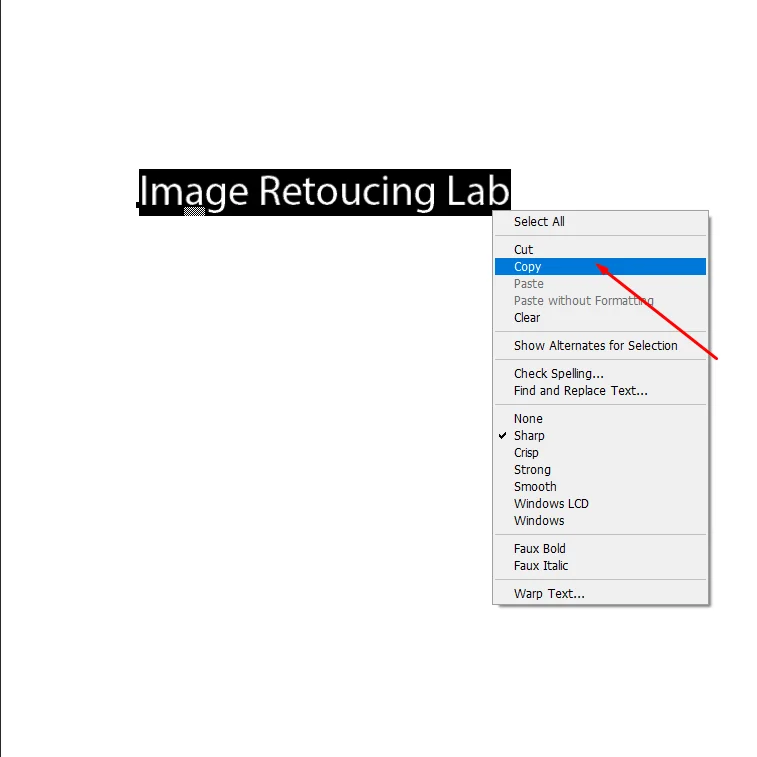
Step 2: Right-click on the selected text and choose “Copy” from the context menu. Or use the shortcut: “Ctrl / Cmd + C”.
Step 3: Place your cursor where you want to paste the copied text, right-click, and select “Paste.”
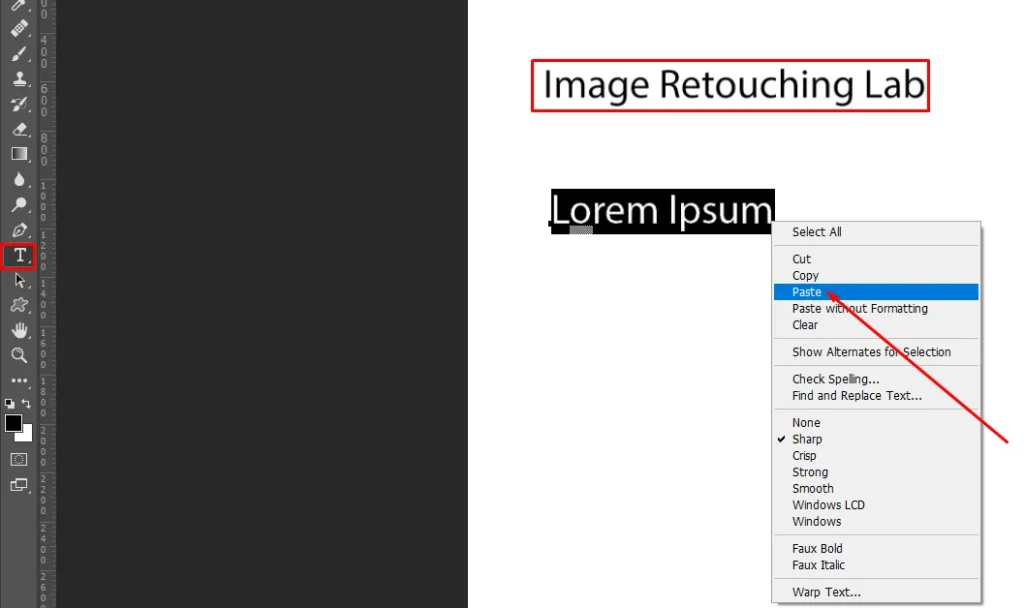
Step 4: To edit the copied text, click on it with the Text tool and make the desired changes.
Adaptability is crucial in design. Explore how to edit existing text seamlessly, empowering you to refine your creations with precision and finesse.
Edit Already Written Text in Photoshop
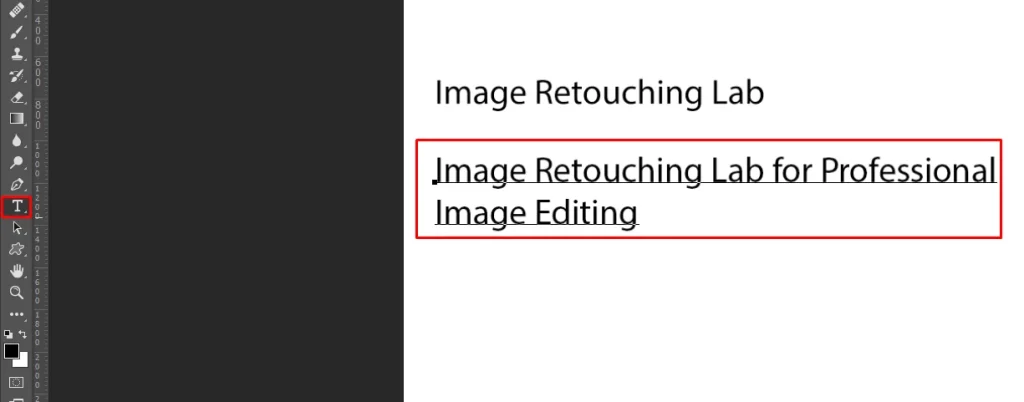
If you need to edit existing text in Photoshop:
Step 1: Locate the text you wish to edit on your canvas.

Step 2: Click on the text with the Text tool, and the text cursor will appear, allowing you to make changes directly.
Mastering the selection and editing of text streamlines the creative process. Let’s explore how to wield these tools effectively.
Select and Edit Text in Photoshop
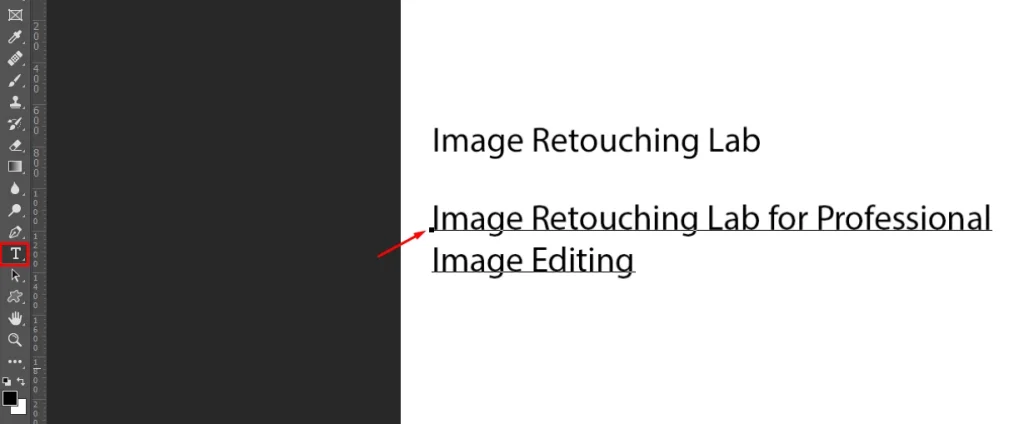
Selecting and editing text efficiently streamlines the design process. Here is how to edit text layer in Photoshop:
Step 1: Utilize the selection methods mentioned earlier to select the text you want to edit.
Step 2: Once selected, use the Text tool to directly modify the text or adjust its properties from the options toolbar.
Text editing in Photoshop isn’t confined to a single format. That brings us to the next part of the guide.
Editing Text in Different File Formats
When it comes to different file types like PSD, PNG, and JPEG, each has its own quirks for text editing. In this section, we’ll break down the process for editing text in these different formats using Adobe Photoshop.
Edit Text in PSD file in Photoshop
Within PSD files, the process of editing text is straightforward yet versatile. By leveraging the Text tool, you can manipulate text layers with precision, shaping your designs as desired.
- Click on the Text tool in the toolbar (usually looks like a “T”).
- Tap on the text you want to edit in the PSD file. You’ll see a blinking cursor.
- Edit the text however you like, such as changing the words, font, size, color, or how it’s lined up.
Editing text within PNG files requires a nuanced approach. Learn it from the following section.
Edit Text in a PNG File in Photoshop
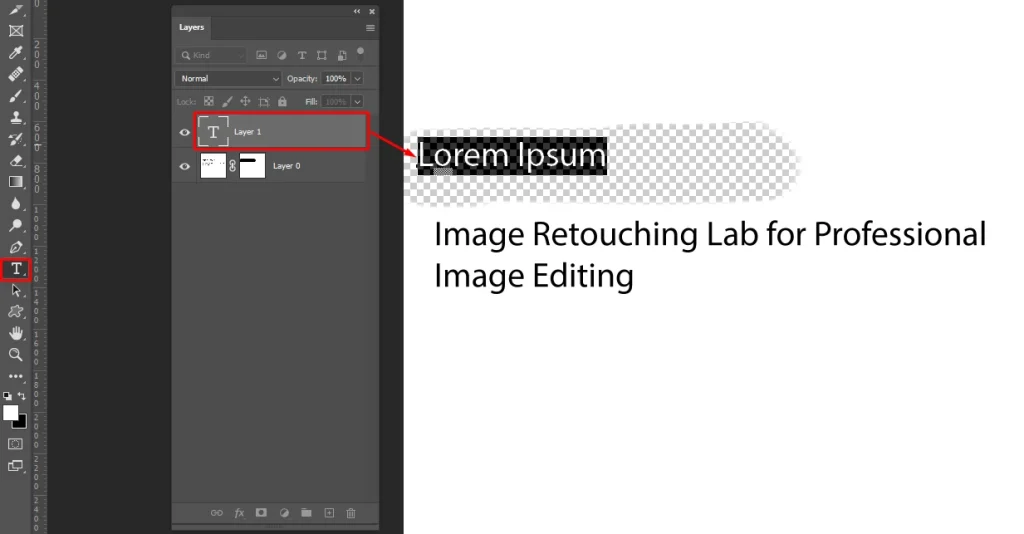
Editing PNG often involves layer masks and brush tools. Learn how to seamlessly integrate text edits into your PNG images.
Step 1: Add a layer mask and pick the brush tool. Next, choose a foreground color based on the background of the image and change the brush size. Then, run the brush over the text you want to remove.
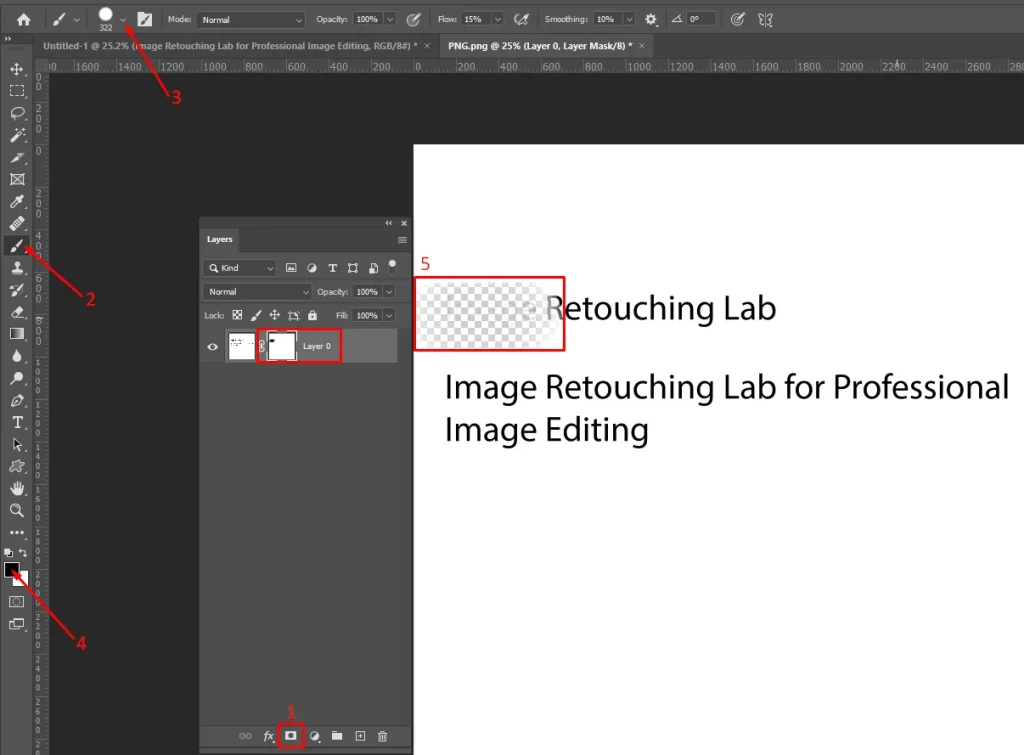
Step 2: Activate the text tool again and get the layer to write again. Save the file in PNG format.
While editing text in JPEG images shares similarities with PNG files, there are distinct techniques tailored to this format. Discover how to modify text seamlessly within your JPEG compositions.
Edit Text in JPEG Image in Photoshop
You can do it the same way as removing and replacing in a PNG file. However, here is another technique:
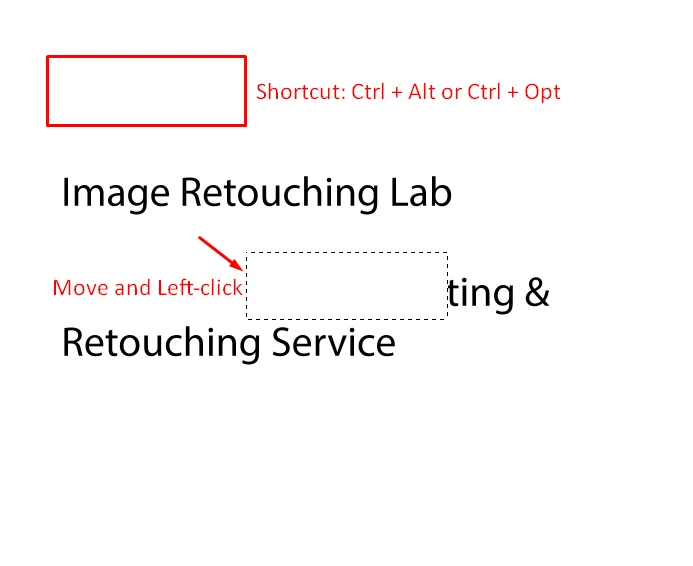
Step 1: Select “Rectangular Marquee Tool” and select a blank space.
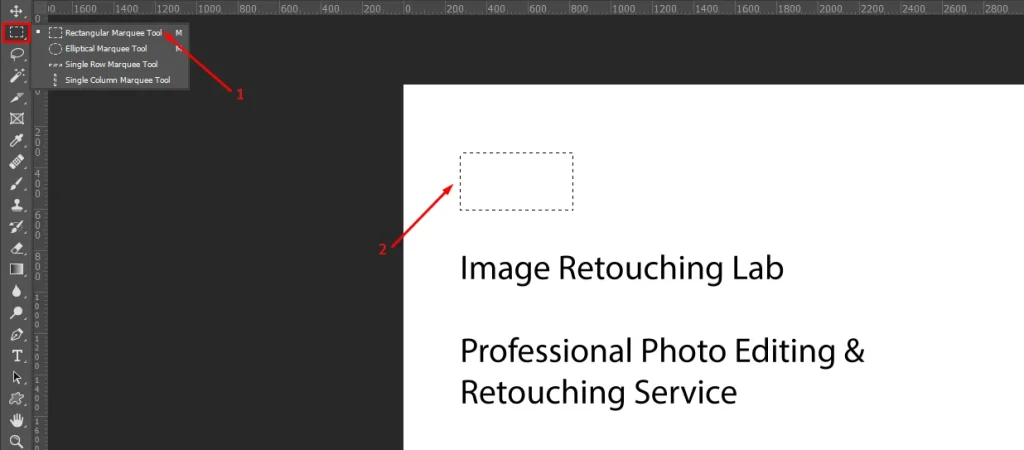
Step 2: Hold “Ctrl + Alt” or “Cmd + Opt”. With a left-click move the selection to the text you want to cover. Cover old text by keeping “Ctrl + Alt” or “Cmd + Opt” pressed and left-click on the old text.
Beyond basic editing, mastering additional techniques enhances your creative prowess.
Additional Text Editing Techniques
From adjusting text spacing to manipulating text effects, there’s a myriad of tools at your disposal.
Edit Text in Photoshop Without Creating a New Layer
Efficiency meets precision with this technique, allowing you to edit text directly on the canvas without cluttering your layers.
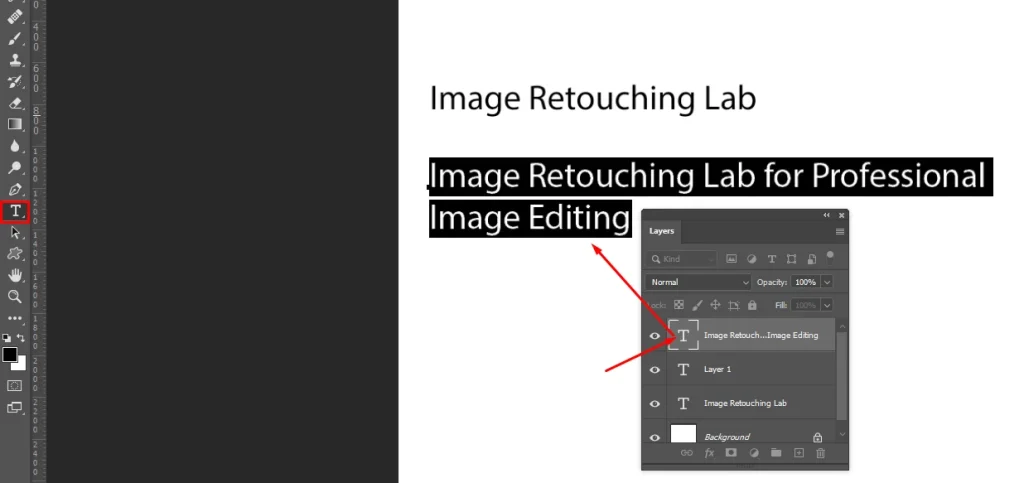
- Select the text layer you want to edit in the Layers panel.
- Use the Text Tool (shortcut: press ‘T’) to make edits directly on the canvas or in the Character panel.
- Adjust text properties such as font, size, color, etc., from the options bar or Character panel as needed.
- Press Enter (Windows) or Return (Mac) to apply changes.
For those venturing into online editing, Photoshop offers a host of tools accessible through web browsers.
Edit Text in JPEG Images in Photoshop Online
To upload and edit your own photos online, you will have to sign up for a Photoshop plan or start a free trial. you can try out some of Photoshop’s most popular tools and uses online with the help of guided tutorials without creating an Adobe account. If you get any option for editing JPEG online, the following steps can help:
- Open the JPEG image in Photoshop online.
- Use the Text Tool (‘T’) to click on the area where you want to add or edit text.
- Type in your desired text and adjust its properties as needed.
- Save the edited image in the desired format once you’re satisfied with the changes.
Logos demand meticulous attention to detail, and editing text within them is no exception. So, let’s see the text editing technique for logos as well.
Edit Logo Text in Photoshop
- Open the logo file in Photoshop.
- Select the text layer containing the logo text in the Layers panel.
- Use the Text Tool (‘T’) to click on the text you want to edit.
- Make your desired changes to the text, such as altering content, font, size, etc.
- Save the edited logo file in the desired format once you’re done.
Whether it’s refining handwritten notes or adding a personal touch to your designs, editing handwritten text requires finesse. Explore techniques for enhancing handwritten elements in Photoshop.
Edit Handwritten Text in Photoshop
- Use a graphics tablet or stylus for more precise editing.
- Open the image containing the handwritten text in Photoshop.
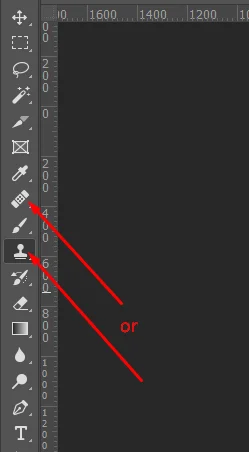
- Use the Clone Stamp tool (‘S’) or the Spot Healing Brush tool (‘J’) to make corrections or alterations to the handwritten text as needed.
- Use the Brush tool (‘B’) to add or refine details.
Text effects add depth and flair to your designs, but mastering their manipulation is an art unto itself.
Edit Text Effects in Photoshop
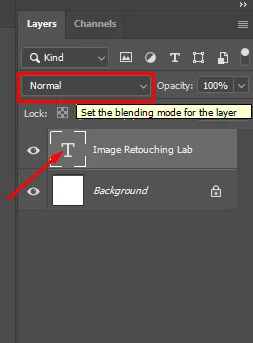
- Select the text layer containing the text effects you want to edit.
- Navigate to the Layer Style dialog box by double-clicking on the text layer or right-clicking on the layer and selecting “Blending Options.”
- Adjust various effects such as Drop Shadow, Outer Glow, Bevel and Emboss, etc., according to your preferences.
- Click OK to apply the changes.
Typography is as much about spacing as it is about the text itself. Find out the intricacies of modifying text spacing to achieve harmonious compositions.
Edit Text Spacing in Photoshop
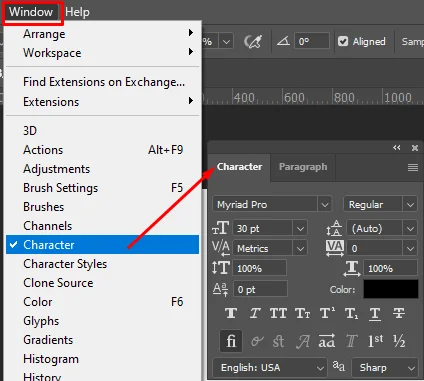
- With the text layer selected, go to the Character panel (Window > Character).
- Adjust the leading (space between lines), tracking (space between characters), and kerning (space between specific characters) values to modify text spacing.
- Alternatively, use the Character panel options bar to adjust spacing interactively.
Integrating text seamlessly into images requires careful consideration of composition and technique. Learn how to refine text overlays to enhance your visual storytelling.
Edit Text on a Picture in Photoshop
- Click on the Text layer to edit.
- If you need to edit the rasterized text in Photoshop, add a layer mask and use the brush tool.
- Also, you can utilize the “Rectangular Marquee Tool”
You’ve mastered the ABCs of text editing, but now you’re ready to explore the whole alphabet soup of possibilities.
Specialized Text Editing Tasks
We’ll unravel some of the mysteries behind crafting text that looks three-dimensional, editing text directly in PDFs, working with smart objects to keep our text safe and flexible, and even tweaking text found in Freepik files, which are popular resources for designers.
Each of these tasks opens up new creative avenues and expands your toolkit as a Photoshop user. Anyway, Ever wondered how to make text look like it’s popping out of the screen?
Edit 3D Text in Photoshop
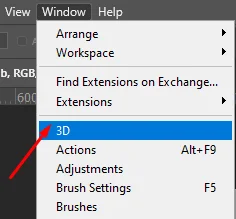
- Access the 3D workspace by selecting Window > 3D.
- Create or import 3D text using the Type tool or by converting existing text layers into 3D extrusions.
- Use the 3D panel to select and manipulate 3D text elements, adjusting properties such as depth, materials, and lighting.
Have you ever tried to edit text in a PDF but didn’t know how? Now, we’ll learn how to do it using Photoshop.
Edit PDF Text in Photoshop
- Open the PDF file in Photoshop.
- Use the Text Tool (‘T’) to click on the text you want to edit.
- Make your desired changes, such as altering content, font, size, etc.
- Save the edited PDF file in the desired format once you’re done.
Smart objects are like magic boxes that hold your text safe while you work on it. In the next section, we’ll learn how to open these boxes.
Edit Smart Object Text in Photoshop
- Double-click on the smart object layer containing the text in the Layers panel to open it as a separate document.
- Use the Text Tool (‘T’) to make edits to the text.
- Save and close the smart object document to apply changes to the original composition.
Let’s go through a step-by-step tutorial on how to use smart objects for text in Photoshop.
We often edit Freepik files in Photoshop. We’ll learn how to unlock these layers, make changes to the text, and then save our edited Freepik files.
Edit Freepik Text in Photoshop
- Open the Freepik file in Photoshop.
- Unlock the text layers if necessary by double-clicking on the layer thumbnail and clicking OK in the dialogue box.
- Use the Text Tool (‘T’) to click on the text you want to edit.
- Make your desired changes, such as altering content, font, size, etc.
- Save the edited Freepik file in the desired format once you’re done.
Sometimes, things don’t go as planned. In the next part of the guide, we will figure out why we might be having trouble editing text in Photoshop. We’ll look at common problems like locked layers, font issues, and software glitches, and how to fix them.
Why Can’t I Edit Text in Photoshop?
While Adobe Photoshop offers powerful text editing capabilities, both beginners and professional photo editors encounter occasional challenges that impede their ability to modify text seamlessly. These issues can range from simple oversights to more complex technical glitches.
- Layer Locking
Check if the text layer is locked. Locked layers prevent any editing actions, including text modifications. Unlock the layer by clicking on the lock icon in the Layers panel.
- Rasterized Text
If the text layer has been rasterized or converted to pixels, it loses its editability as text. You’ll need to recreate the text or revert to a previous version of the document if available.
- Wrong Layer Selection
Ensure that you’ve selected the correct text layer for editing. Sometimes, multiple layers may overlap, and selecting the wrong layer could prevent text modifications.
- Font Licensing Issues
Certain fonts may have licensing restrictions that prevent editing in Photoshop. If you’re using a licensed font, ensure that it’s properly installed and licensed for editing.
- Text Tool Settings
Verify that the Text Tool settings are appropriate for editing text. Check the options bar at the top of the screen to ensure that the Text Tool is selected and that the font size, color, etc., are set to values suitable for editing.
- Corrupted Font Files
In some cases, corrupted font files can cause issues with text editing. Try using a different font or reinstalling the problematic font to resolve this issue.
- Software Glitches
Occasionally, Photoshop may encounter software glitches that affect text editing functionality. Restarting Photoshop or resetting preferences (under Edit > Preferences > General) may resolve these issues.
- Update Photoshop
Ensure that you’re using the latest version of Photoshop. Outdated software versions may have bugs or compatibility issues that hinder text editing capabilities.
| Note: If none of these troubleshooting steps resolve the issue, consider seeking assistance from online forums, Adobe support, or consulting with experienced Photoshop users for further guidance. |
Adding text to your images is just one way to enhance them. For even more interactivity, learn how to add hyperlinks to your images in our post on How to Add a Hyperlink to a JPEG in Photoshop.
Warping Up
Whether you’re just starting out or have some experience under your belt, mastering how to edit text in Photoshop is crucial for creating visually appealing designs. In this extensive guide, we covered everything you need to know, starting from the basics and progressing to more advanced techniques.
Nevertheless, check out our blog to explore more topics. Feel free to leave comments or questions as you navigate through the content.
